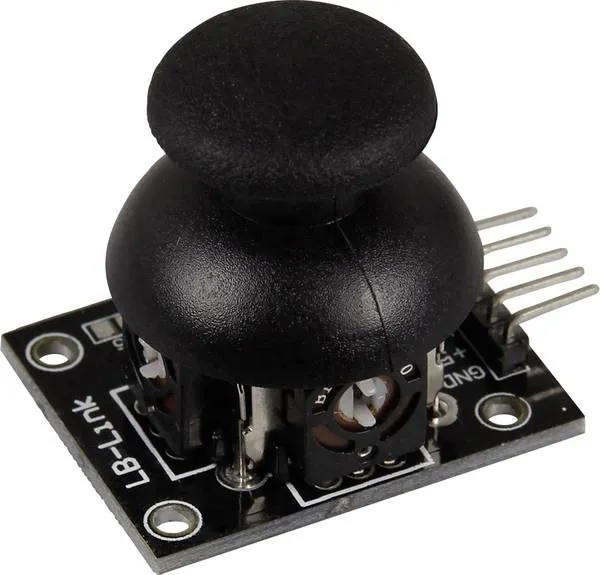
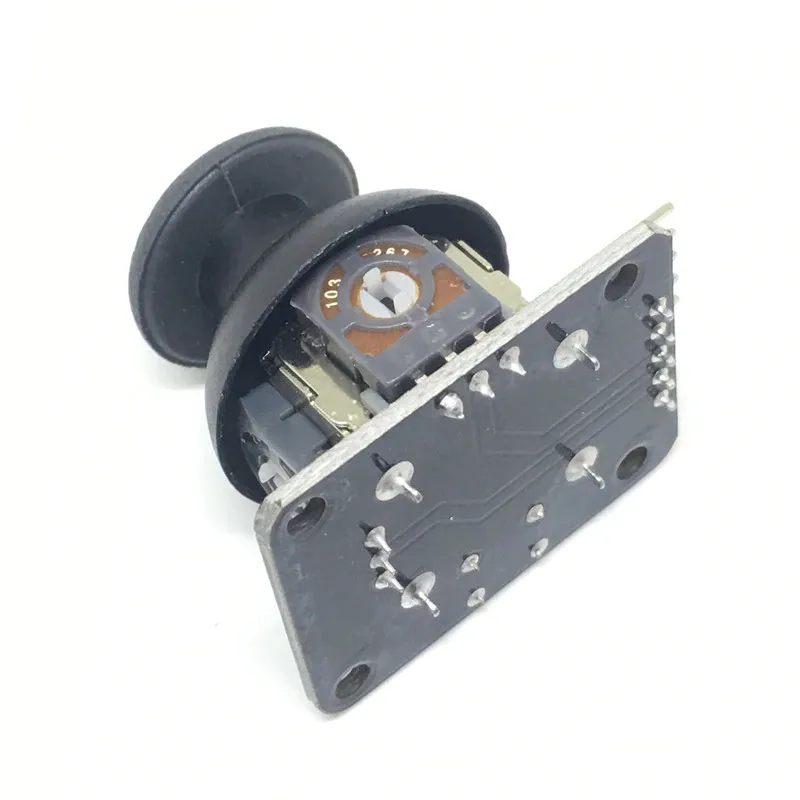
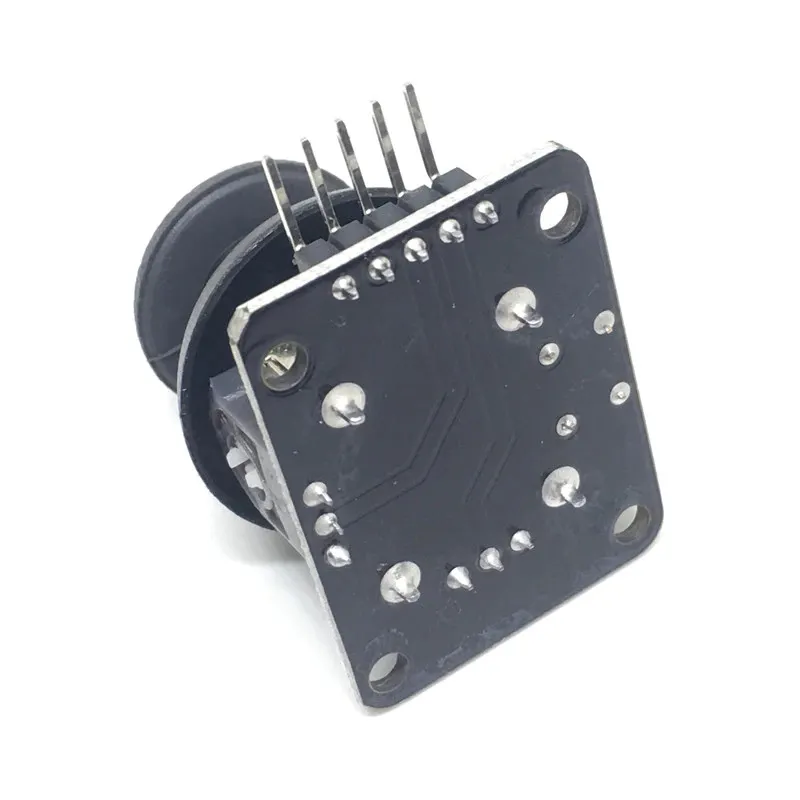
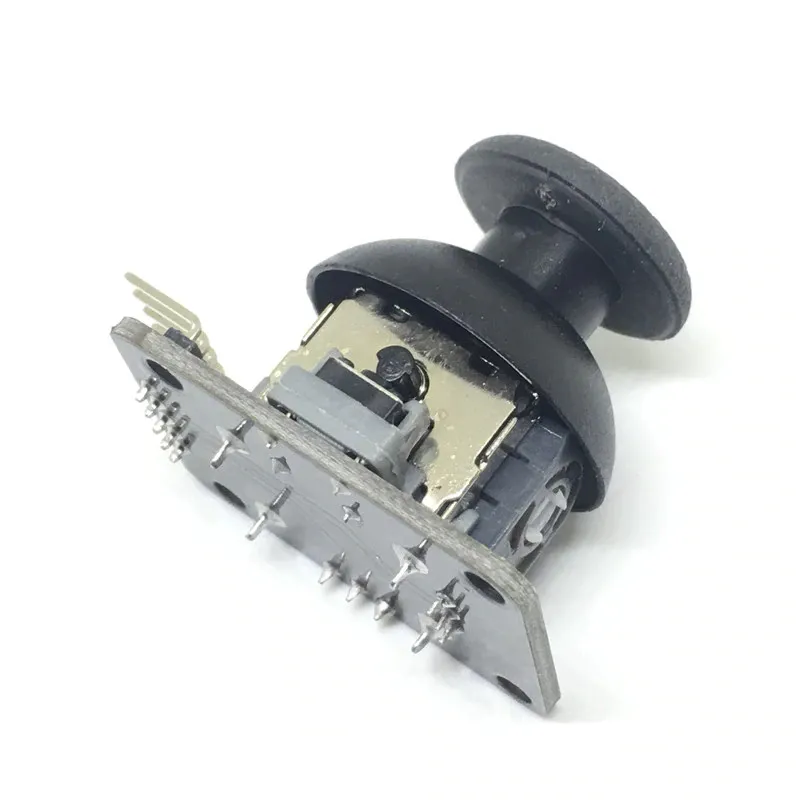
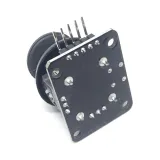
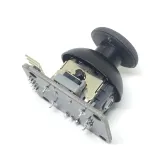
Джойстик модул, който извежда X и Y позицията като аналогово напрежение за проекти с Arduino, Raspberry Pi, ESP8266 и ESP32.
SKU: OT620-B36 Артикулен номер: YQ939 EAN: 8720828223031 Местоположение: B03.06
Алтернатива
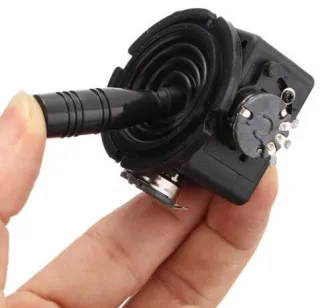
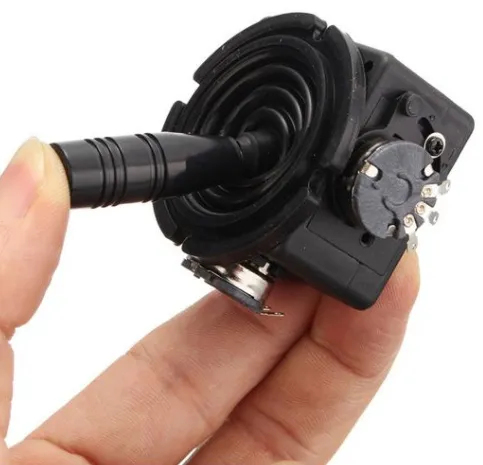
Джойстик Потенциометър 10K Ohm Превключвател Ротация 2-Посочна Посока
€ 17,10
Виж тази алтернатива
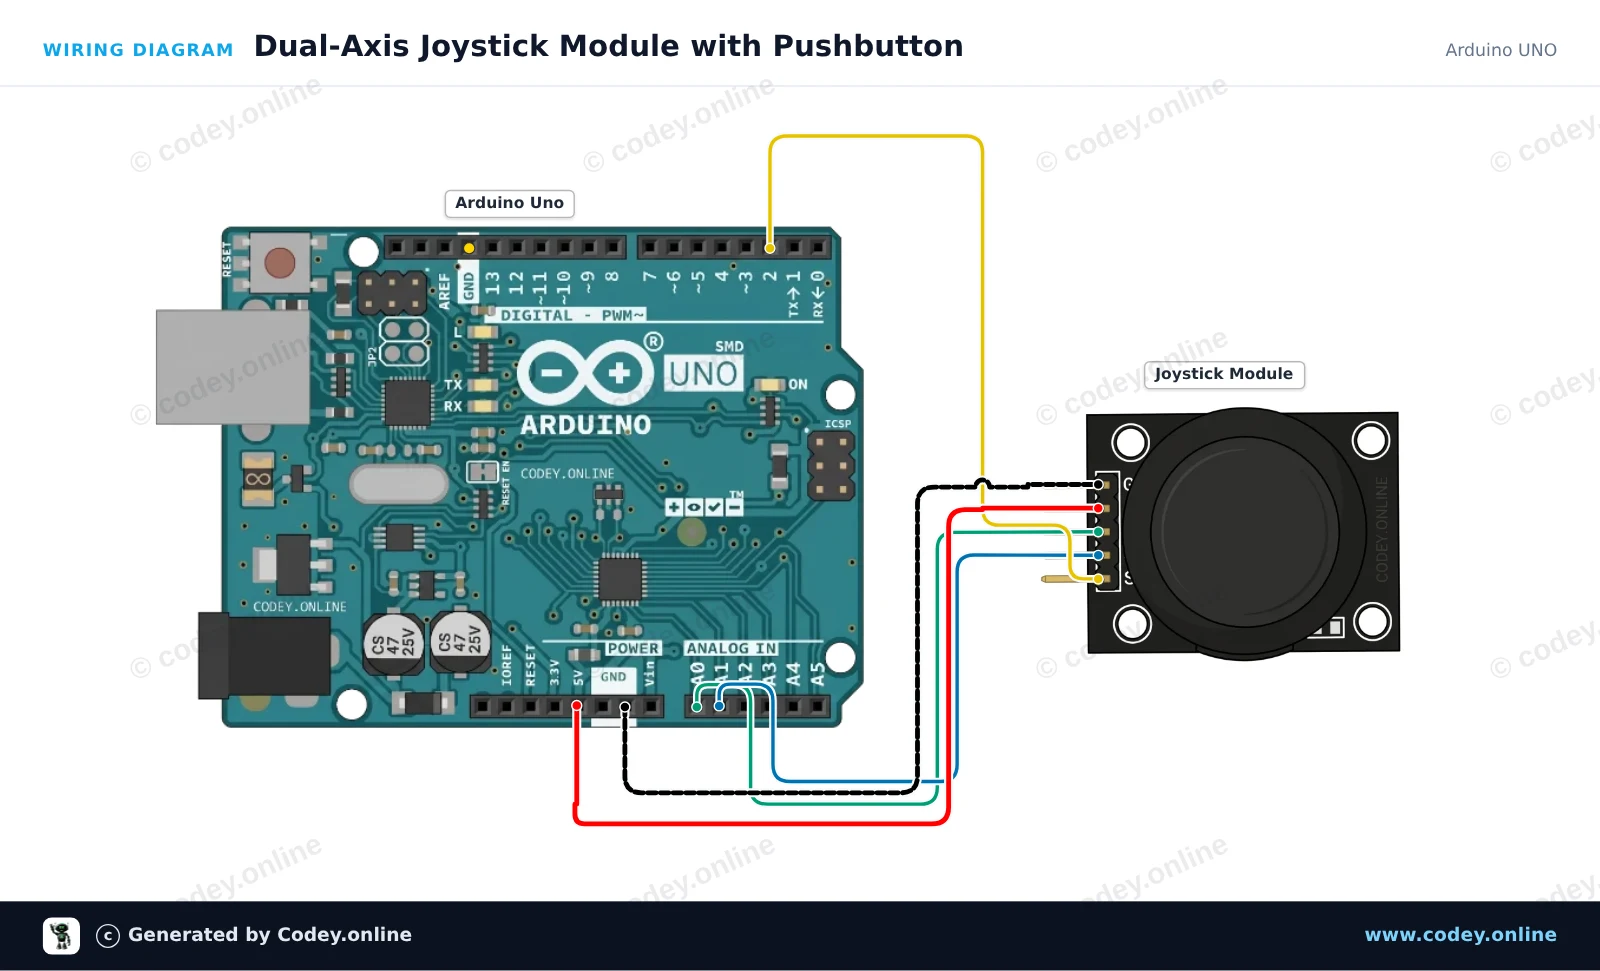
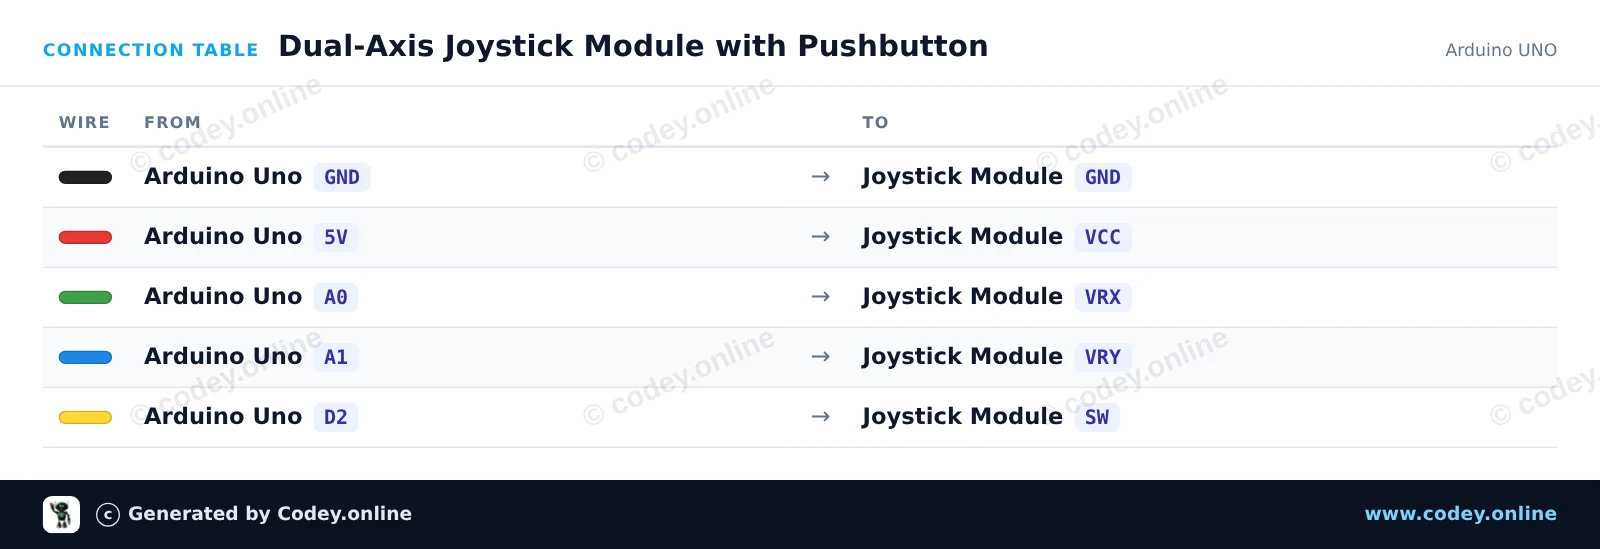
Ето как да свържеш Джойстик модул към Arduino UNO или ESP32, с примерен sketch, който можеш да качиш веднага.
Този пример чете аналоговите позиции на осите X и Y, както и вградения бутон на модула joystick. Преместете стика или го натиснете надолу, за да видите в реално време стойностите на позицията и състоянието на бутона в Serial Monitor.
/*
* ==================================================================
* Generated by Codey.online — https://www.codey.online
* ==================================================================
* Project : Dual-Axis Joystick Module with Pushbutton
* Board : Arduino UNO (arduino:avr:uno)
* Parts : Joystick module
* Libraries : none (built-in)
*
* Codey Online is an AI-powered browser IDE for Arduino and ESP32.
* Describe your project and Codey writes the code, draws the wiring
* diagram and uploads it to your board, straight from the browser.
* This code is free to use, modify and share, without warranty.
* ==================================================================
*/
// Pin definitions
const int PIN_X = A0;
const int PIN_Y = A1;
const int PIN_SW = 2;
void setup() {
// Enable internal pull-up resistor for the integrated pushbutton
pinMode(PIN_SW, INPUT_PULLUP);
Serial.begin(115200);
Serial.println(F("Joystick Module Demo"));
Serial.println(F("--------------------"));
}
void loop() {
// Read analog values for X and Y axes (range: 0 - 1023)
int xVal = analogRead(PIN_X);
int yVal = analogRead(PIN_Y);
// Button is active-low (reads LOW when pressed)
bool isPressed = (digitalRead(PIN_SW) == LOW);
// Print the results to Serial Monitor
Serial.print(F("X: "));
Serial.print(xVal);
Serial.print(F(" | Y: "));
Serial.print(yVal);
Serial.print(F(" | Button: "));
Serial.println(isPressed ? F("PRESSED") : F("RELEASED"));
delay(150);
}
Wiring diagram and example code generated by Codey.online — https://www.codey.online
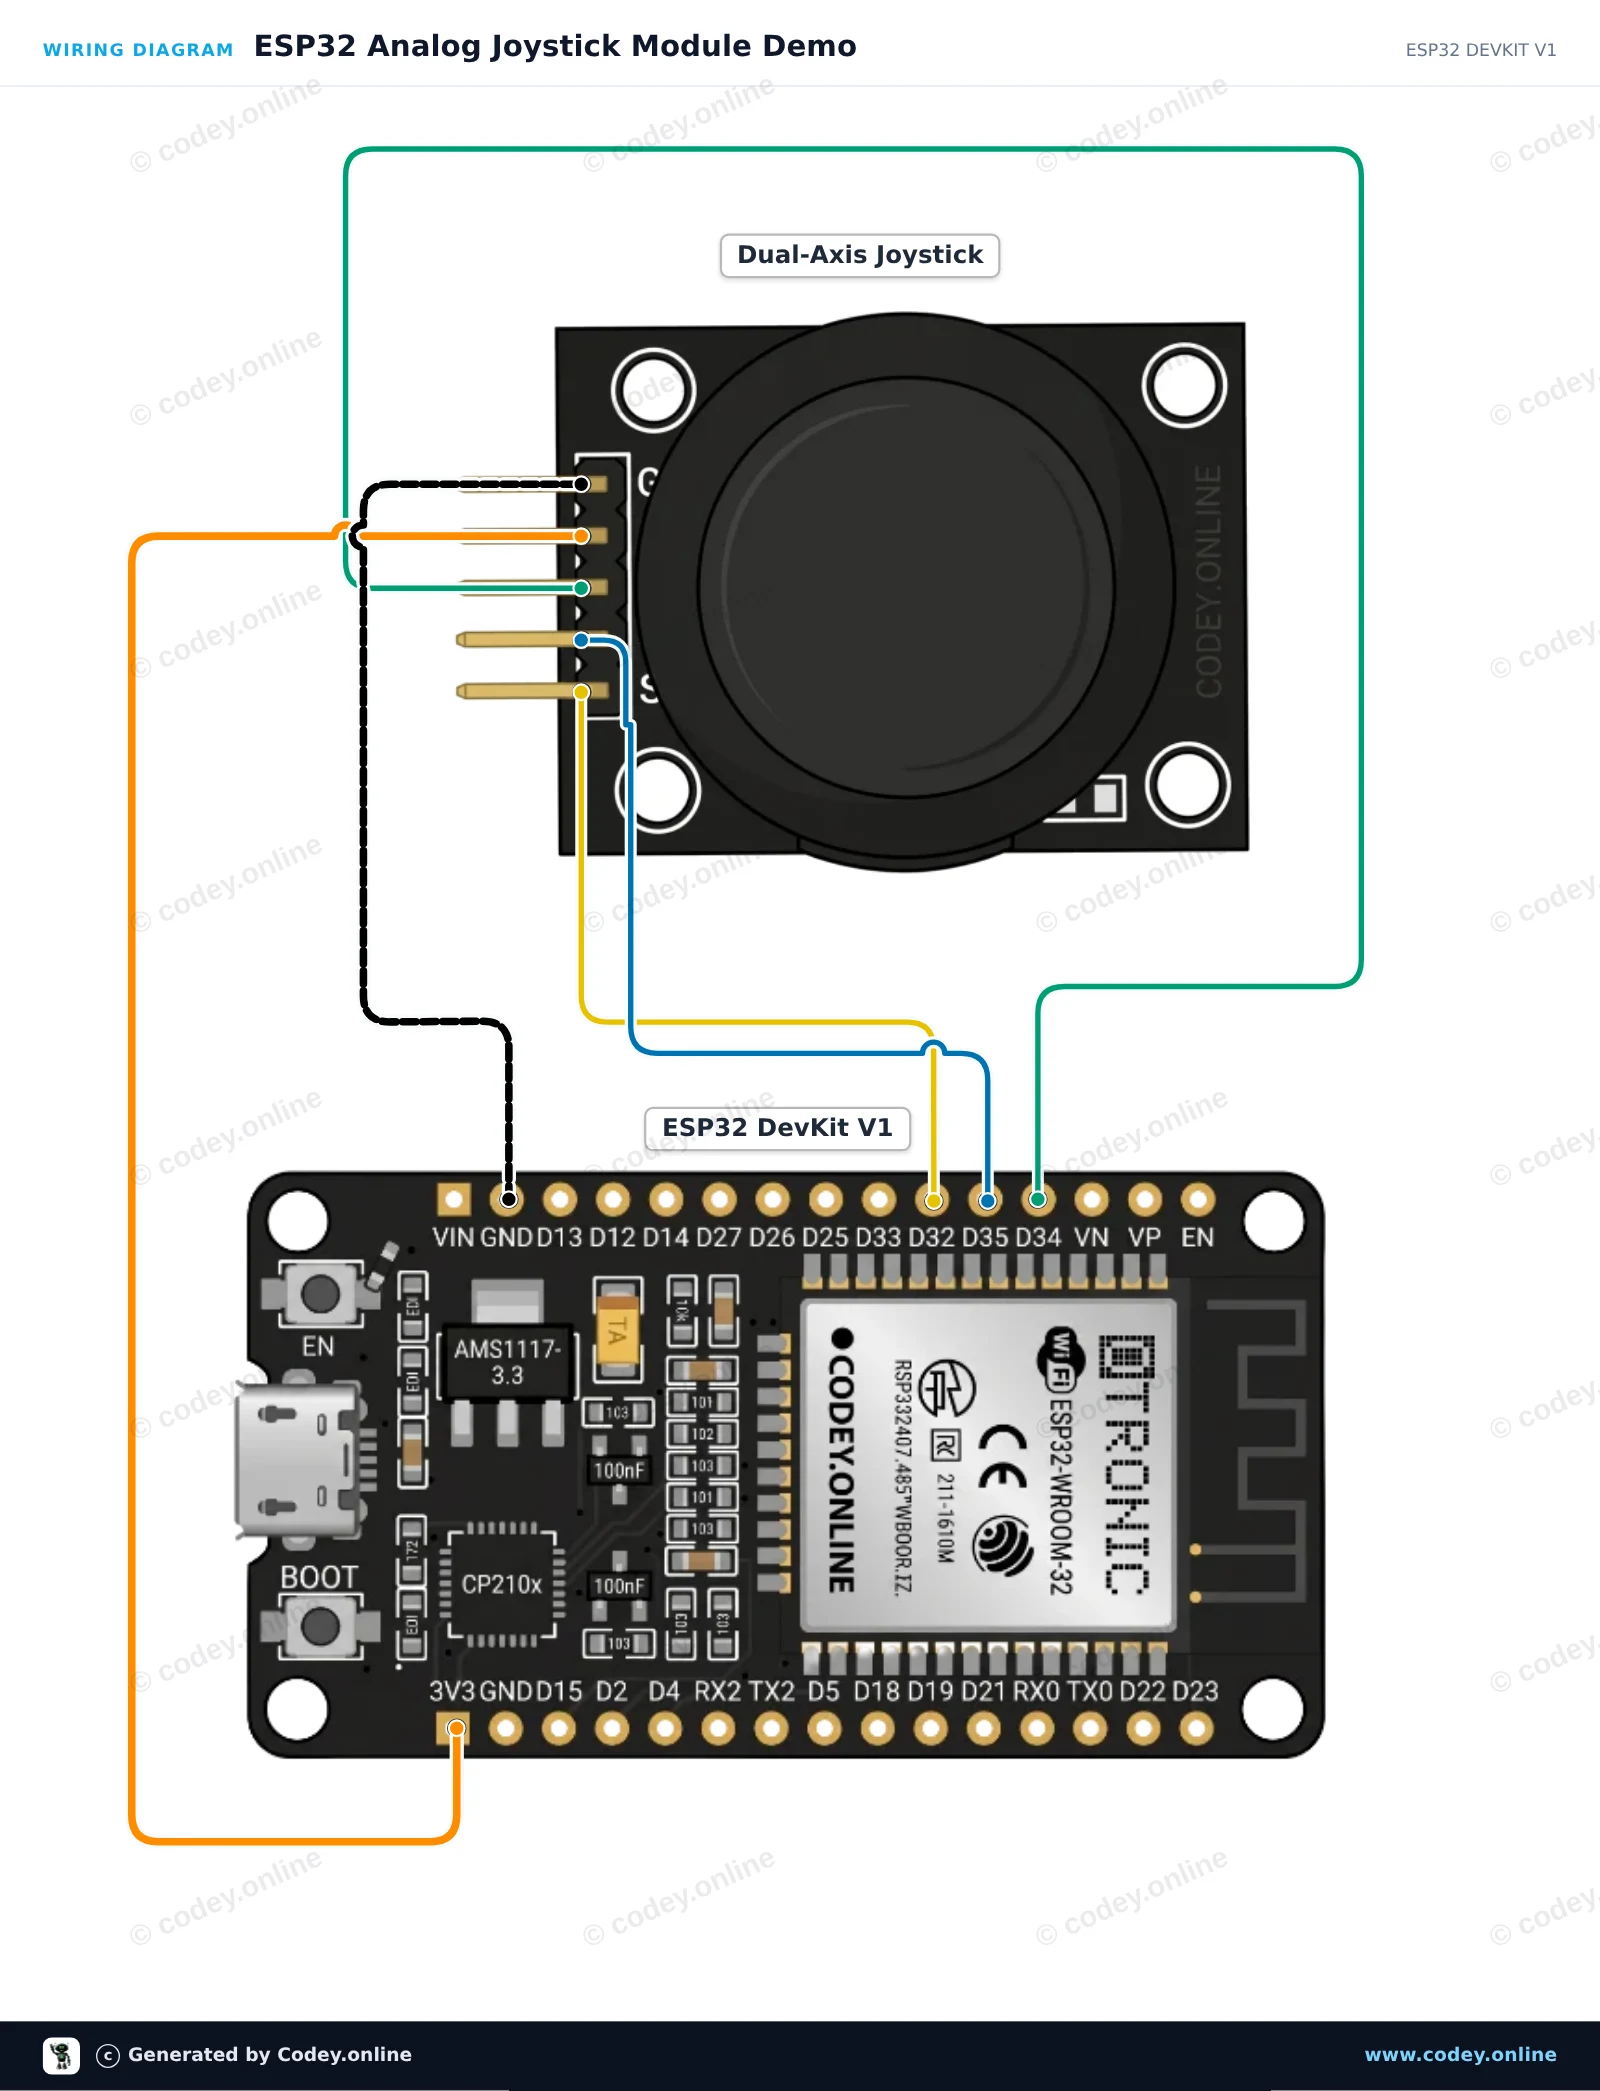
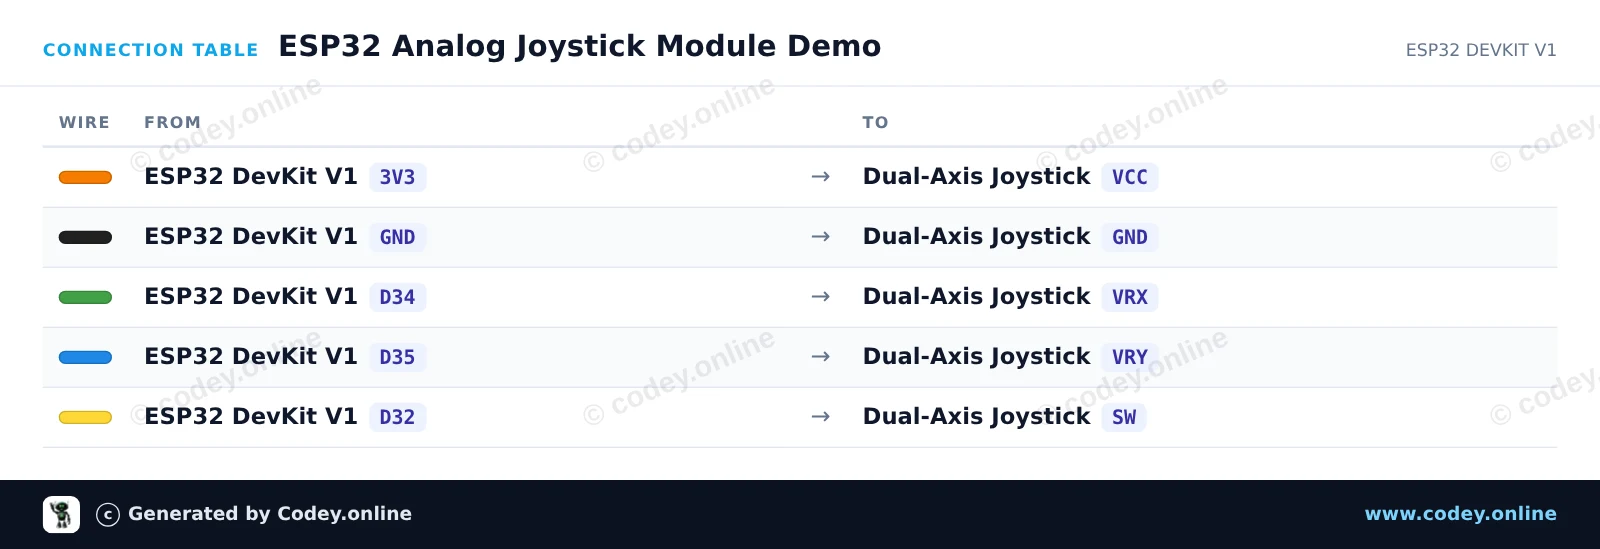
Този проект отчита позициите X и Y, както и състоянието на вграденото бутонче от аналогов модул за джойстик с две оси. ESP32 чете аналоговите напрежения през GPIO 34 и 35, а състоянието на бутона през GPIO 32. Отворете Serial Monitor на 115200 baud, за да виждате координатите на джойстика и натисканията на бутона в реално време.
/*
* ==================================================================
* Generated by Codey.online — https://www.codey.online
* ==================================================================
* Project : ESP32 Analog Joystick Module Demo
* Board : ESP32 DEVKIT V1 (esp32:esp32:esp32doit-devkit-v1)
* Parts : Joystick module
* Libraries : none (built-in)
*
* Codey Online is an AI-powered browser IDE for Arduino and ESP32.
* Describe your project and Codey writes the code, draws the wiring
* diagram and uploads it to your board, straight from the browser.
* This code is free to use, modify and share, without warranty.
* ==================================================================
*/
// Pin definitions (using bare GPIO numbers for ESP32)
const int pinVRX = 34;
const int pinVRY = 35;
const int pinSW = 32;
void setup() {
Serial.begin(115200);
// Configure push-button pin with internal pull-up
pinMode(pinSW, INPUT_PULLUP);
}
void loop() {
// Read analog values from joystick potentiometers (0 - 4095 on ESP32)
int xVal = analogRead(pinVRX);
int yVal = analogRead(pinVRY);
// Read digital state of the integrated switch (LOW when pressed)
bool isPressed = (digitalRead(pinSW) == LOW);
// Print the readings to the Serial Monitor
Serial.print("X: ");
Serial.print(xVal);
Serial.print(" | Y: ");
Serial.print(yVal);
Serial.print(" | Button: ");
Serial.println(isPressed ? "PRESSED" : "RELEASED");
delay(100);
}
Wiring diagram and example code generated by Codey.online — https://www.codey.online
С тази платка X- и Y-позицията на джойстика може да се извежда като аналогово напрежение на изходните пинове. Подходяща за проекти с Arduino, Raspberry Pi, ESP8266 или ESP32.
вижте тук схемата на свързване и примерния код >>>
Модулът може да бъде запоен или използван на breadboard.
Диапазон на напрежение: 0 - 5 V
Работно напрежение: 3,3 - 5V
Размери: 34 x 39 x 26 mm

| Размери | 34 x 39 x 26 mm |
|---|---|
| Работно напрежение | 3.3/5V |
| Подходящ за | Arduino, Raspberry Pi, ESP8266, ESP32 |
Все още няма отзиви.
Джойстик модул