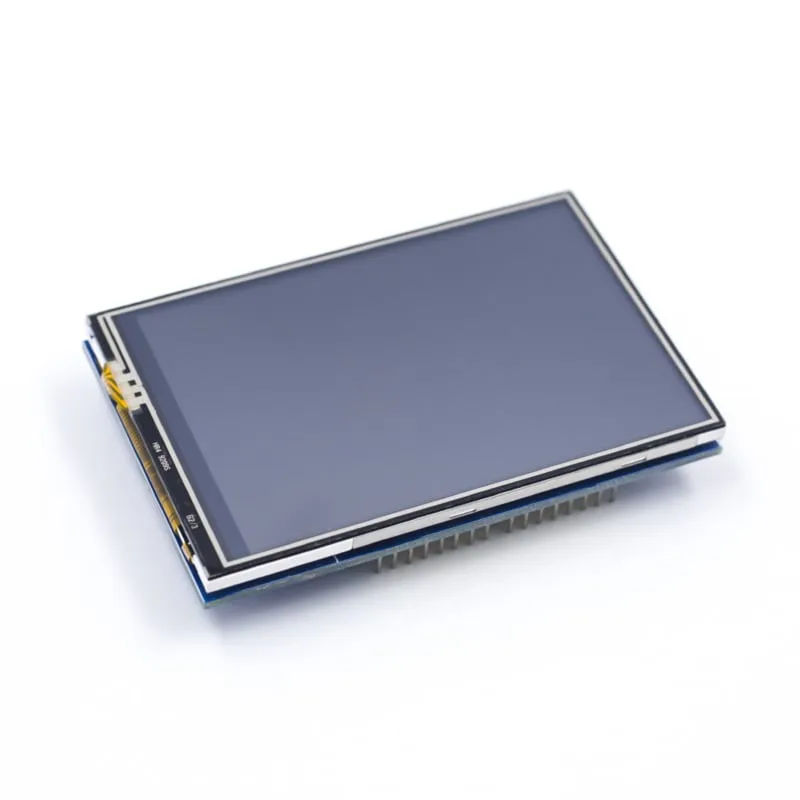
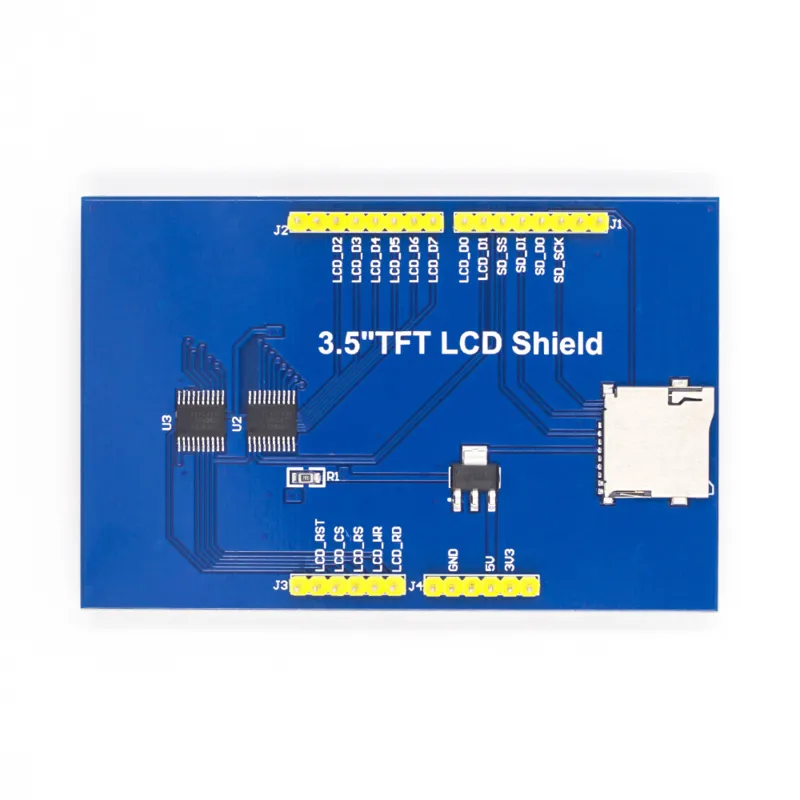
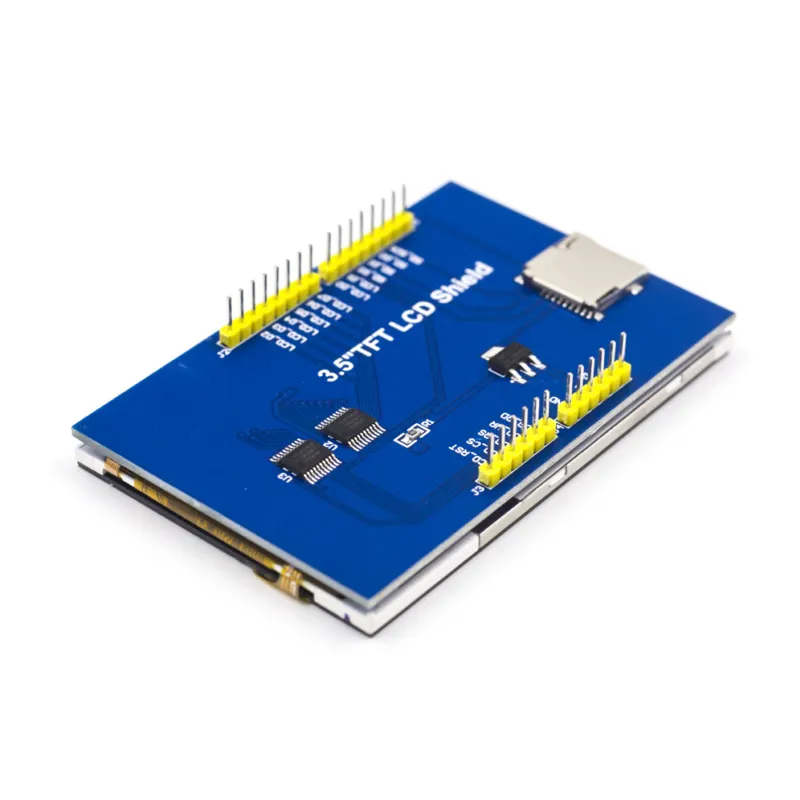
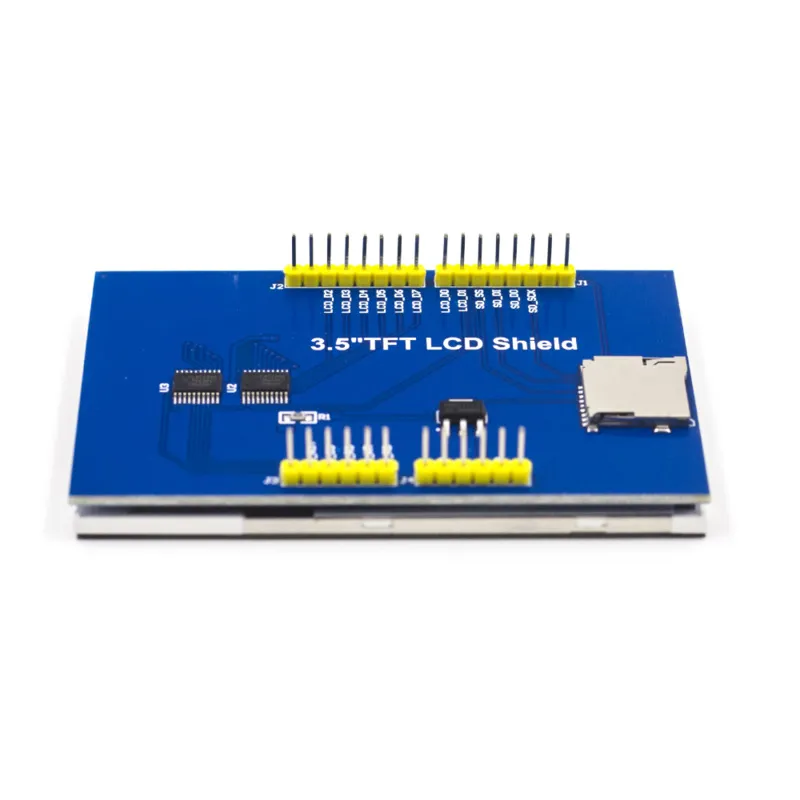
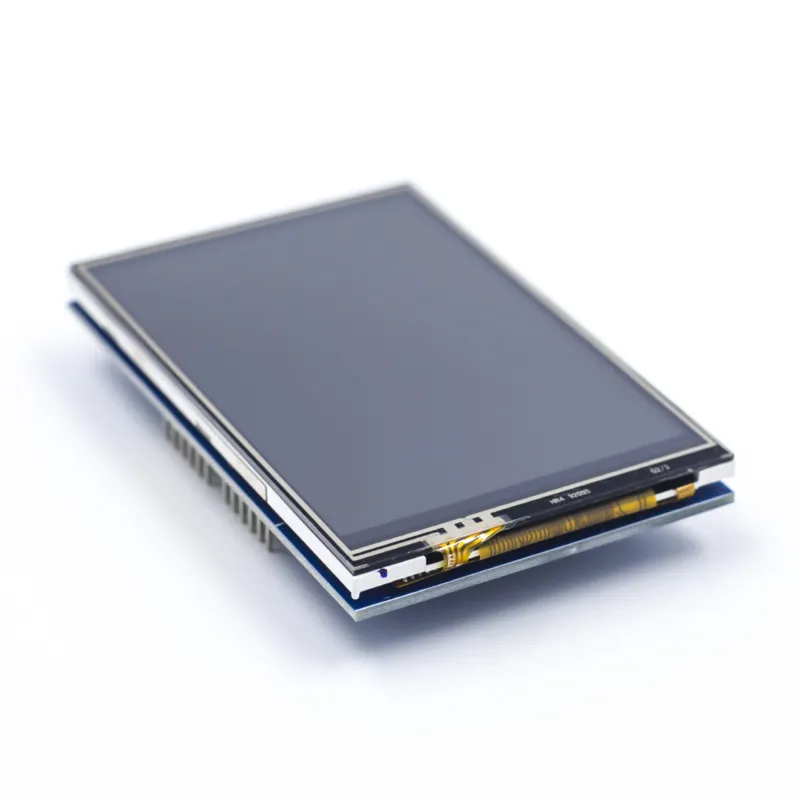
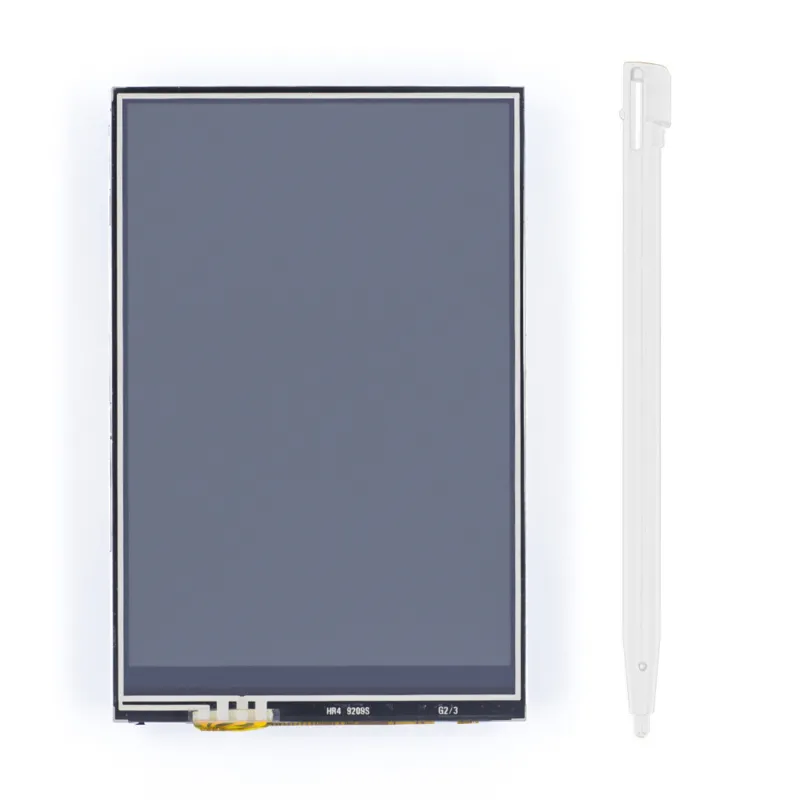
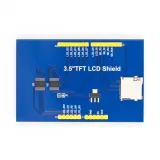
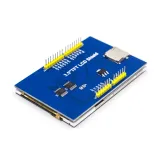
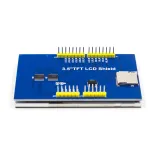
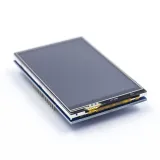
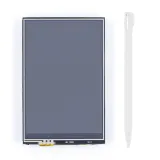
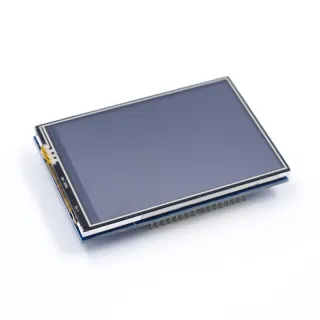
3,5-инчов сензорен shield за Arduino UNO и Mega 2560 с резолюция 480x320.
SKU: OT2372-B14 Артикулен номер: AA299 EAN: 8718486678140 Местоположение: B01.04
Алтернатива
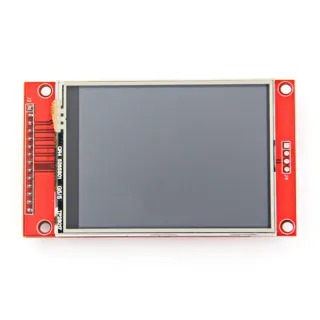
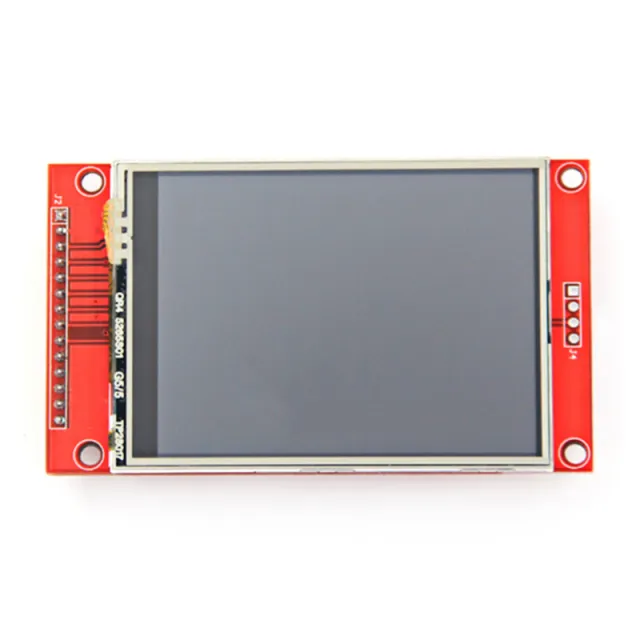
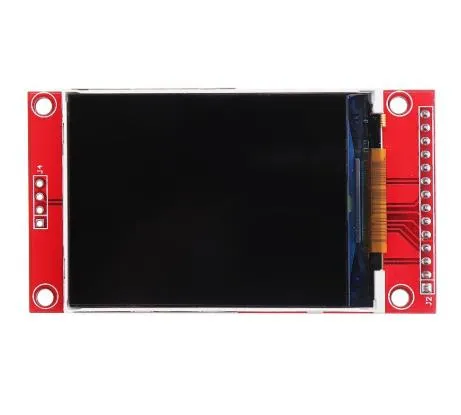
2.8inch TFT сензорен екран 320x240 ILI9341 SPI
€ 15,05
Виж тази алтернатива
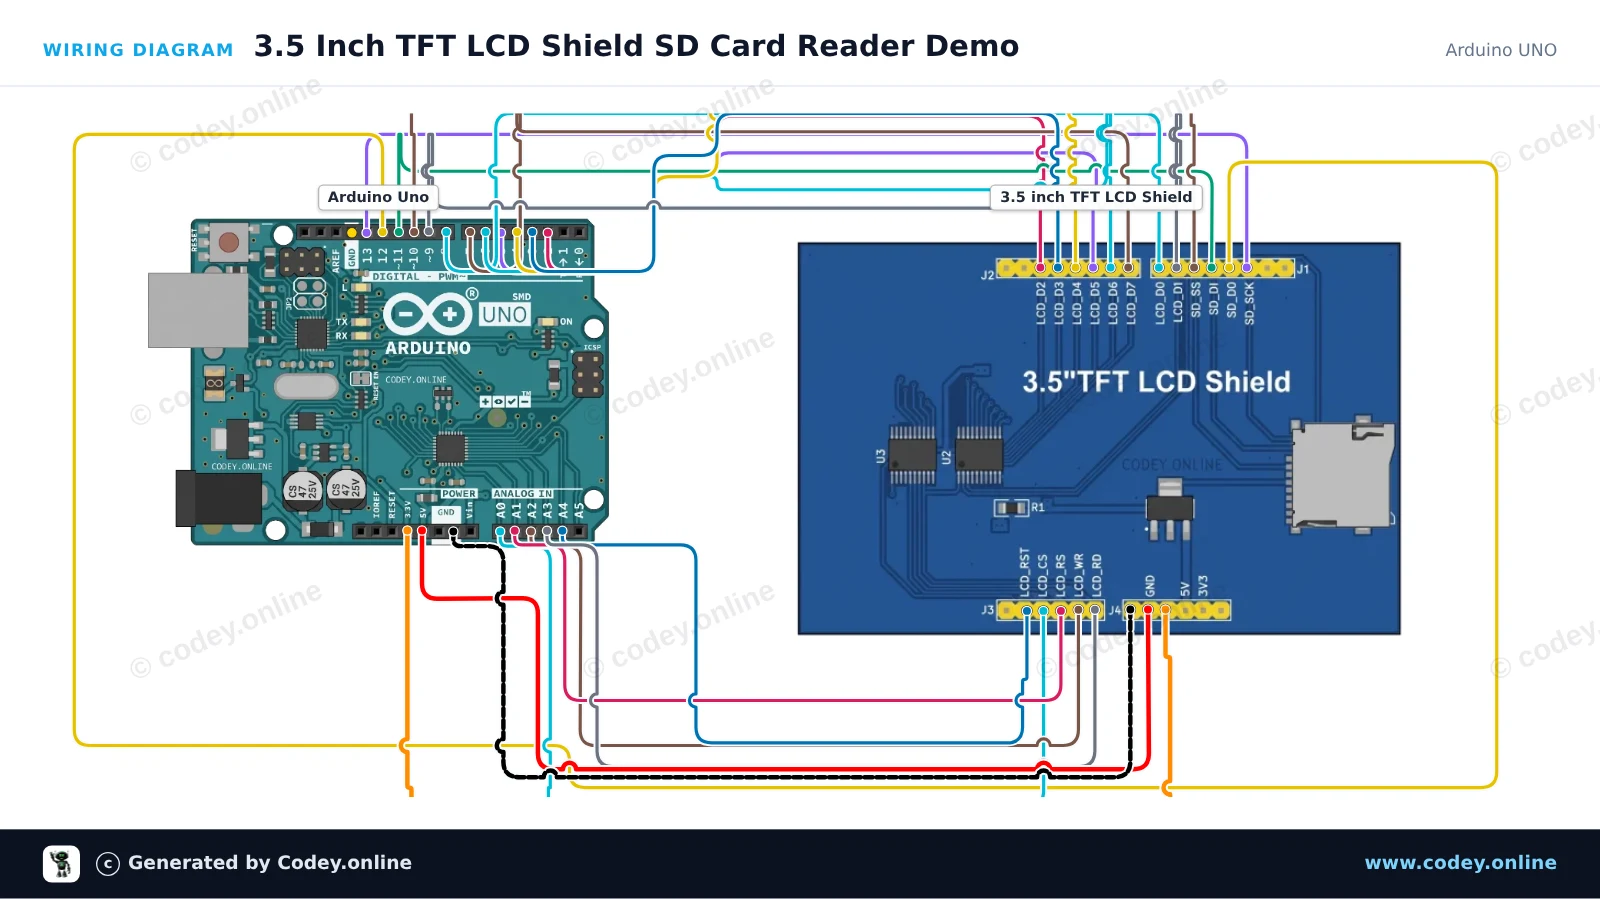
Ето как да свържеш 3.5 inch Touch screen TFT shield за Arduino UNO и Mega към Arduino UNO или ESP32, с примерен sketch, който можеш да качиш веднага.
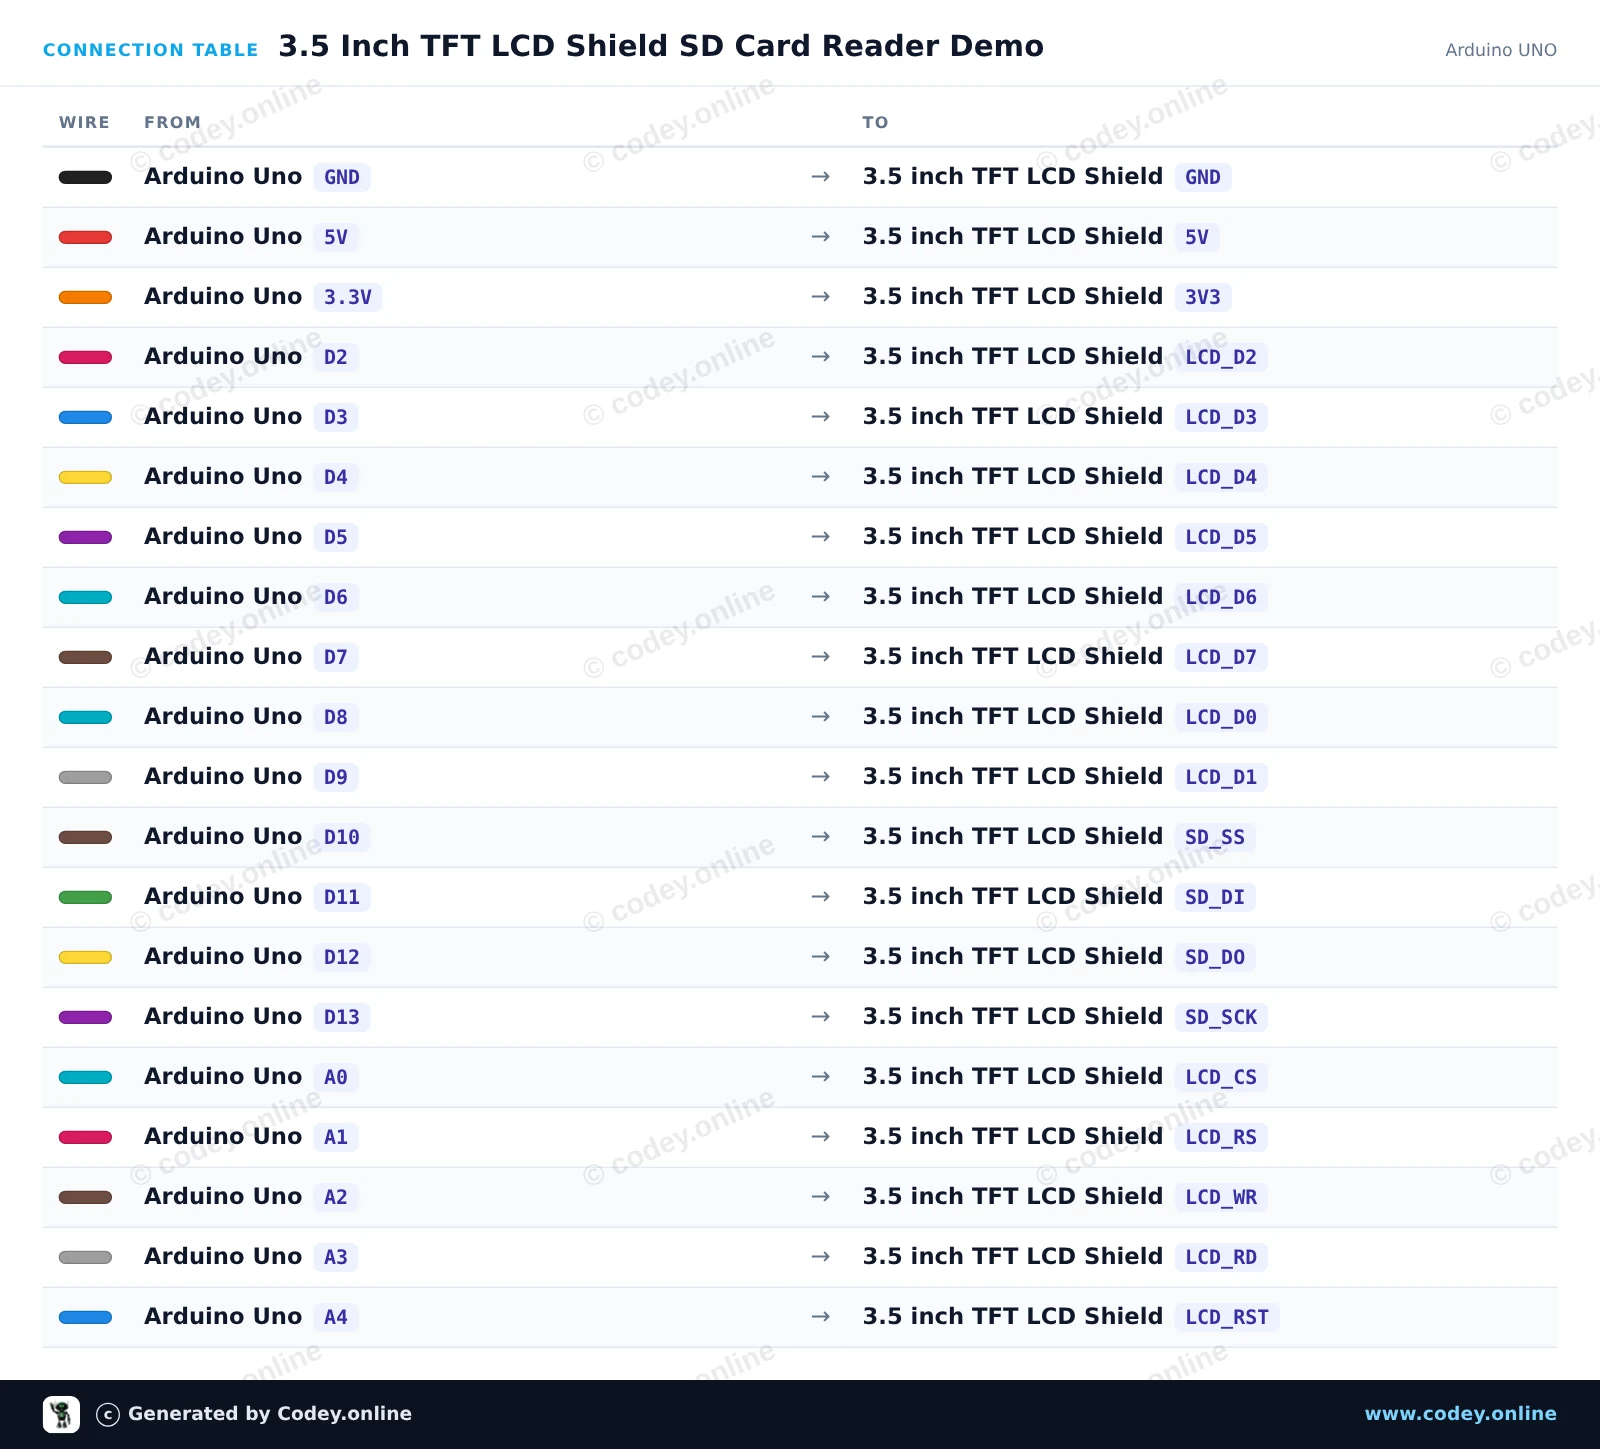
Този проект демонстрира вграденото MicroSD интерфейсно решение на 3.5-inch TFT LCD Shield, монтирано директно върху Arduino Uno. Sketch-ът инициализира SD картата чрез SPI (използвайки CS pin 10), записва лог файл с времева маркировка и прочита съдържанието обратно в Serial Monitor при 115200 baud.
/*
* ==================================================================
* Generated by Codey.online — https://www.codey.online
* ==================================================================
* Project : 3.5 Inch TFT LCD Shield SD Card Reader Demo
* Board : Arduino UNO (arduino:avr:uno)
* Parts : 3.5 inch TFT LCD Shield
* Libraries : none (built-in)
*
* Codey Online is an AI-powered browser IDE for Arduino and ESP32.
* Describe your project and Codey writes the code, draws the wiring
* diagram and uploads it to your board, straight from the browser.
* This code is free to use, modify and share, without warranty.
* ==================================================================
*/
#include <SPI.h>
#include <SD.h>
const int chipSelect = 10;
void setup() {
Serial.begin(115200);
while (!Serial) {
; // Wait for serial port to connect
}
Serial.println(F("--- 3.5\" TFT Shield SD Card Demo ---"));
Serial.print(F("Initializing SD card on pin 10..."));
if (!SD.begin(chipSelect)) {
Serial.println(F(" FAILED!"));
Serial.println(F("Please check that a FAT16/FAT32 formatted microSD card is inserted."));
return;
}
Serial.println(F(" OK!"));
// Write sample data to test.txt
File myFile = SD.open("test.txt", FILE_WRITE);
if (myFile) {
Serial.println(F("Writing to test.txt..."));
myFile.println(F("Hello from Arduino Uno and 3.5 inch TFT Shield!"));
myFile.println(F("MicroSD storage test successful."));
myFile.close();
Serial.println(F("Done writing."));
} else {
Serial.println(F("Error opening test.txt for writing."));
}
// Read back the data
myFile = SD.open("test.txt");
if (myFile) {
Serial.println(F("--- File contents:"));
while (myFile.available()) {
Serial.write(myFile.read());
}
myFile.close();
Serial.println(F("--- End of file"));
} else {
Serial.println(F("Error opening test.txt for reading."));
}
}
void loop() {
// Nothing to do in loop
delay(1000);
}
Wiring diagram and example code generated by Codey.online — https://www.codey.online
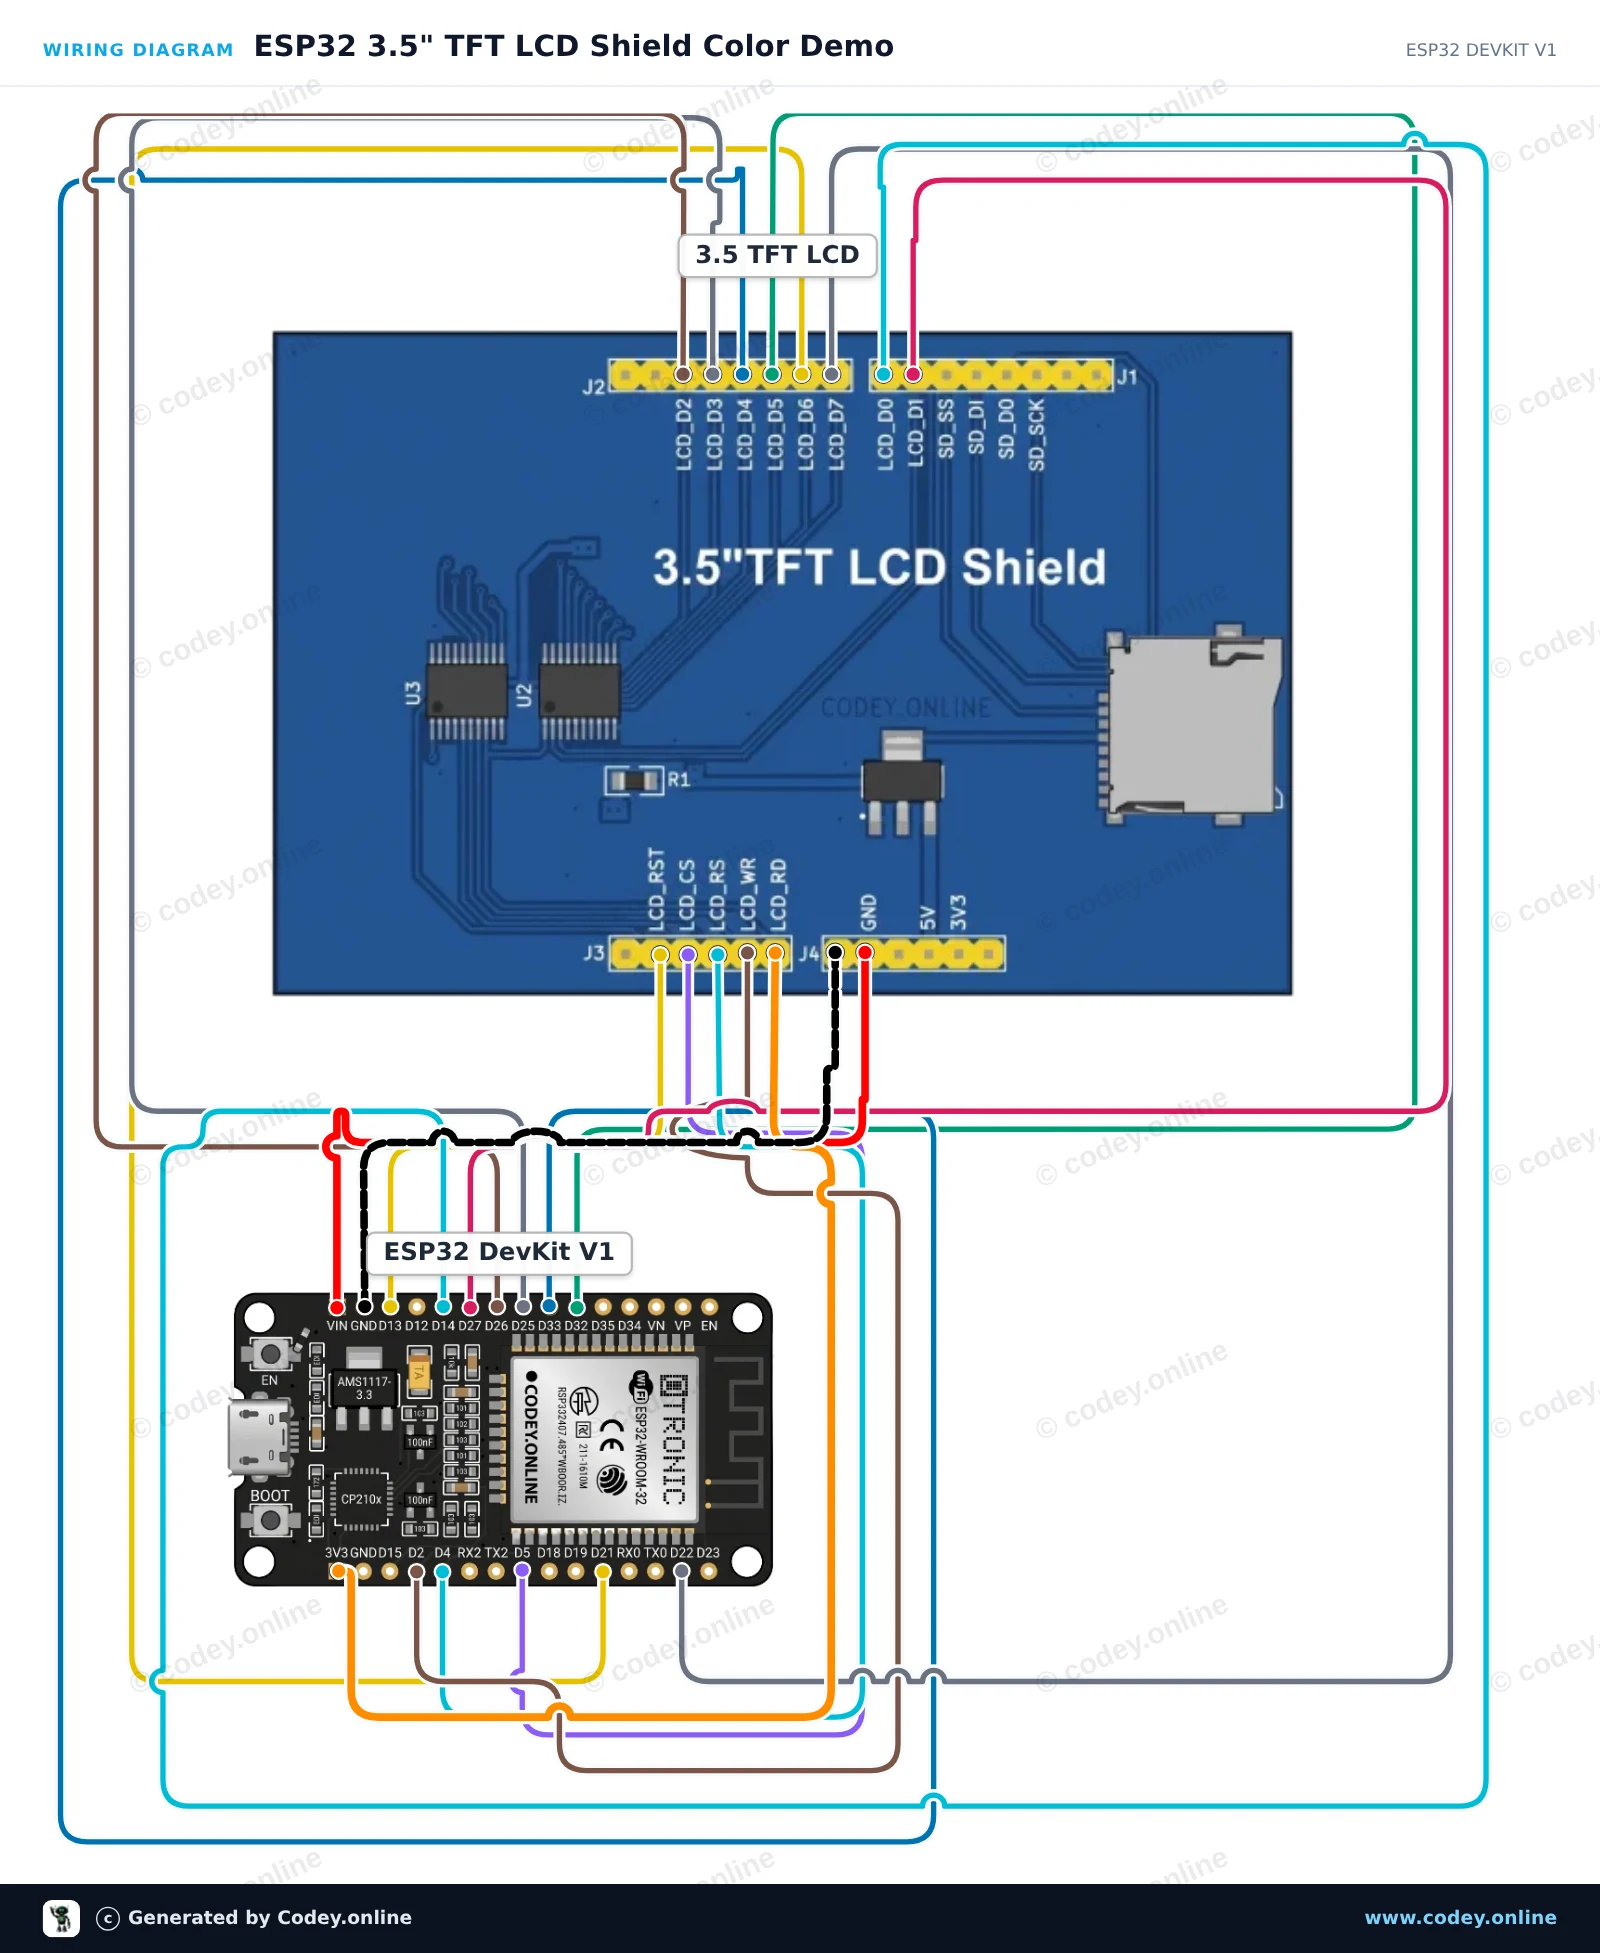
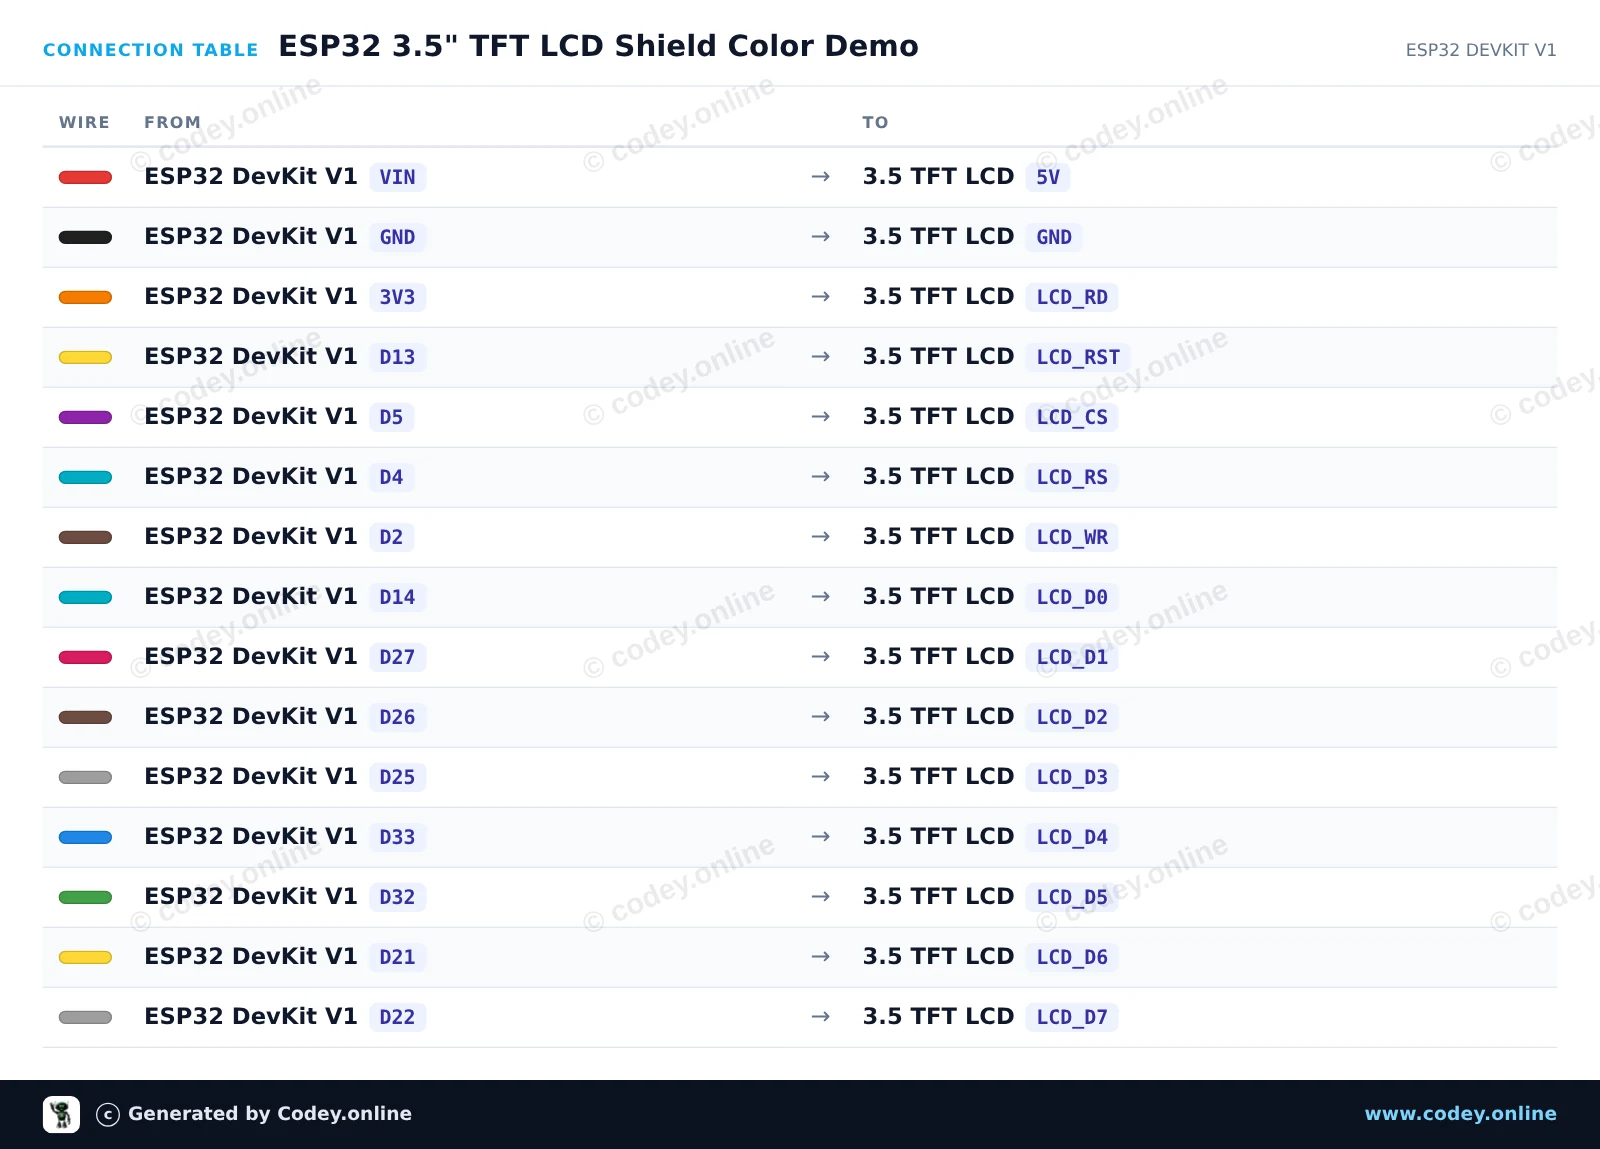
Този проект свързва 3,5-инчов паралелен TFT LCD shield към ESP32 и сменя фоновите цветове. Използва директна 8-битова паралелна GPIO комуникация за нулиране, инициализиране и изчертаване на цветни полета на дисплея.
/*
* ==================================================================
* Generated by Codey.online — https://www.codey.online
* ==================================================================
* Project : ESP32 3.5" TFT LCD Shield Color Demo
* Board : ESP32 DEVKIT V1 (esp32:esp32:esp32doit-devkit-v1)
* Parts : 3.5 inch TFT LCD Shield
* Libraries : none (built-in)
*
* Codey Online is an AI-powered browser IDE for Arduino and ESP32.
* Describe your project and Codey writes the code, draws the wiring
* diagram and uploads it to your board, straight from the browser.
* This code is free to use, modify and share, without warranty.
* ==================================================================
*/
// 3.5 inch TFT LCD 8-bit Parallel Demo for ESP32
const int PIN_RST = 13;
const int PIN_CS = 5;
const int PIN_RS = 4;
const int PIN_WR = 2;
// 8-bit data bus pins D0 to D7
const int DATA_PINS[8] = {14, 27, 26, 25, 33, 32, 21, 22};
void writeBus(uint8_t val) {
for (int i = 0; i < 8; i++) {
digitalWrite(DATA_PINS[i], (val >> i) & 0x01);
}
digitalWrite(PIN_WR, LOW);
digitalWrite(PIN_WR, HIGH);
}
void writeCommand(uint8_t cmd) {
digitalWrite(PIN_RS, LOW);
writeBus(cmd);
}
void writeData(uint8_t data) {
digitalWrite(PIN_RS, HIGH);
writeBus(data);
}
void setWindow(uint16_t x0, uint16_t y0, uint16_t x1, uint16_t y1) {
writeCommand(0x2A); // Column addr
writeData(x0 >> 8);
writeData(x0 & 0xFF);
writeData(x1 >> 8);
writeData(x1 & 0xFF);
writeCommand(0x2B); // Row addr
writeData(y0 >> 8);
writeData(y0 & 0xFF);
writeData(y1 >> 8);
writeData(y1 & 0xFF);
writeCommand(0x2C); // Memory write
}
void fillScreen(uint16_t color) {
setWindow(0, 0, 319, 479);
digitalWrite(PIN_RS, HIGH);
uint8_t hi = color >> 8;
uint8_t lo = color & 0xFF;
for (uint32_t i = 0; i < (320UL * 480UL); i++) {
writeBus(hi);
writeBus(lo);
}
}
void initLCD() {
digitalWrite(PIN_CS, LOW);
digitalWrite(PIN_RST, HIGH);
delay(10);
digitalWrite(PIN_RST, LOW);
delay(20);
digitalWrite(PIN_RST, HIGH);
delay(120);
writeCommand(0x11); // Sleep OUT
delay(120);
writeCommand(0x3A); // Pixel format
writeData(0x55); // 16-bit color
writeCommand(0x29); // Display ON
delay(50);
}
void setup() {
Serial.begin(115200);
Serial.println("Starting 3.5-inch TFT LCD demo...");
pinMode(PIN_RST, OUTPUT);
pinMode(PIN_CS, OUTPUT);
pinMode(PIN_RS, OUTPUT);
pinMode(PIN_WR, OUTPUT);
digitalWrite(PIN_CS, HIGH);
digitalWrite(PIN_WR, HIGH);
digitalWrite(PIN_RS, HIGH);
for (int i = 0; i < 8; i++) {
pinMode(DATA_PINS[i], OUTPUT);
}
initLCD();
Serial.println("Display initialized!");
}
void loop() {
Serial.println("Color: RED");
fillScreen(0xF800);
delay(1000);
Serial.println("Color: GREEN");
fillScreen(0x07E0);
delay(1000);
Serial.println("Color: BLUE");
fillScreen(0x001F);
delay(1000);
Serial.println("Color: WHITE");
fillScreen(0xFFFF);
delay(1000);
}
Wiring diagram and example code generated by Codey.online — https://www.codey.online
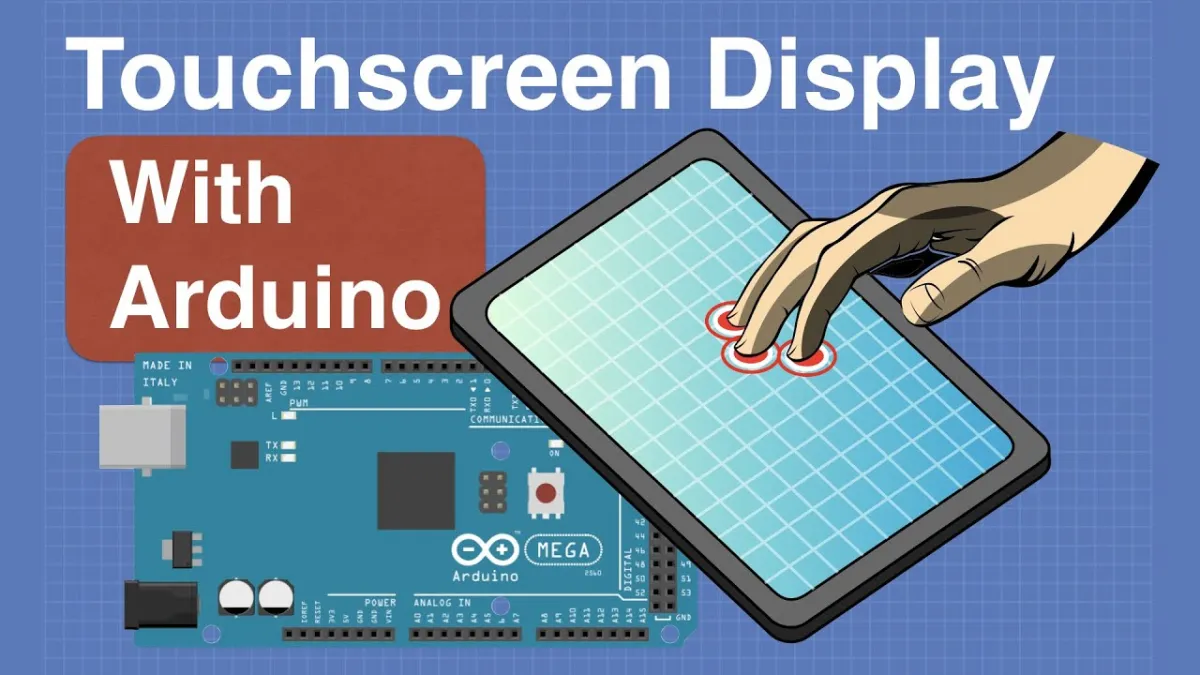
Този 3,5 inch touch screen shield може да бъде свързан директно към Arduino UNO и Arduino Mega 2560 и работи на базата на ili9486 library.
Резолюция: 480x320
Touchscreen: Да
MicrosSD-картов четец: Да
Изтеглете примерните sketches, за да започнете веднага с този TFT Touch screen shield на вашия UNO или MEGA.
Изтегляне на примерни sketches и libraries за Arduino
Размери
Дължина: 8,5cm
Ширина: 5,5cm
Височина: 0,7cm
| Ширина | 5,5 cm |
|---|---|
| Разделителна способност | 480 x 320 |
| Подходящ за | Arduino UNO |
| Дължина | 8,5cm |
| Височина | 0,7 cm |
Работи отлично. Работи по-лесно и по-надеждно без всички тези кабелчета и breadboard. И цената със сигурност не е твърде висока.
Вече съм купил около 8 броя, засега 3 са в употреба, работят отлично.
3.5 inch Touch screen TFT shield за Arduino UNO и Mega