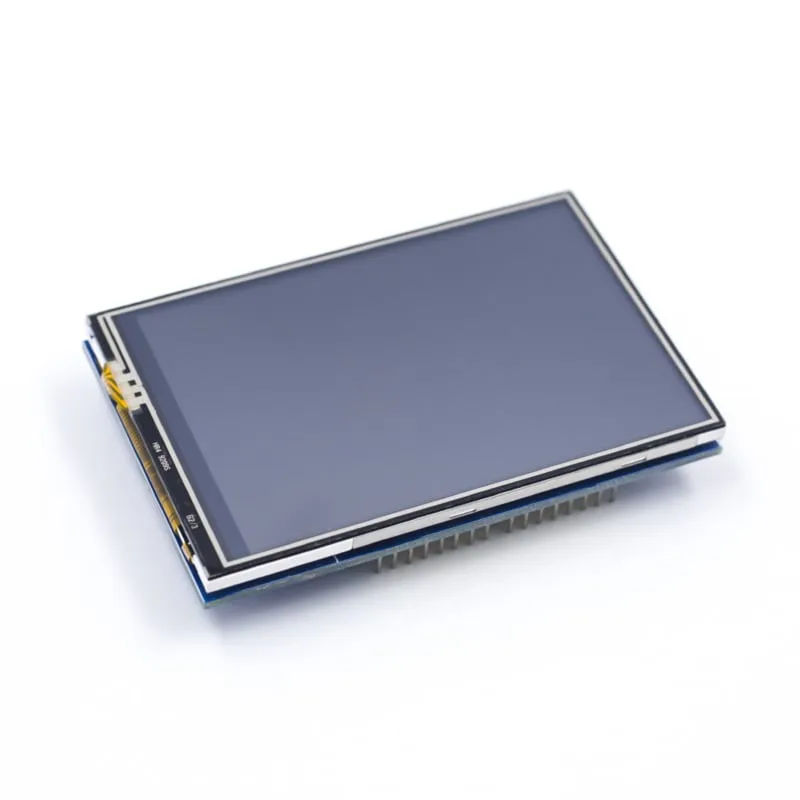
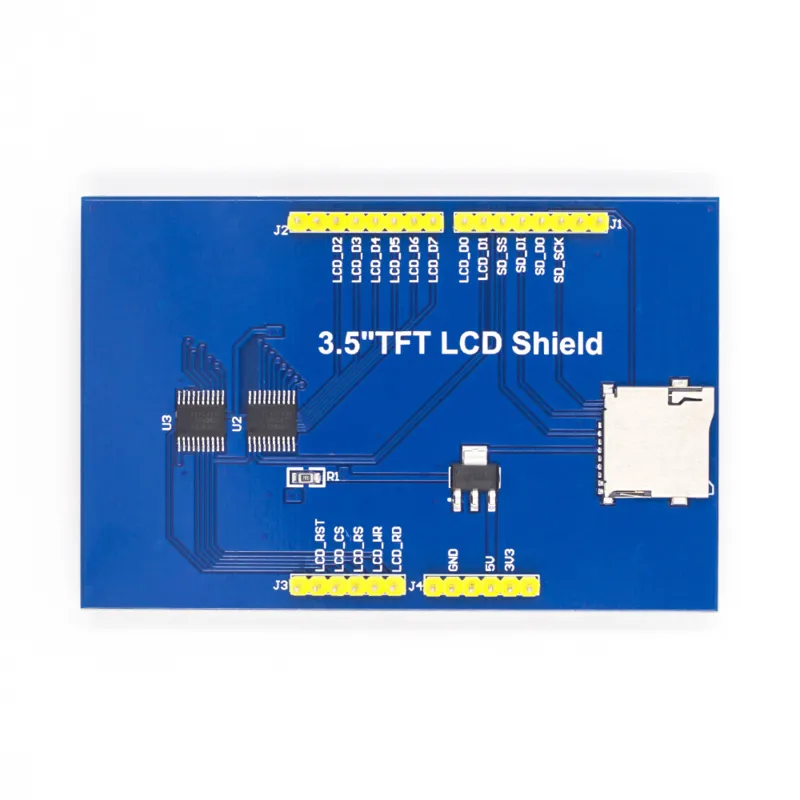
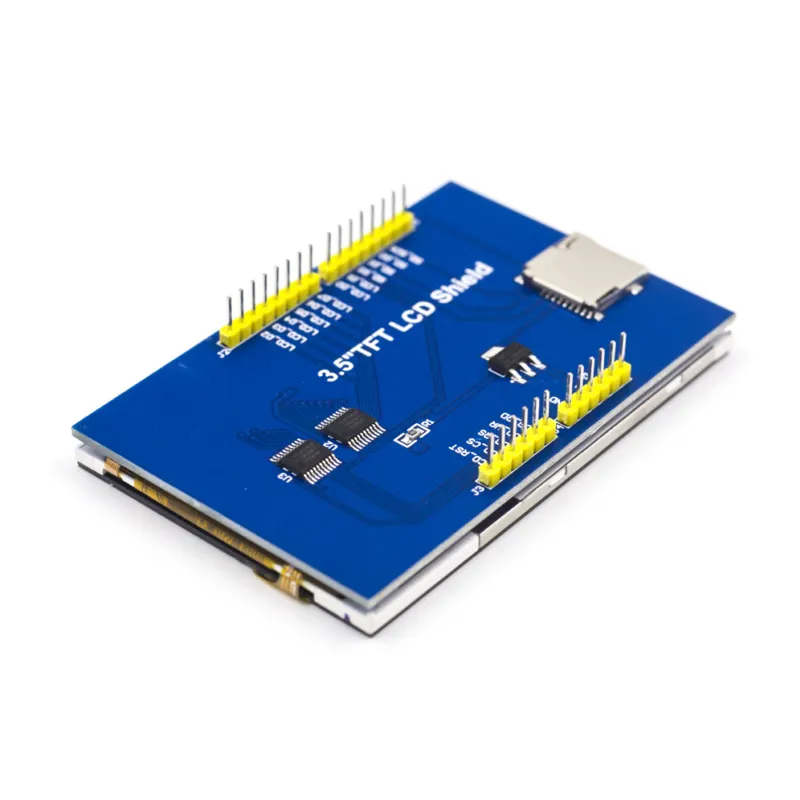
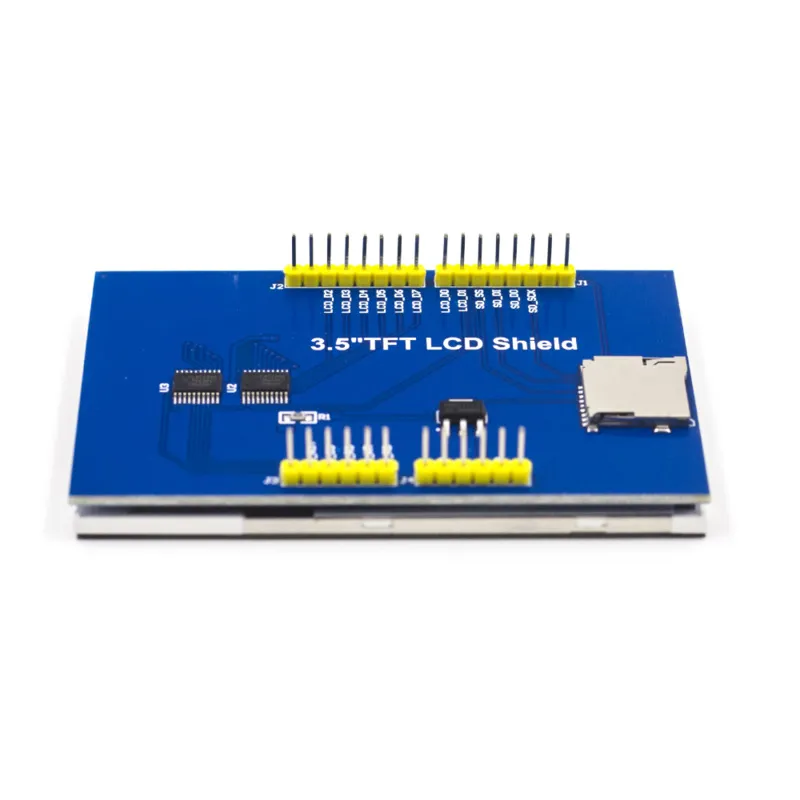
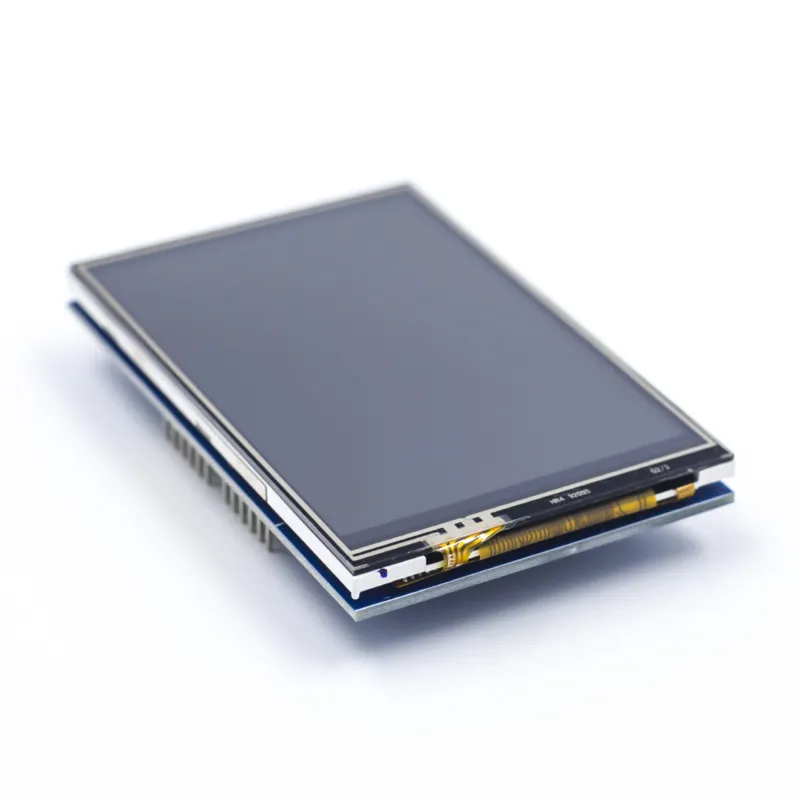
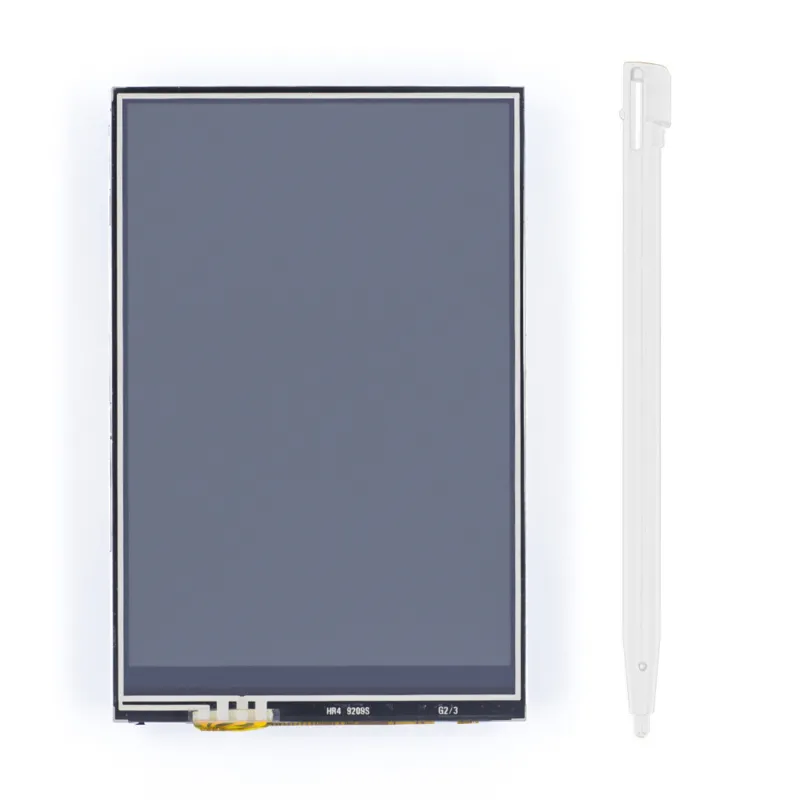
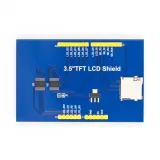
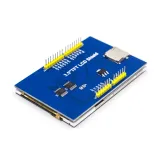
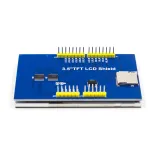
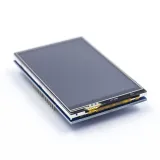
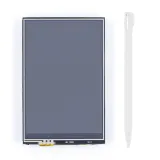
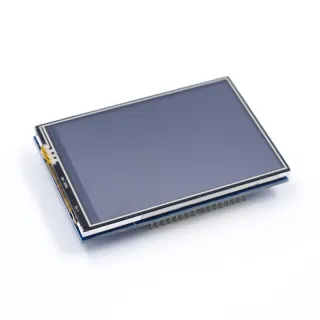
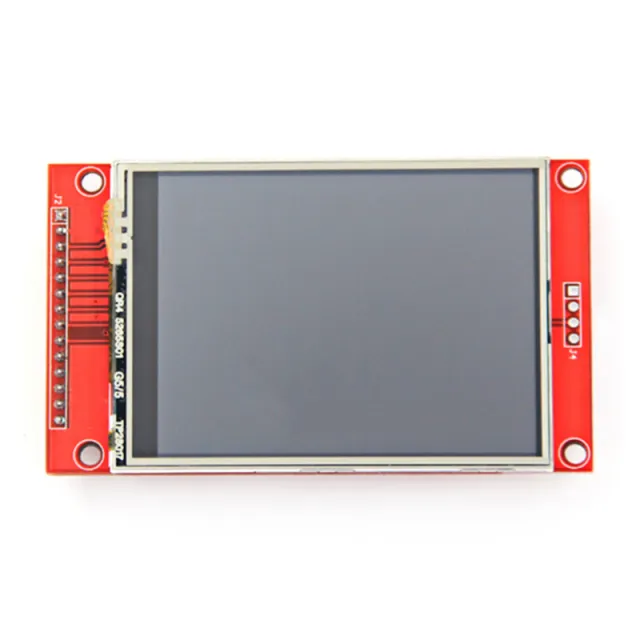
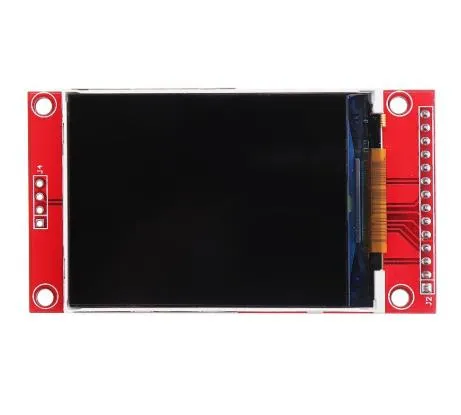
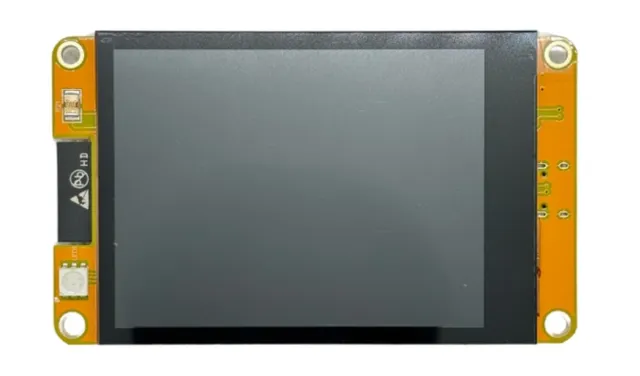
3,5 inch touchscreen shield voor Arduino UNO en Mega 2560 met resolutie 480x320.
SKU: OT2372-B14 Artikelnummer: AA299 EAN: 8718486678140 Locatie: B01.04
Alternatief
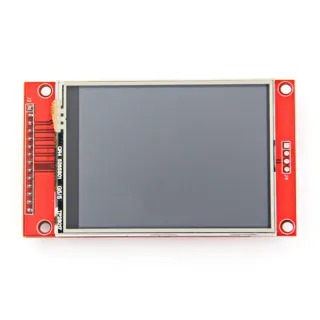
2.8inch TFT touch screen 320x240 ILI9341 SPI
€ 15,05
Bekijk dit alternatief
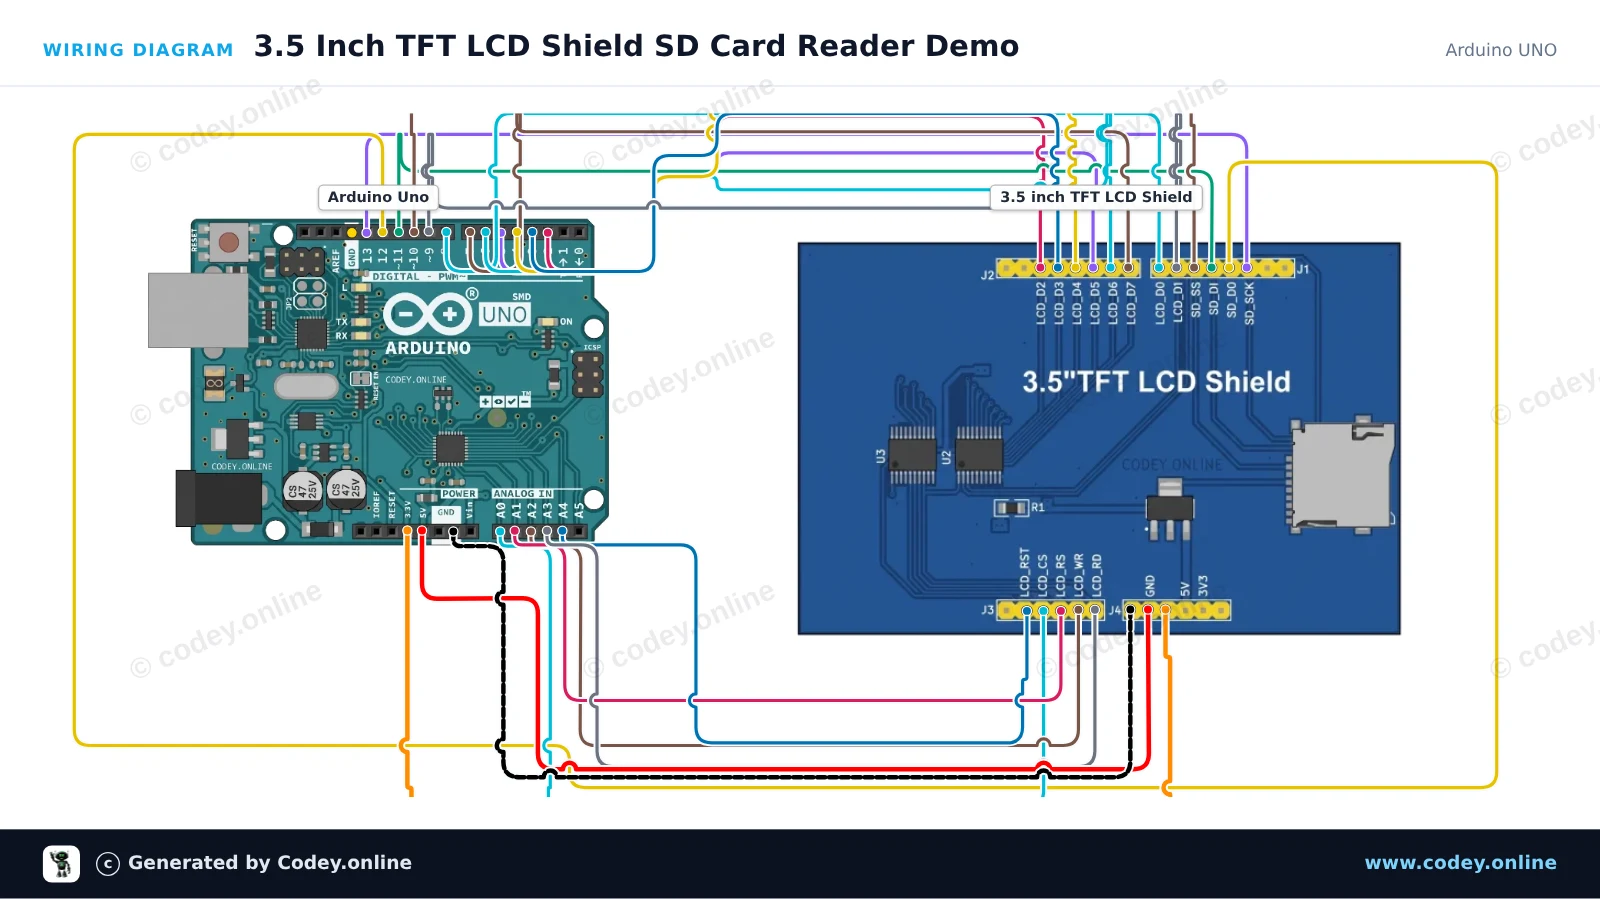
Zo sluit je de 3.5 inch Touch screen TFT shield voor Arduino UNO en Mega aan op een Arduino UNO of ESP32, met een voorbeeldsketch die je direct kunt uploaden.
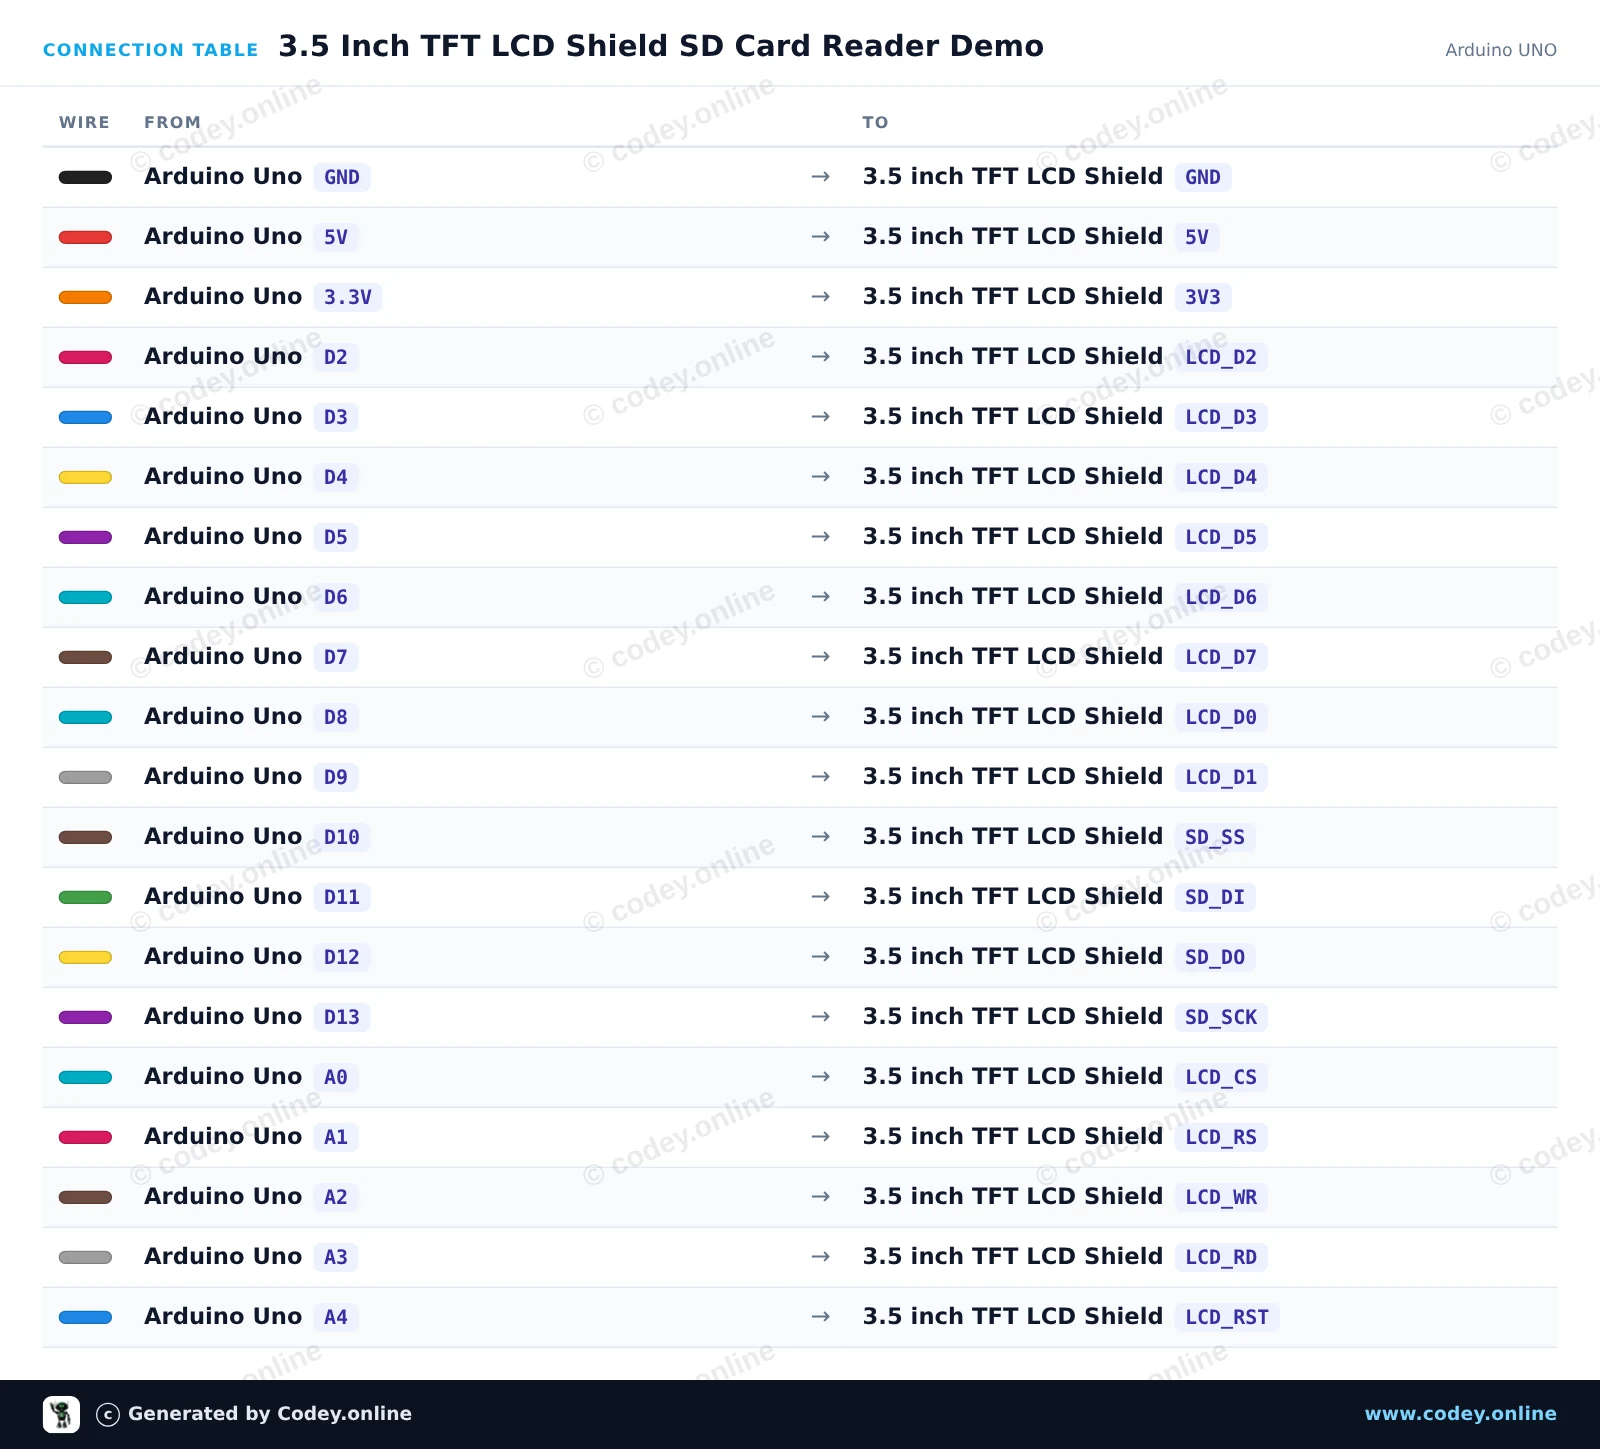
Dit project demonstreert de onboard MicroSD-kaartinterface van de 3.5-inch TFT LCD Shield, direct gemonteerd op een Arduino Uno. De sketch initialiseert de SD-kaart via SPI (met CS pin 10), schrijft een logbestand met tijdstempel en leest de inhoud terug in de Serial Monitor op 115200 baud.
/*
* ==================================================================
* Generated by Codey.online — https://www.codey.online
* ==================================================================
* Project : 3.5 Inch TFT LCD Shield SD Card Reader Demo
* Board : Arduino UNO (arduino:avr:uno)
* Parts : 3.5 inch TFT LCD Shield
* Libraries : none (built-in)
*
* Codey Online is an AI-powered browser IDE for Arduino and ESP32.
* Describe your project and Codey writes the code, draws the wiring
* diagram and uploads it to your board, straight from the browser.
* This code is free to use, modify and share, without warranty.
* ==================================================================
*/
#include <SPI.h>
#include <SD.h>
const int chipSelect = 10;
void setup() {
Serial.begin(115200);
while (!Serial) {
; // Wait for serial port to connect
}
Serial.println(F("--- 3.5\" TFT Shield SD Card Demo ---"));
Serial.print(F("Initializing SD card on pin 10..."));
if (!SD.begin(chipSelect)) {
Serial.println(F(" FAILED!"));
Serial.println(F("Please check that a FAT16/FAT32 formatted microSD card is inserted."));
return;
}
Serial.println(F(" OK!"));
// Write sample data to test.txt
File myFile = SD.open("test.txt", FILE_WRITE);
if (myFile) {
Serial.println(F("Writing to test.txt..."));
myFile.println(F("Hello from Arduino Uno and 3.5 inch TFT Shield!"));
myFile.println(F("MicroSD storage test successful."));
myFile.close();
Serial.println(F("Done writing."));
} else {
Serial.println(F("Error opening test.txt for writing."));
}
// Read back the data
myFile = SD.open("test.txt");
if (myFile) {
Serial.println(F("--- File contents:"));
while (myFile.available()) {
Serial.write(myFile.read());
}
myFile.close();
Serial.println(F("--- End of file"));
} else {
Serial.println(F("Error opening test.txt for reading."));
}
}
void loop() {
// Nothing to do in loop
delay(1000);
}
Wiring diagram and example code generated by Codey.online — https://www.codey.online
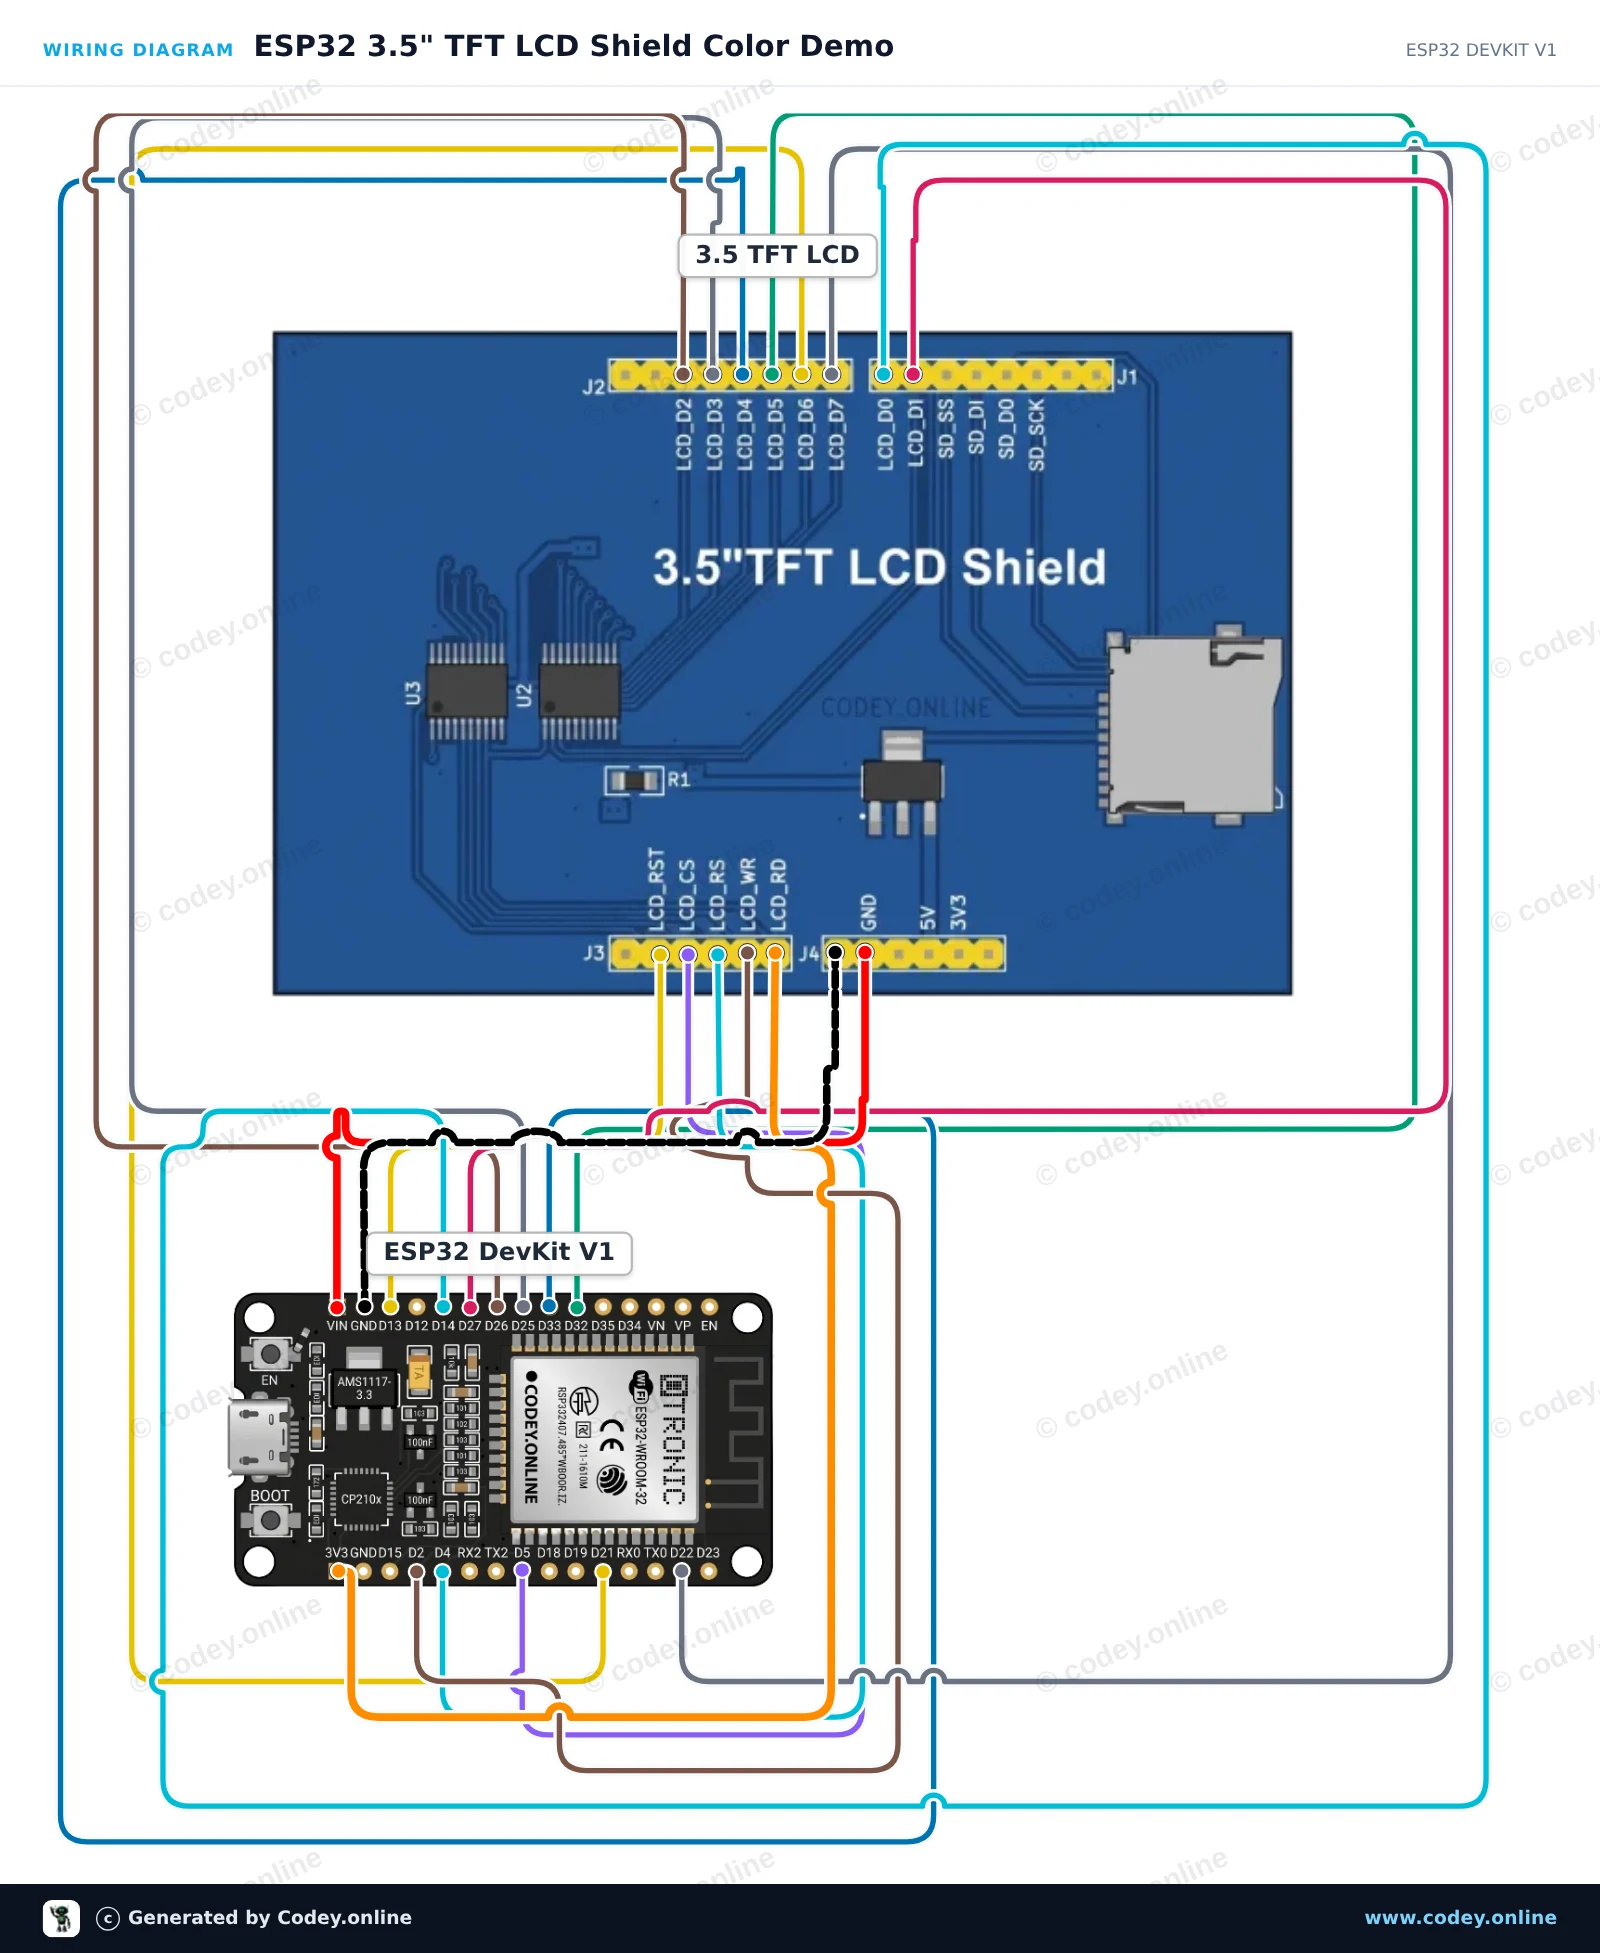
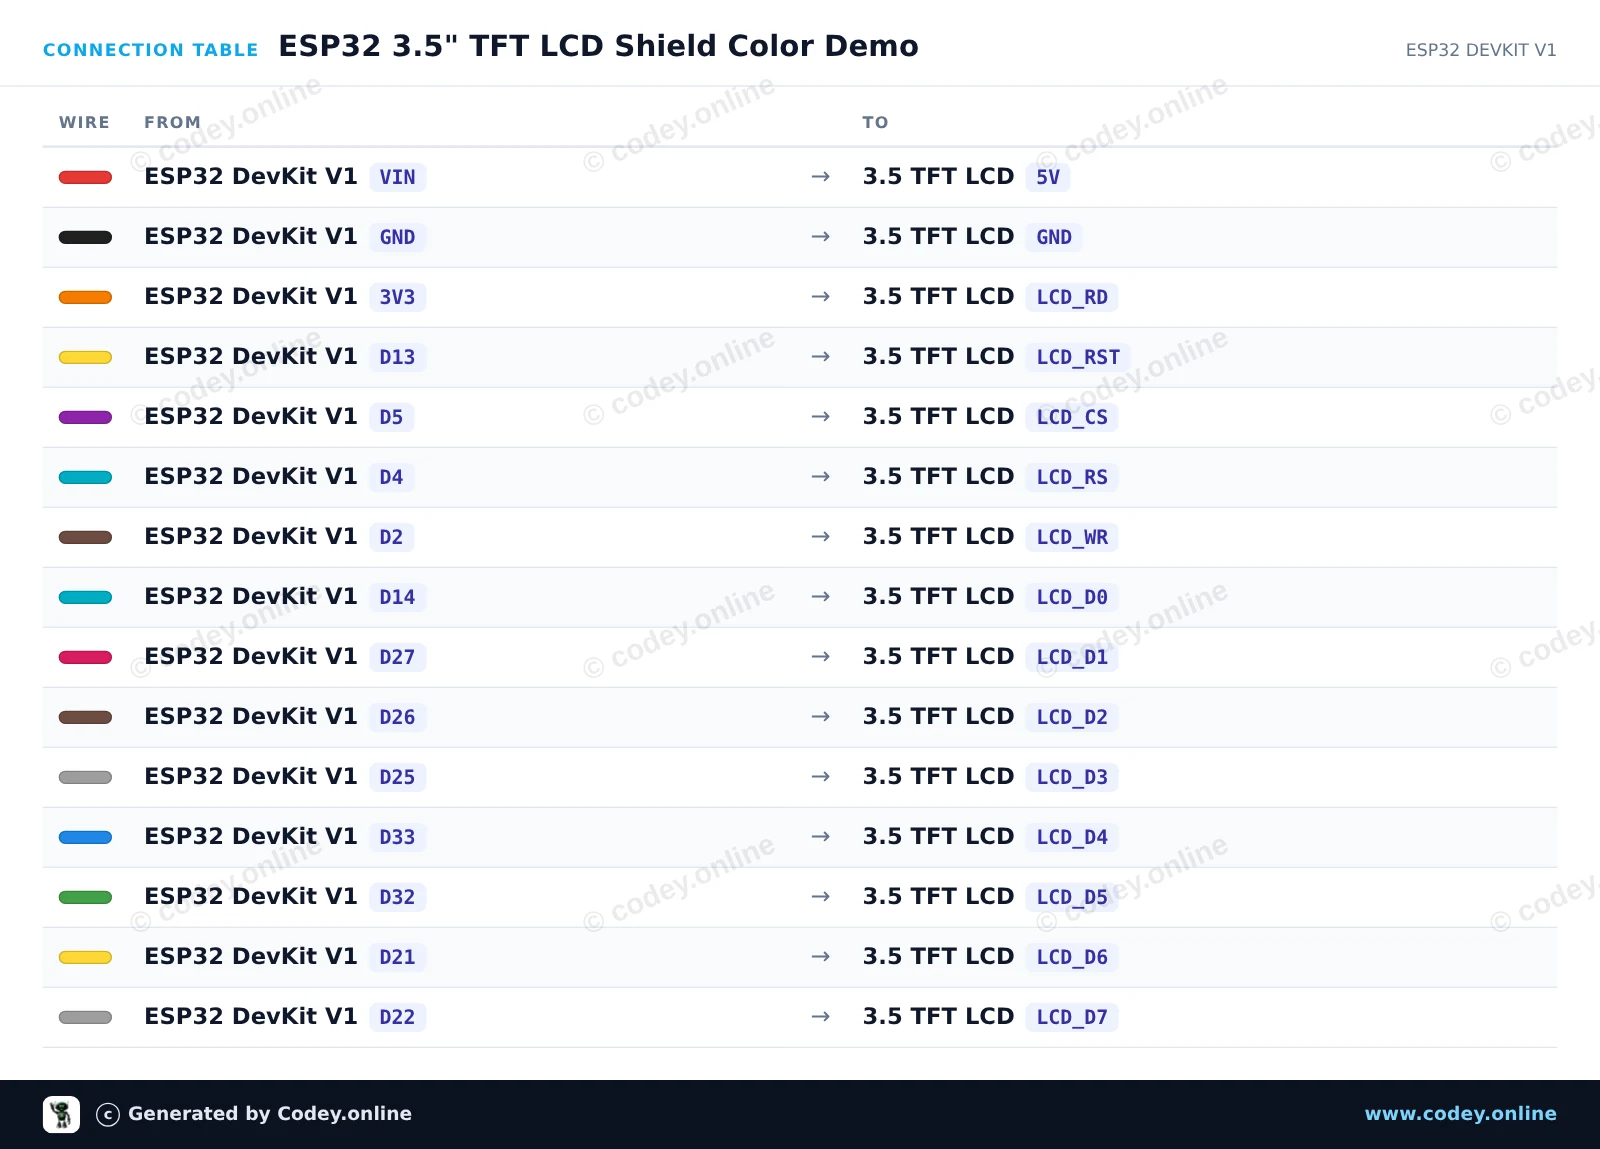
Dit project sluit een 3,5-inch parallel TFT LCD shield aan op de ESP32 en wisselt tussen achtergrondkleuren. Het gebruikt directe 8-bit parallel GPIO-communicatie om het display te resetten, te initialiseren en kleurvlakken op het scherm te tekenen.
/*
* ==================================================================
* Generated by Codey.online — https://www.codey.online
* ==================================================================
* Project : ESP32 3.5" TFT LCD Shield Color Demo
* Board : ESP32 DEVKIT V1 (esp32:esp32:esp32doit-devkit-v1)
* Parts : 3.5 inch TFT LCD Shield
* Libraries : none (built-in)
*
* Codey Online is an AI-powered browser IDE for Arduino and ESP32.
* Describe your project and Codey writes the code, draws the wiring
* diagram and uploads it to your board, straight from the browser.
* This code is free to use, modify and share, without warranty.
* ==================================================================
*/
// 3.5 inch TFT LCD 8-bit Parallel Demo for ESP32
const int PIN_RST = 13;
const int PIN_CS = 5;
const int PIN_RS = 4;
const int PIN_WR = 2;
// 8-bit data bus pins D0 to D7
const int DATA_PINS[8] = {14, 27, 26, 25, 33, 32, 21, 22};
void writeBus(uint8_t val) {
for (int i = 0; i < 8; i++) {
digitalWrite(DATA_PINS[i], (val >> i) & 0x01);
}
digitalWrite(PIN_WR, LOW);
digitalWrite(PIN_WR, HIGH);
}
void writeCommand(uint8_t cmd) {
digitalWrite(PIN_RS, LOW);
writeBus(cmd);
}
void writeData(uint8_t data) {
digitalWrite(PIN_RS, HIGH);
writeBus(data);
}
void setWindow(uint16_t x0, uint16_t y0, uint16_t x1, uint16_t y1) {
writeCommand(0x2A); // Column addr
writeData(x0 >> 8);
writeData(x0 & 0xFF);
writeData(x1 >> 8);
writeData(x1 & 0xFF);
writeCommand(0x2B); // Row addr
writeData(y0 >> 8);
writeData(y0 & 0xFF);
writeData(y1 >> 8);
writeData(y1 & 0xFF);
writeCommand(0x2C); // Memory write
}
void fillScreen(uint16_t color) {
setWindow(0, 0, 319, 479);
digitalWrite(PIN_RS, HIGH);
uint8_t hi = color >> 8;
uint8_t lo = color & 0xFF;
for (uint32_t i = 0; i < (320UL * 480UL); i++) {
writeBus(hi);
writeBus(lo);
}
}
void initLCD() {
digitalWrite(PIN_CS, LOW);
digitalWrite(PIN_RST, HIGH);
delay(10);
digitalWrite(PIN_RST, LOW);
delay(20);
digitalWrite(PIN_RST, HIGH);
delay(120);
writeCommand(0x11); // Sleep OUT
delay(120);
writeCommand(0x3A); // Pixel format
writeData(0x55); // 16-bit color
writeCommand(0x29); // Display ON
delay(50);
}
void setup() {
Serial.begin(115200);
Serial.println("Starting 3.5-inch TFT LCD demo...");
pinMode(PIN_RST, OUTPUT);
pinMode(PIN_CS, OUTPUT);
pinMode(PIN_RS, OUTPUT);
pinMode(PIN_WR, OUTPUT);
digitalWrite(PIN_CS, HIGH);
digitalWrite(PIN_WR, HIGH);
digitalWrite(PIN_RS, HIGH);
for (int i = 0; i < 8; i++) {
pinMode(DATA_PINS[i], OUTPUT);
}
initLCD();
Serial.println("Display initialized!");
}
void loop() {
Serial.println("Color: RED");
fillScreen(0xF800);
delay(1000);
Serial.println("Color: GREEN");
fillScreen(0x07E0);
delay(1000);
Serial.println("Color: BLUE");
fillScreen(0x001F);
delay(1000);
Serial.println("Color: WHITE");
fillScreen(0xFFFF);
delay(1000);
}
Wiring diagram and example code generated by Codey.online — https://www.codey.online
Dit 3,5 inch touch screen shield kan direct aangesloten worden op de Arduino UNO en Arduino Mega 2560 en werkt op basis van ili9486 library.
Resolutie: 480x320
Touchscreen: Ja
MicrosSD-kaartlezer: Ja
Download de voorbeeld sketches om direct aan de slag te gaan met dit TFT Touch screen shield op je UNO of MEGA.
Voorbeeld sketches en libraries voor Arduino downloaden
Afmetingen
Lengte: 8,5cm
Breedte: 5,5cm
Hoogte: 0,7cm
| Breedte | 5,5 cm |
|---|---|
| Resolutie | 480 x 320 |
| Geschikt voor | Arduino UNO™ |
| Lengte | 8,5cm |
| Hoogte | 0,7 cm |
Werkt prima. Werkt gemakkelijker en betrouwbaarder zonder al die kabeltjes en een breadboard. En de prijs is zeker niet te duur.
Heb er al 8 tal gekocht , voorlopig 3 in gebruik , werkend prrima .
Niet tevreden? Je hebt 30 dagen bedenktijd na ontvangst om het product terug te sturen.
Alles over retourneren
3.5 inch Touch screen TFT shield voor Arduino UNO en Mega