Ordered on weekdays before 14:00 = shipped the same day and delivered the next day in 98% of cases. Free returns 30-day reflection period 1-year warranty

Wiring diagram and code example

How to connect the 3.5-inch touch screen TFT shield for Arduino UNO and Mega to an Arduino UNO or ESP32, with an example sketch you can upload straight away.

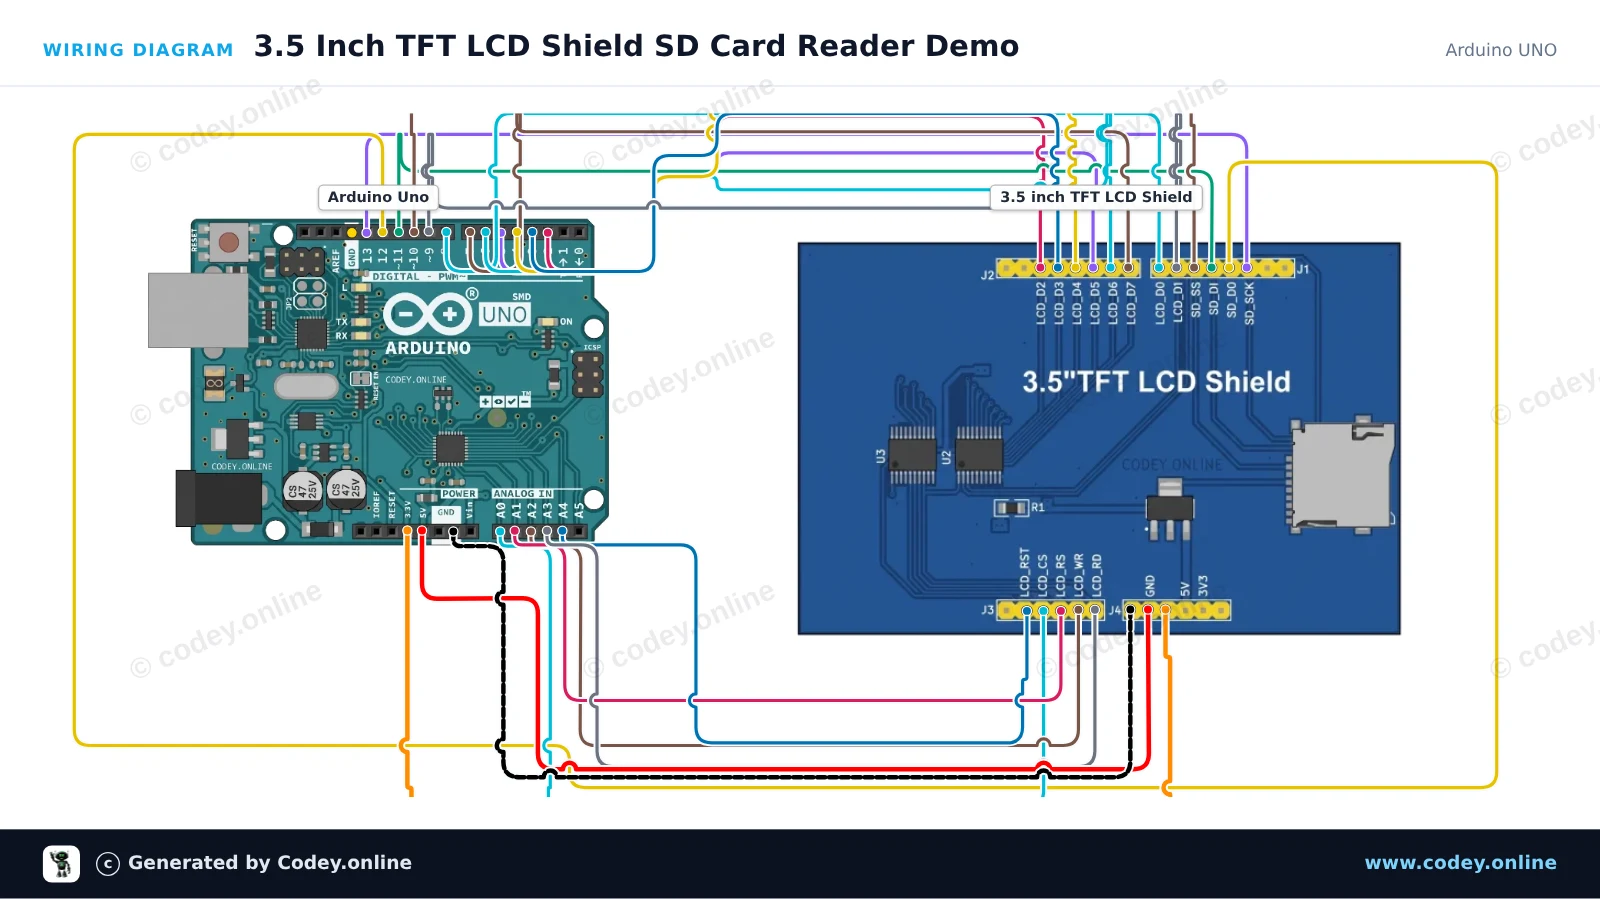
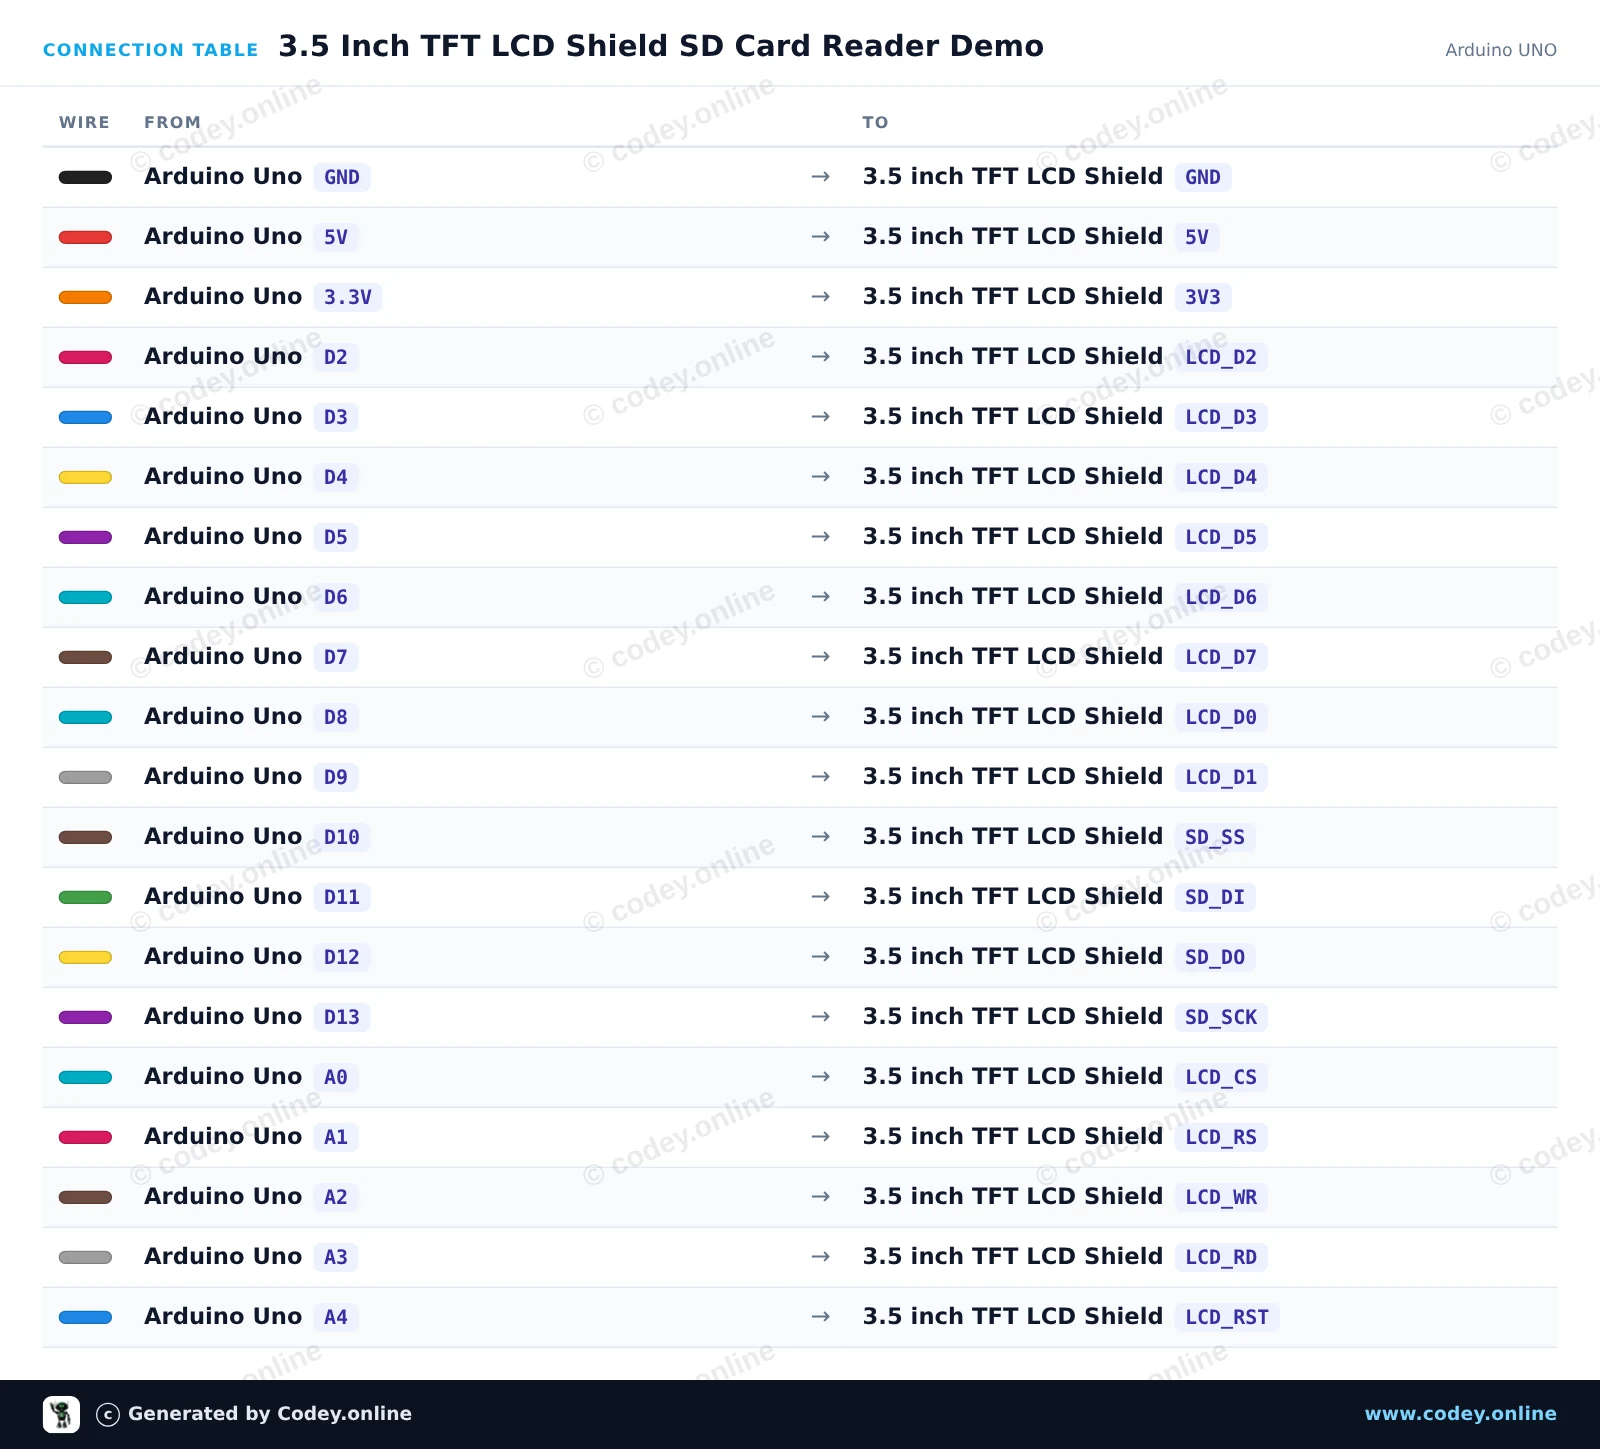
3.5 Inch TFT LCD Shield SD Card Reader Demo

This project demonstrates the onboard MicroSD card interface of the 3.5-inch TFT LCD Shield mounted directly onto an Arduino Uno. The sketch initializes the SD card via SPI (using CS pin 10), writes a timestamped log file, and reads the content back to the Serial Monitor at 115200 baud.

Wiring diagram: 3.5-inch touch screen TFT shield for Arduino UNO and Mega on an Arduino UNO
Wiring diagram · Click to enlarge
Connection table: 3.5-inch touch screen TFT shield for Arduino UNO and Mega on an Arduino UNO
Connection table · Click to enlarge
3_5_Inch_TFT_LCD_Shield_SD_Card_Reader_D.ino · compiled and verified
/*
 * ==================================================================
 *  Generated by Codey.online  —  https://www.codey.online
 * ==================================================================
 *  Project   : 3.5 Inch TFT LCD Shield SD Card Reader Demo
 *  Board     : Arduino UNO (arduino:avr:uno)
 *  Parts     : 3.5 inch TFT LCD Shield
 *  Libraries : none (built-in)
 *
 *  Codey Online is an AI-powered browser IDE for Arduino and ESP32.
 *  Describe your project and Codey writes the code, draws the wiring
 *  diagram and uploads it to your board, straight from the browser.
 *  This code is free to use, modify and share, without warranty.
 * ==================================================================
 */

#include <SPI.h>
#include <SD.h>

const int chipSelect = 10;

void setup() {
  Serial.begin(115200);
  while (!Serial) {
    ; // Wait for serial port to connect
  }

  Serial.println(F("--- 3.5\" TFT Shield SD Card Demo ---"));
  Serial.print(F("Initializing SD card on pin 10..."));

  if (!SD.begin(chipSelect)) {
    Serial.println(F(" FAILED!"));
    Serial.println(F("Please check that a FAT16/FAT32 formatted microSD card is inserted."));
    return;
  }
  Serial.println(F(" OK!"));

  // Write sample data to test.txt
  File myFile = SD.open("test.txt", FILE_WRITE);
  if (myFile) {
    Serial.println(F("Writing to test.txt..."));
    myFile.println(F("Hello from Arduino Uno and 3.5 inch TFT Shield!"));
    myFile.println(F("MicroSD storage test successful."));
    myFile.close();
    Serial.println(F("Done writing."));
  } else {
    Serial.println(F("Error opening test.txt for writing."));
  }

  // Read back the data
  myFile = SD.open("test.txt");
  if (myFile) {
    Serial.println(F("--- File contents:"));
    while (myFile.available()) {
      Serial.write(myFile.read());
    }
    myFile.close();
    Serial.println(F("--- End of file"));
  } else {
    Serial.println(F("Error opening test.txt for reading."));
  }
}

void loop() {
  // Nothing to do in loop
  delay(1000);
}

Wiring diagram and example code generated by Codey.online — https://www.codey.online

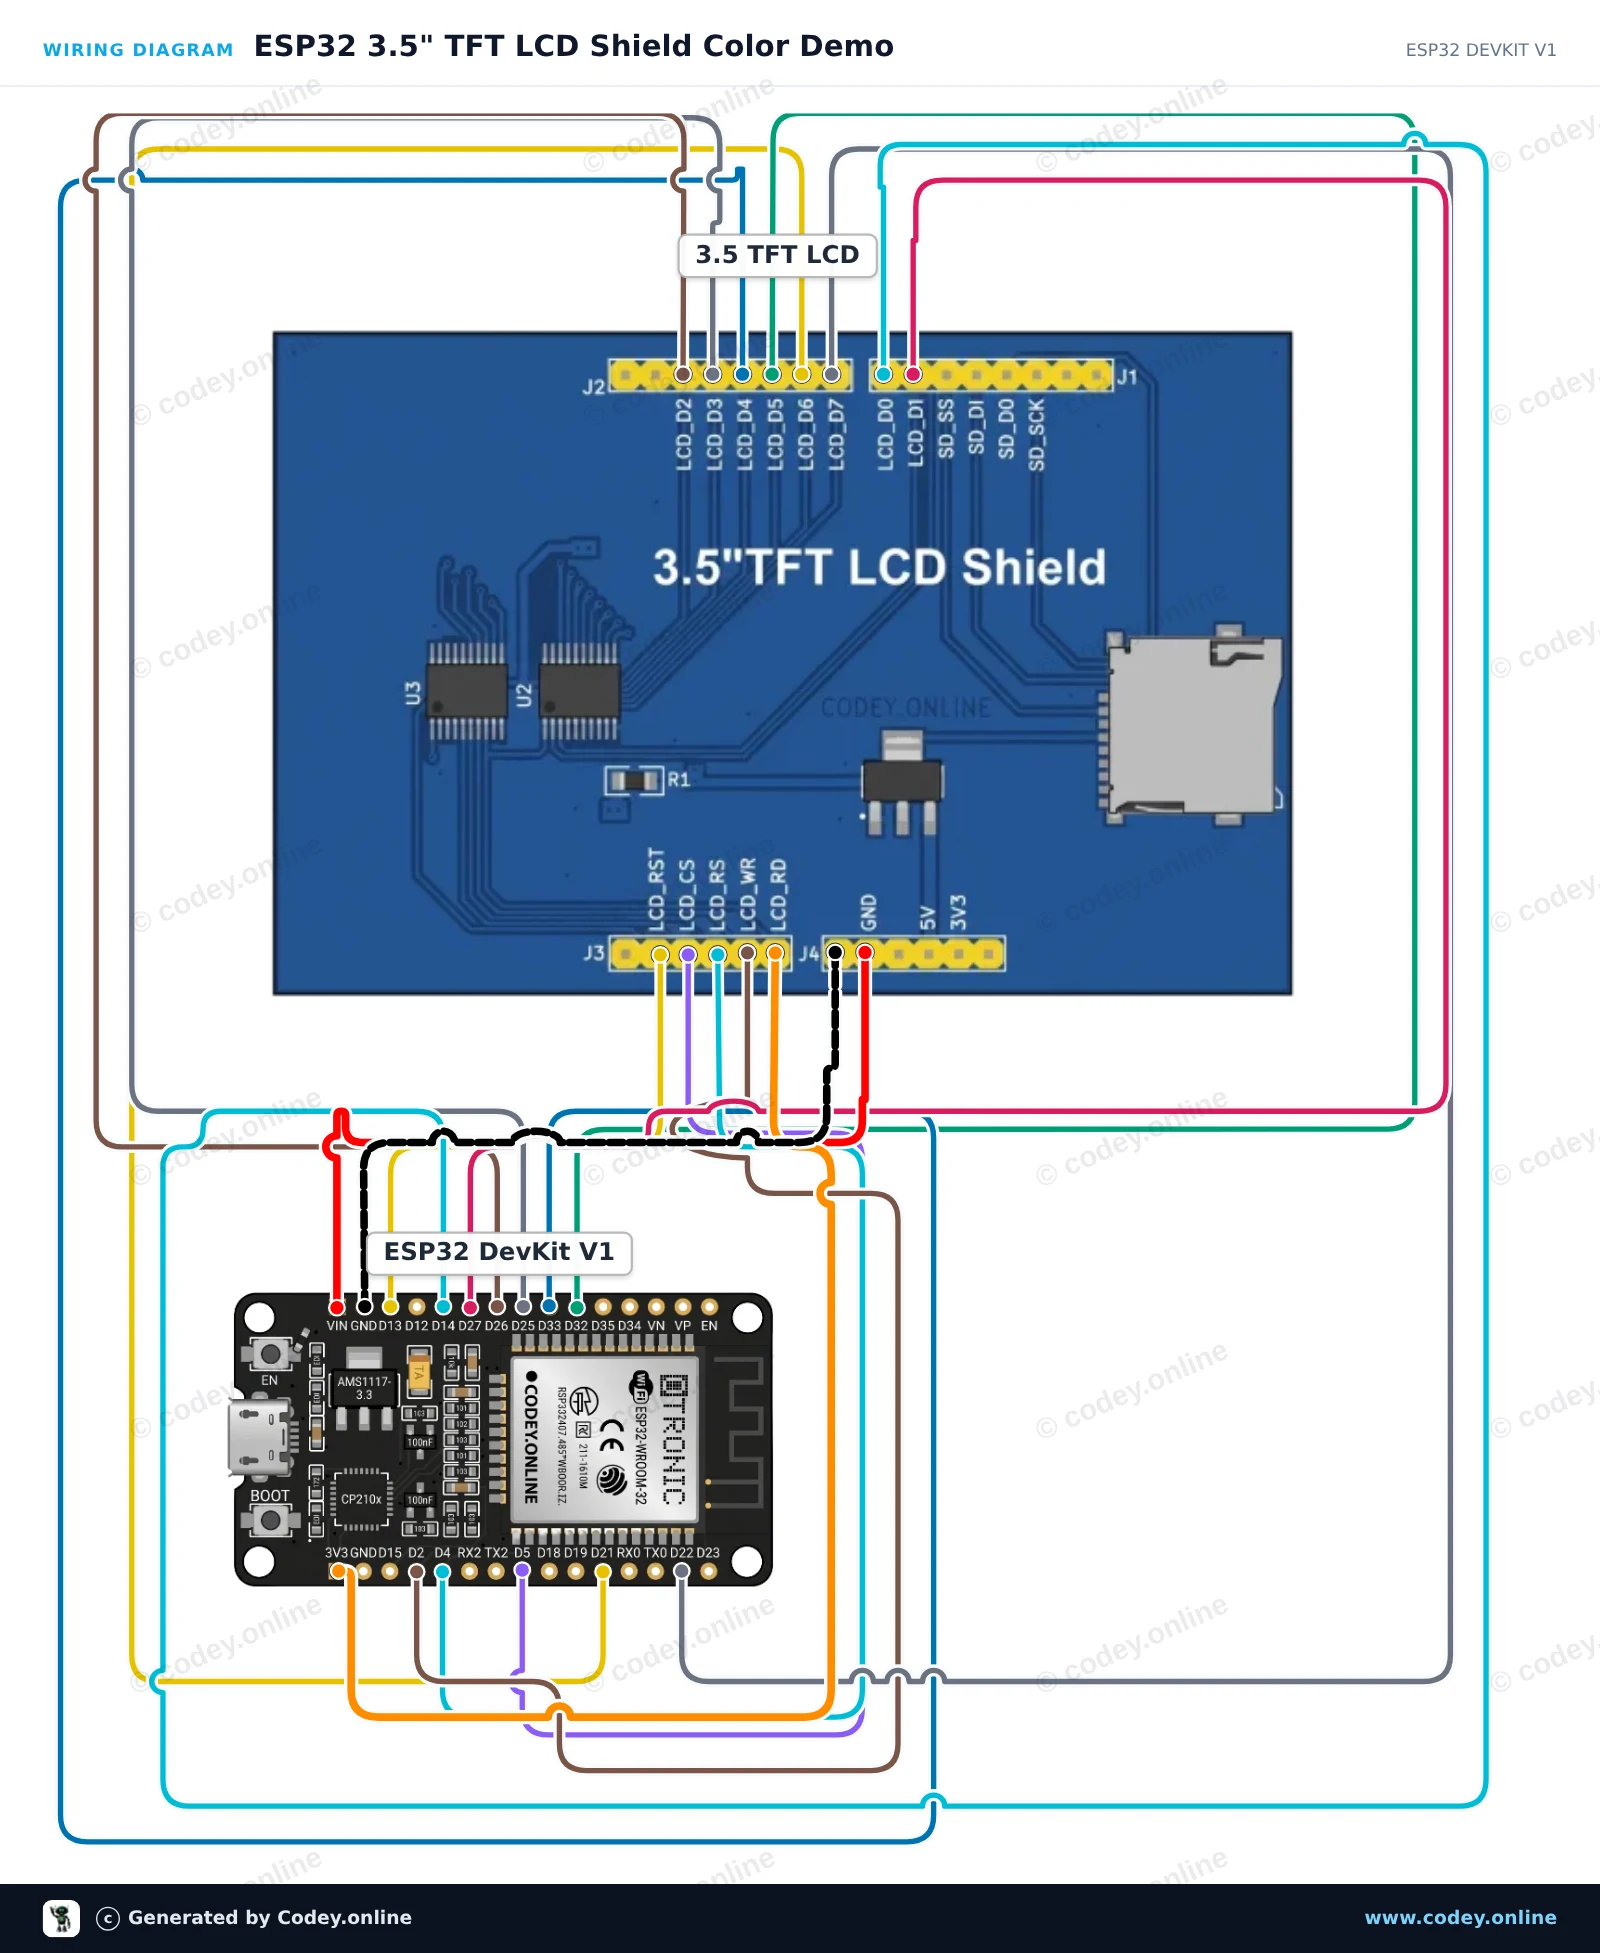
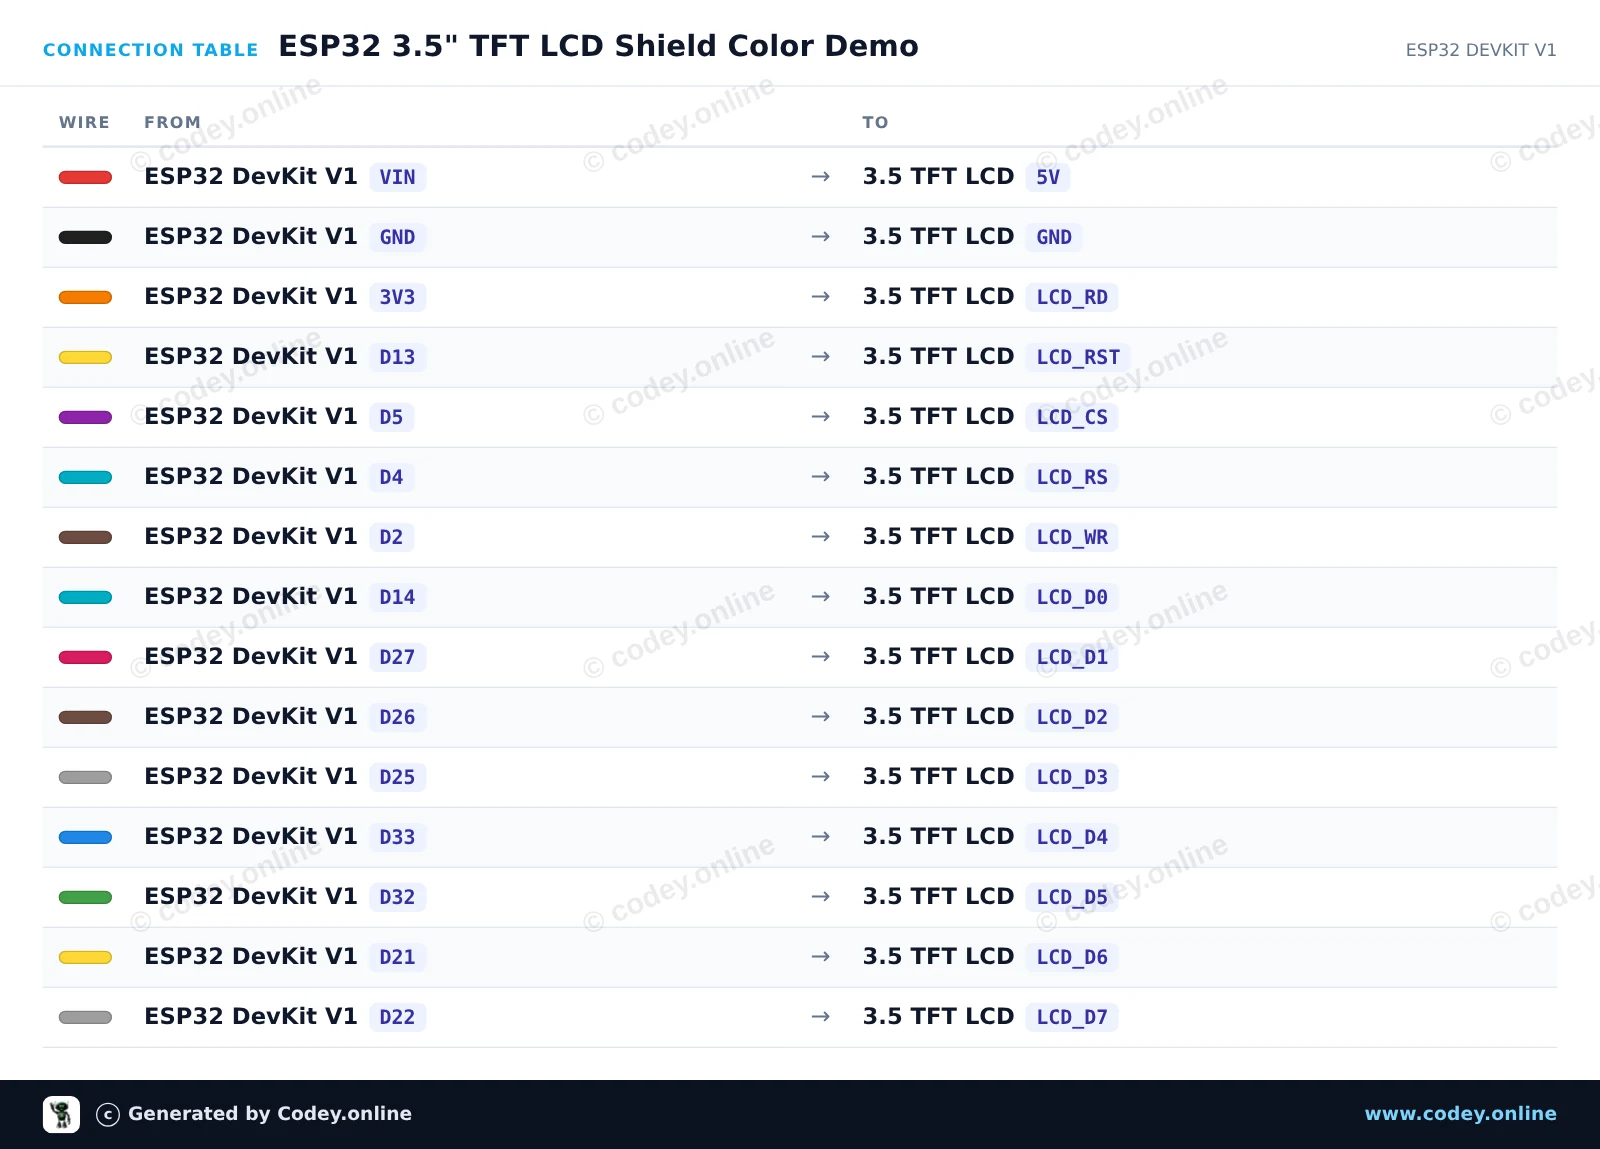
ESP32 3.5" TFT LCD Shield Color Demo

This project connects a 3.5-inch parallel TFT LCD shield to the ESP32 and cycles through background colors. It uses direct 8-bit parallel GPIO communication to reset, initialize, and paint color frames to the display.

Wiring diagram: 3.5-inch touch screen TFT shield for Arduino UNO and Mega on an ESP32 DevKit V1
Wiring diagram · Click to enlarge
Connection table: 3.5-inch touch screen TFT shield for Arduino UNO and Mega on an ESP32 DevKit V1
Connection table · Click to enlarge
ESP32_3_5_TFT_LCD_Shield_Color_Demo.ino · compiled and verified
/*
 * ==================================================================
 *  Generated by Codey.online  —  https://www.codey.online
 * ==================================================================
 *  Project   : ESP32 3.5" TFT LCD Shield Color Demo
 *  Board     : ESP32 DEVKIT V1 (esp32:esp32:esp32doit-devkit-v1)
 *  Parts     : 3.5 inch TFT LCD Shield
 *  Libraries : none (built-in)
 *
 *  Codey Online is an AI-powered browser IDE for Arduino and ESP32.
 *  Describe your project and Codey writes the code, draws the wiring
 *  diagram and uploads it to your board, straight from the browser.
 *  This code is free to use, modify and share, without warranty.
 * ==================================================================
 */

// 3.5 inch TFT LCD 8-bit Parallel Demo for ESP32

const int PIN_RST = 13;
const int PIN_CS  = 5;
const int PIN_RS  = 4;
const int PIN_WR  = 2;

// 8-bit data bus pins D0 to D7
const int DATA_PINS[8] = {14, 27, 26, 25, 33, 32, 21, 22};

void writeBus(uint8_t val) {
  for (int i = 0; i < 8; i++) {
    digitalWrite(DATA_PINS[i], (val >> i) & 0x01);
  }
  digitalWrite(PIN_WR, LOW);
  digitalWrite(PIN_WR, HIGH);
}

void writeCommand(uint8_t cmd) {
  digitalWrite(PIN_RS, LOW);
  writeBus(cmd);
}

void writeData(uint8_t data) {
  digitalWrite(PIN_RS, HIGH);
  writeBus(data);
}

void setWindow(uint16_t x0, uint16_t y0, uint16_t x1, uint16_t y1) {
  writeCommand(0x2A); // Column addr
  writeData(x0 >> 8);
  writeData(x0 & 0xFF);
  writeData(x1 >> 8);
  writeData(x1 & 0xFF);

  writeCommand(0x2B); // Row addr
  writeData(y0 >> 8);
  writeData(y0 & 0xFF);
  writeData(y1 >> 8);
  writeData(y1 & 0xFF);

  writeCommand(0x2C); // Memory write
}

void fillScreen(uint16_t color) {
  setWindow(0, 0, 319, 479);
  digitalWrite(PIN_RS, HIGH);
  uint8_t hi = color >> 8;
  uint8_t lo = color & 0xFF;
  for (uint32_t i = 0; i < (320UL * 480UL); i++) {
    writeBus(hi);
    writeBus(lo);
  }
}

void initLCD() {
  digitalWrite(PIN_CS, LOW);
  digitalWrite(PIN_RST, HIGH);
  delay(10);
  digitalWrite(PIN_RST, LOW);
  delay(20);
  digitalWrite(PIN_RST, HIGH);
  delay(120);

  writeCommand(0x11); // Sleep OUT
  delay(120);
  writeCommand(0x3A); // Pixel format
  writeData(0x55);   // 16-bit color
  writeCommand(0x29); // Display ON
  delay(50);
}

void setup() {
  Serial.begin(115200);
  Serial.println("Starting 3.5-inch TFT LCD demo...");

  pinMode(PIN_RST, OUTPUT);
  pinMode(PIN_CS, OUTPUT);
  pinMode(PIN_RS, OUTPUT);
  pinMode(PIN_WR, OUTPUT);

  digitalWrite(PIN_CS, HIGH);
  digitalWrite(PIN_WR, HIGH);
  digitalWrite(PIN_RS, HIGH);

  for (int i = 0; i < 8; i++) {
    pinMode(DATA_PINS[i], OUTPUT);
  }

  initLCD();
  Serial.println("Display initialized!");
}

void loop() {
  Serial.println("Color: RED");
  fillScreen(0xF800);
  delay(1000);

  Serial.println("Color: GREEN");
  fillScreen(0x07E0);
  delay(1000);

  Serial.println("Color: BLUE");
  fillScreen(0x001F);
  delay(1000);

  Serial.println("Color: WHITE");
  fillScreen(0xFFFF);
  delay(1000);
}

Wiring diagram and example code generated by Codey.online — https://www.codey.online

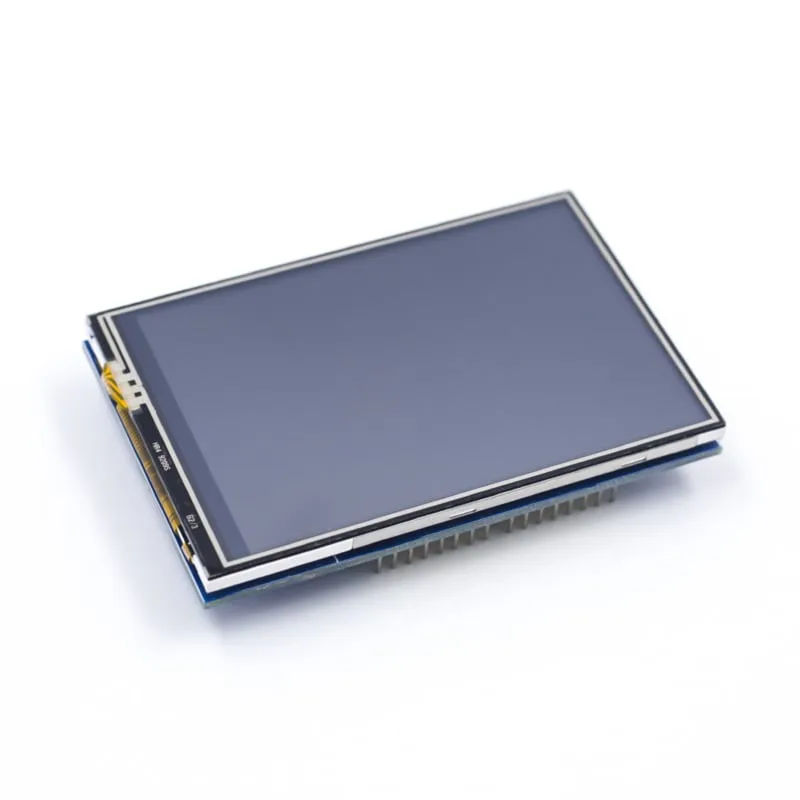
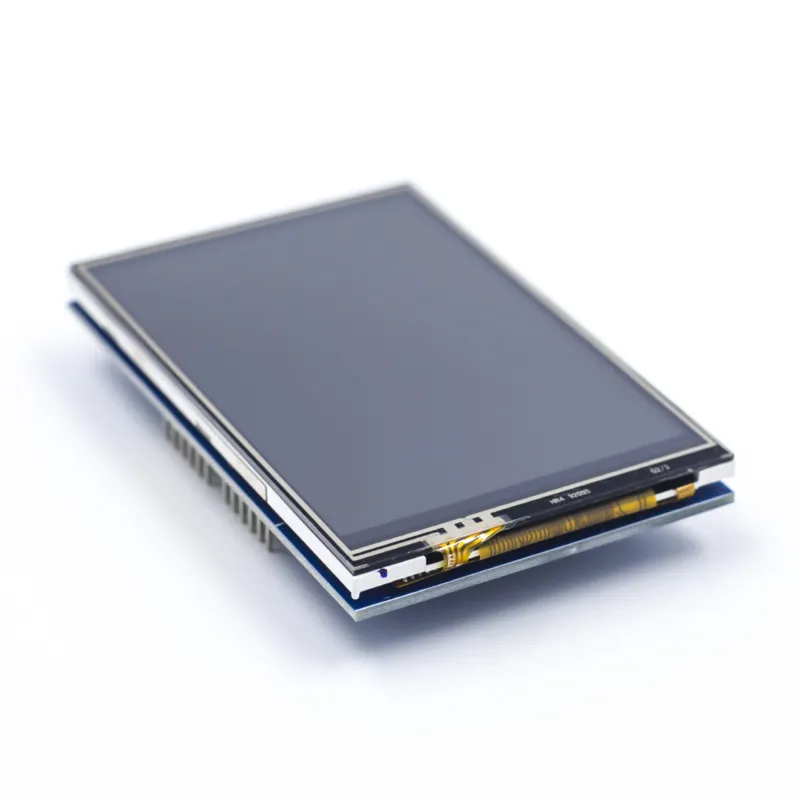
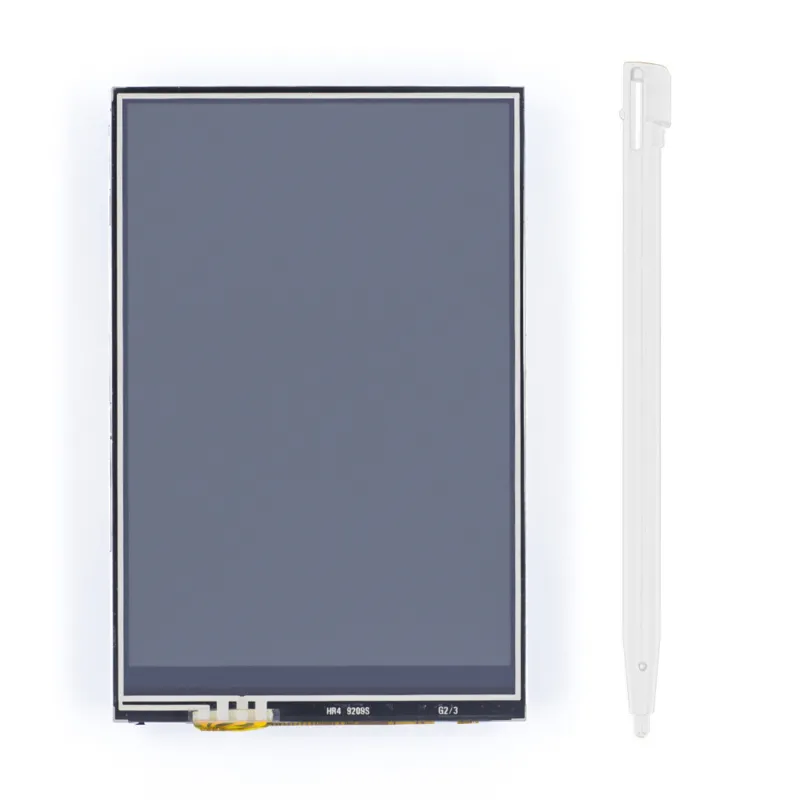
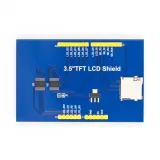
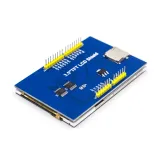
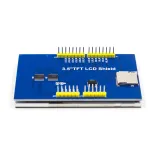
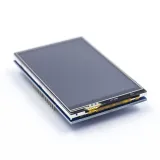
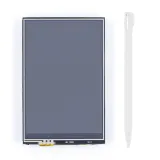
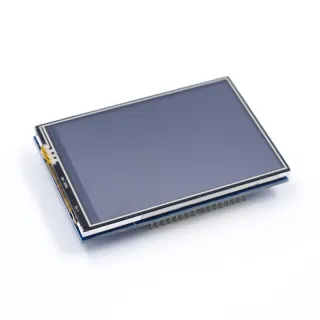
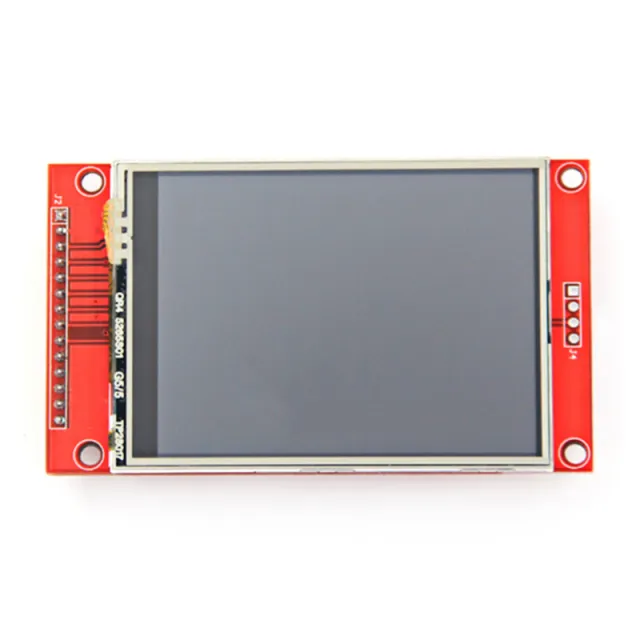
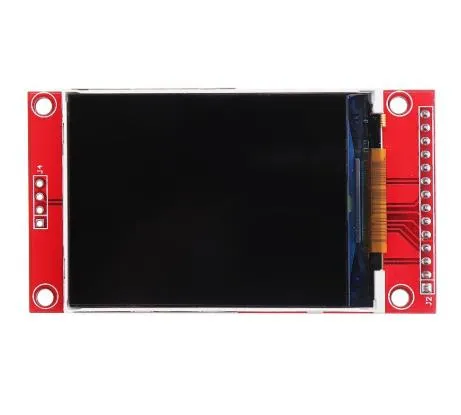
3.5-inch touch screen TFT shield for Arduino UNO and Mega

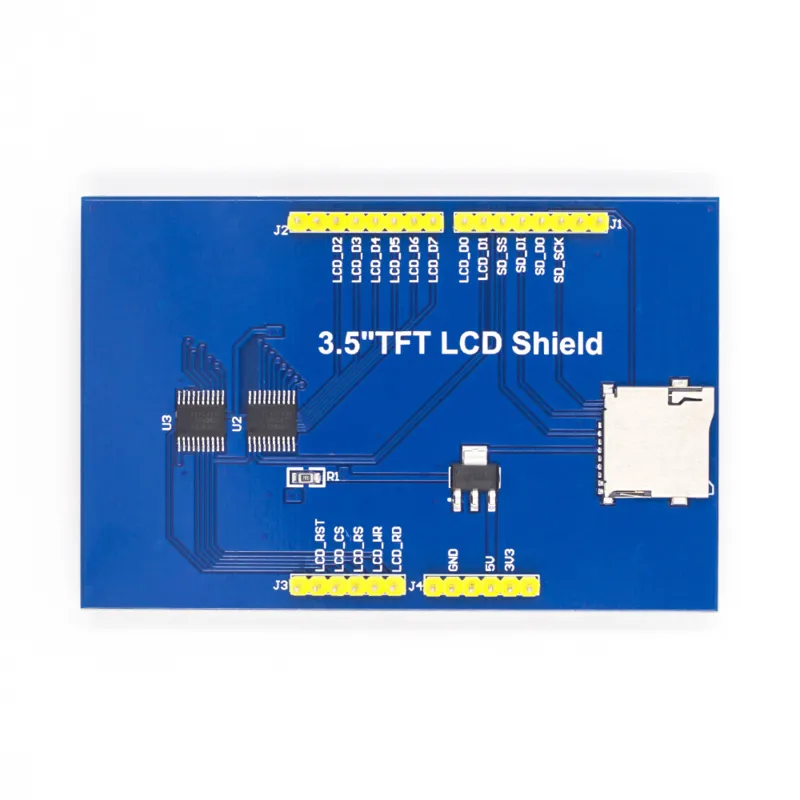
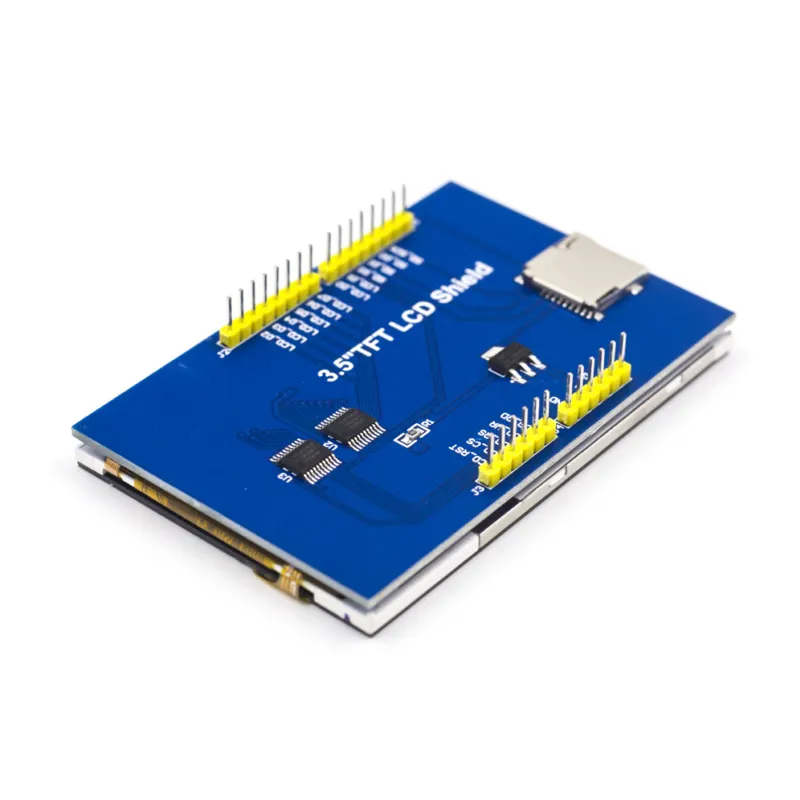
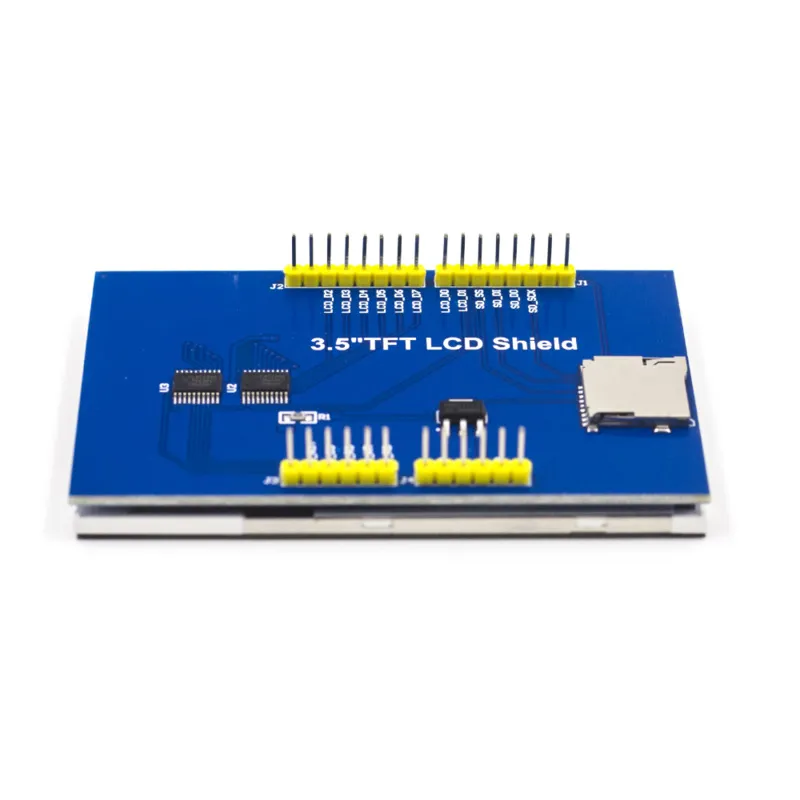
This 3.5 inch touch screen shield can be connected directly to the Arduino UNO and Arduino Mega 2560 and works based on the ili9486 library.

Resolution: 480x320
Touchscreen: Yes
MicroSD card reader: Yes

Download the example sketches to get started right away with this TFT Touch screen shield on your UNO or MEGA.

Download example sketches and libraries for Arduino

Dimensions
Length: 8.5cm
Width: 5.5cm
Height: 0.7cm

  • 3.5 inch screen
  • ili9486 library
  • Directly connected
  • Compact size
Playing loads the video from YouTube.

Why choose this product?

  • Direct connection – Works immediately on Arduino UNO and Mega 2560.
  • Touchscreen included – Operation via the built-in touchscreen.
  • MicroSD card reader – Equipped with a microSD card reader.
  • Example sketches – Downloads help you get started right away.
Specifications
Width5,5 cm
Resolution480 x 320
Suitable forArduino UNO
Length8,5cm
Height0.7 cm

Frequently bought together

Total: € 39,45

Reviews

★★★★★ 5,0/5 2 reviews
  • ★★★★★Ger BischoffVerified purchase

    Works great. Works more easily and reliably without all those wires and a breadboard. And the price is certainly not too high.

  • ★★★★★Eric Debels

    I’ve already bought about 8 of these, 3 in use so far, working perfectly.

Write a review
Your rating

Shipping & returns

Shipping

  • Parcel with track & trace€ 7,70Within 24 hours
  • Pick up at PostNL location€ 7,40Within 24 hours
  • Letterbox parcel€ 3,70Within 2 business days
  • Letterbox parcel 24 hours€ 4,55Within 24 hours
  • Pick up in storeFree
All about shipping

Returns

Not satisfied? You have 30 days after delivery to return the product.

All about returns