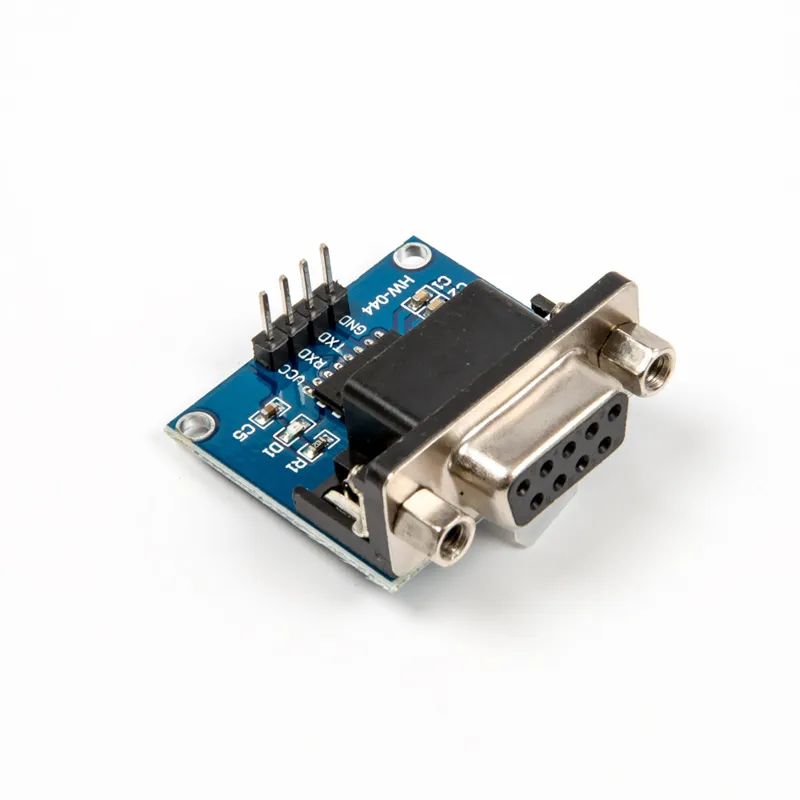
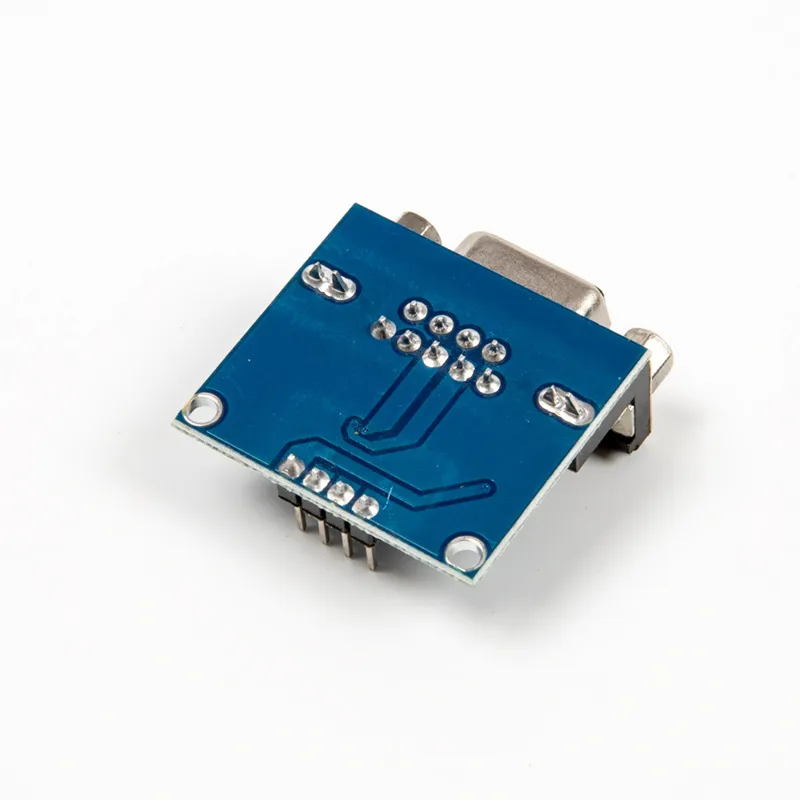
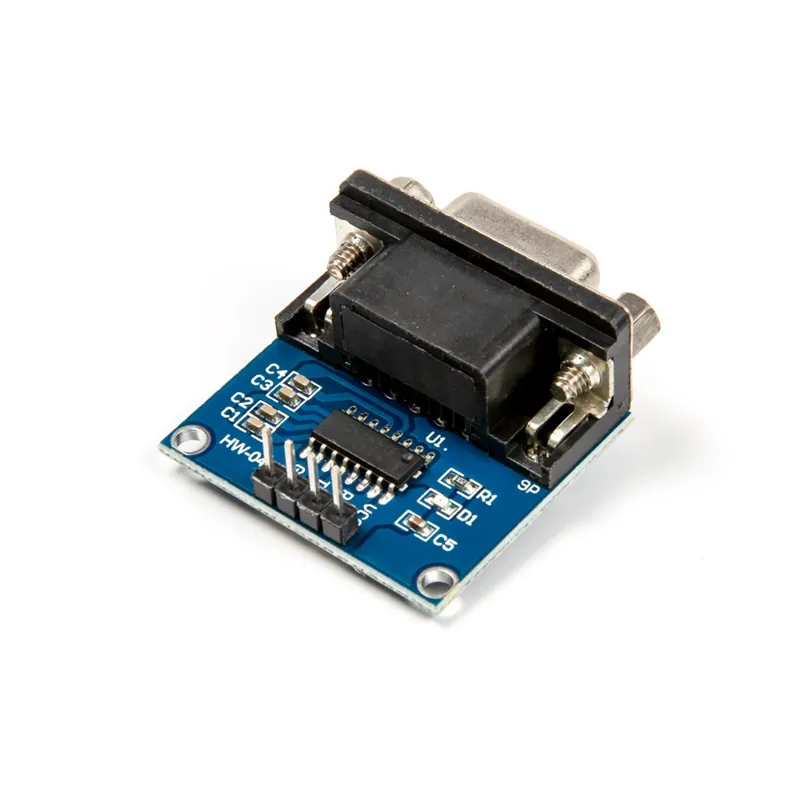
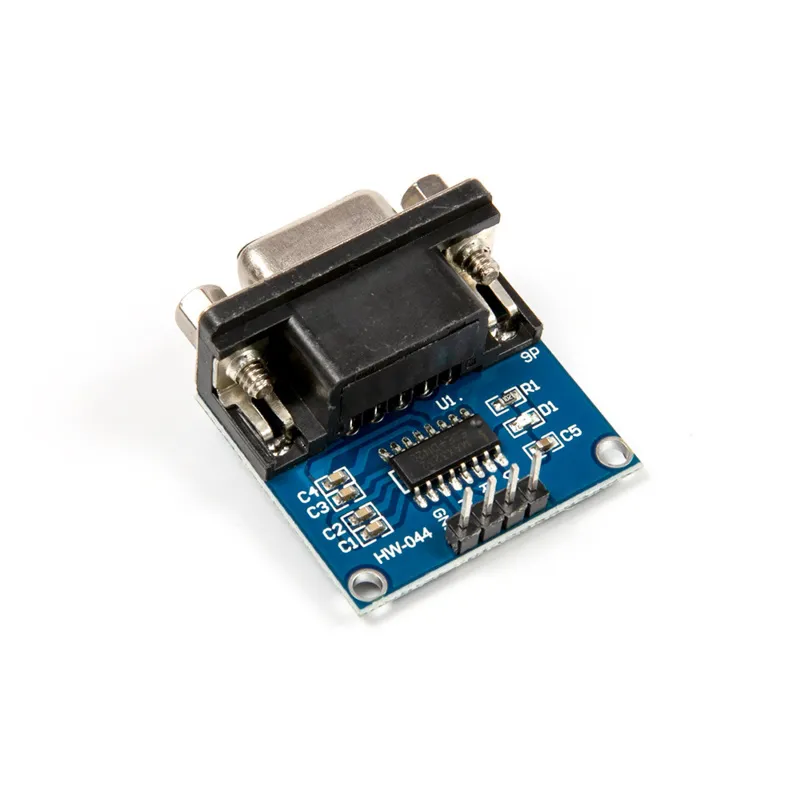
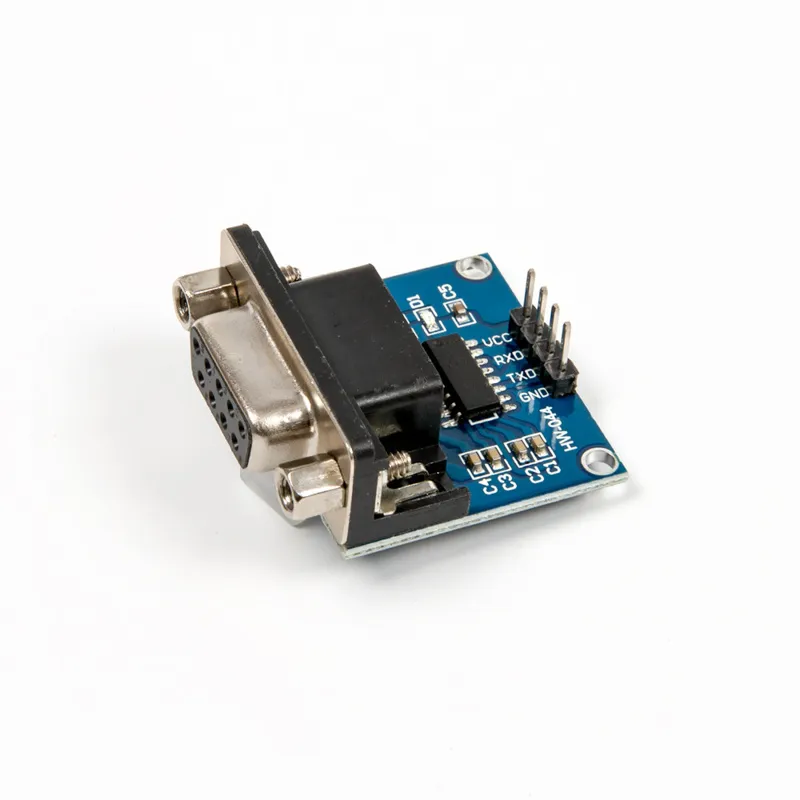
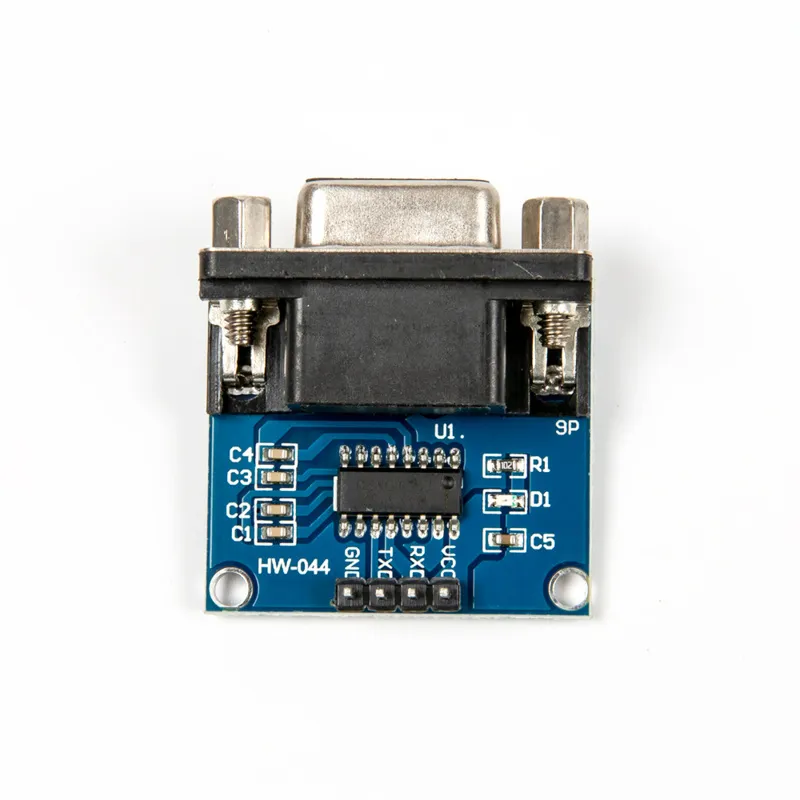
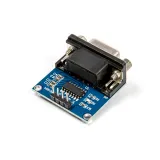
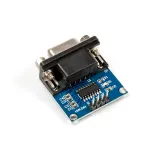
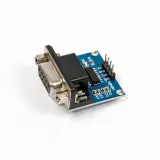
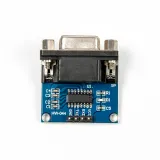
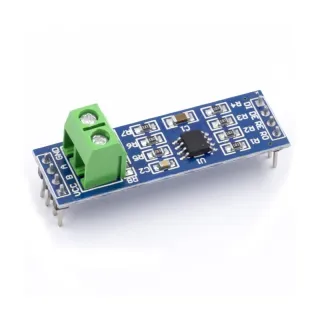
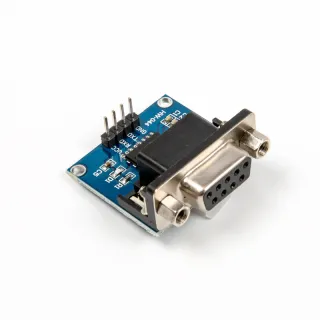
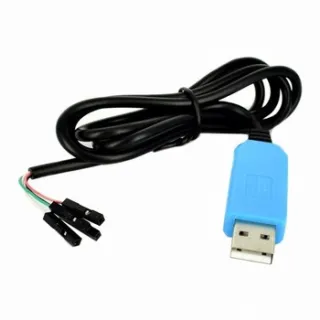
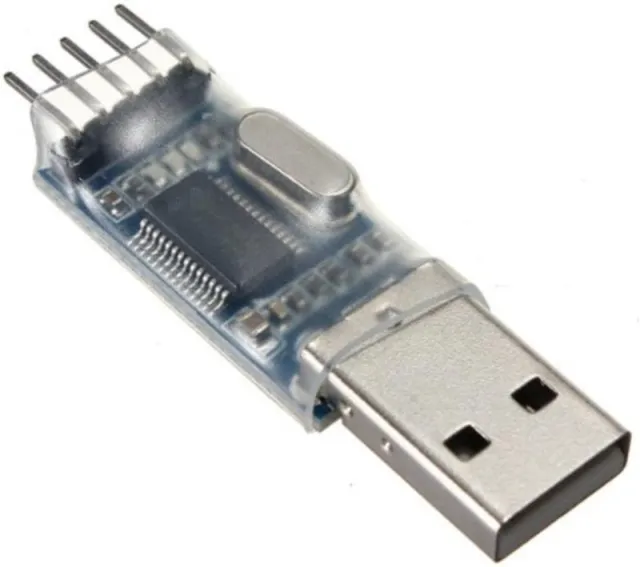
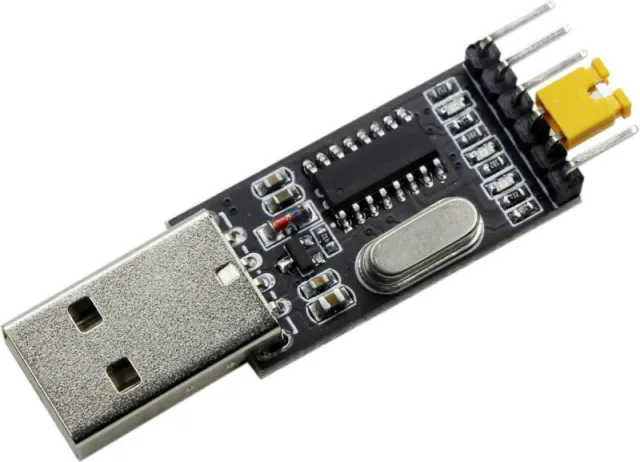
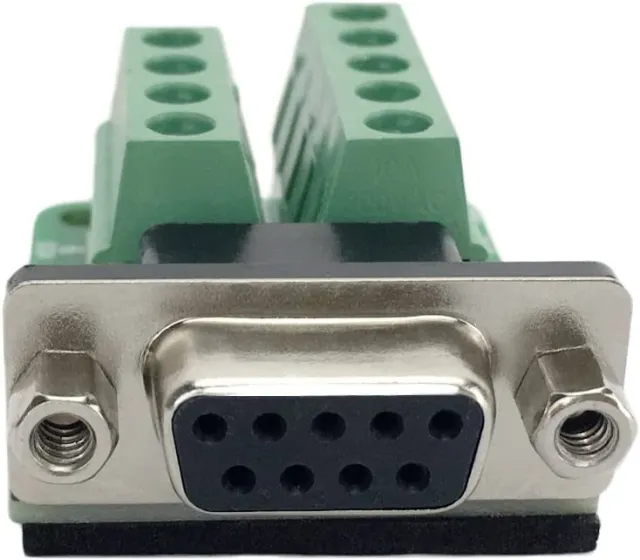
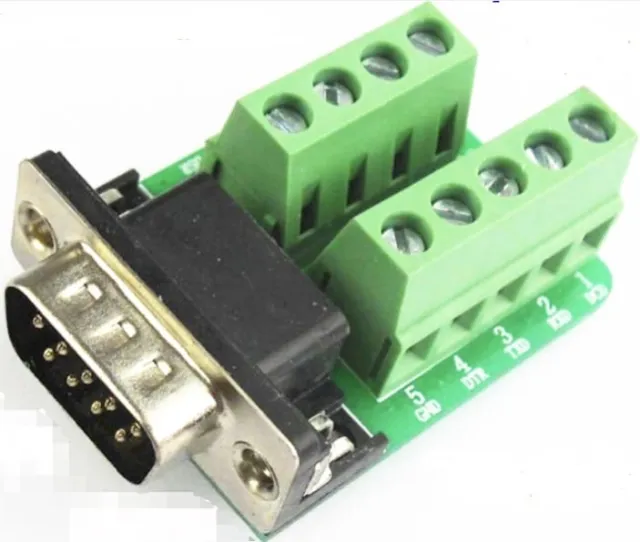
Сериен преобразувателен модул за свързване на RS232 с TTL сигнали.
SKU: OT3678 Артикулен номер: NA652 EAN: 8720618690371 Местоположение: G09.01
Алтернатива
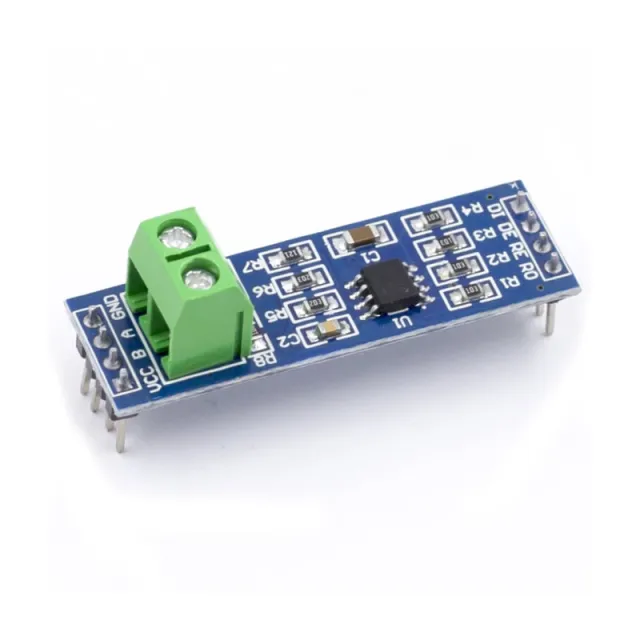
MAX485 TTL към RS485 конверторен модул
€ 1,15
Виж тази алтернатива
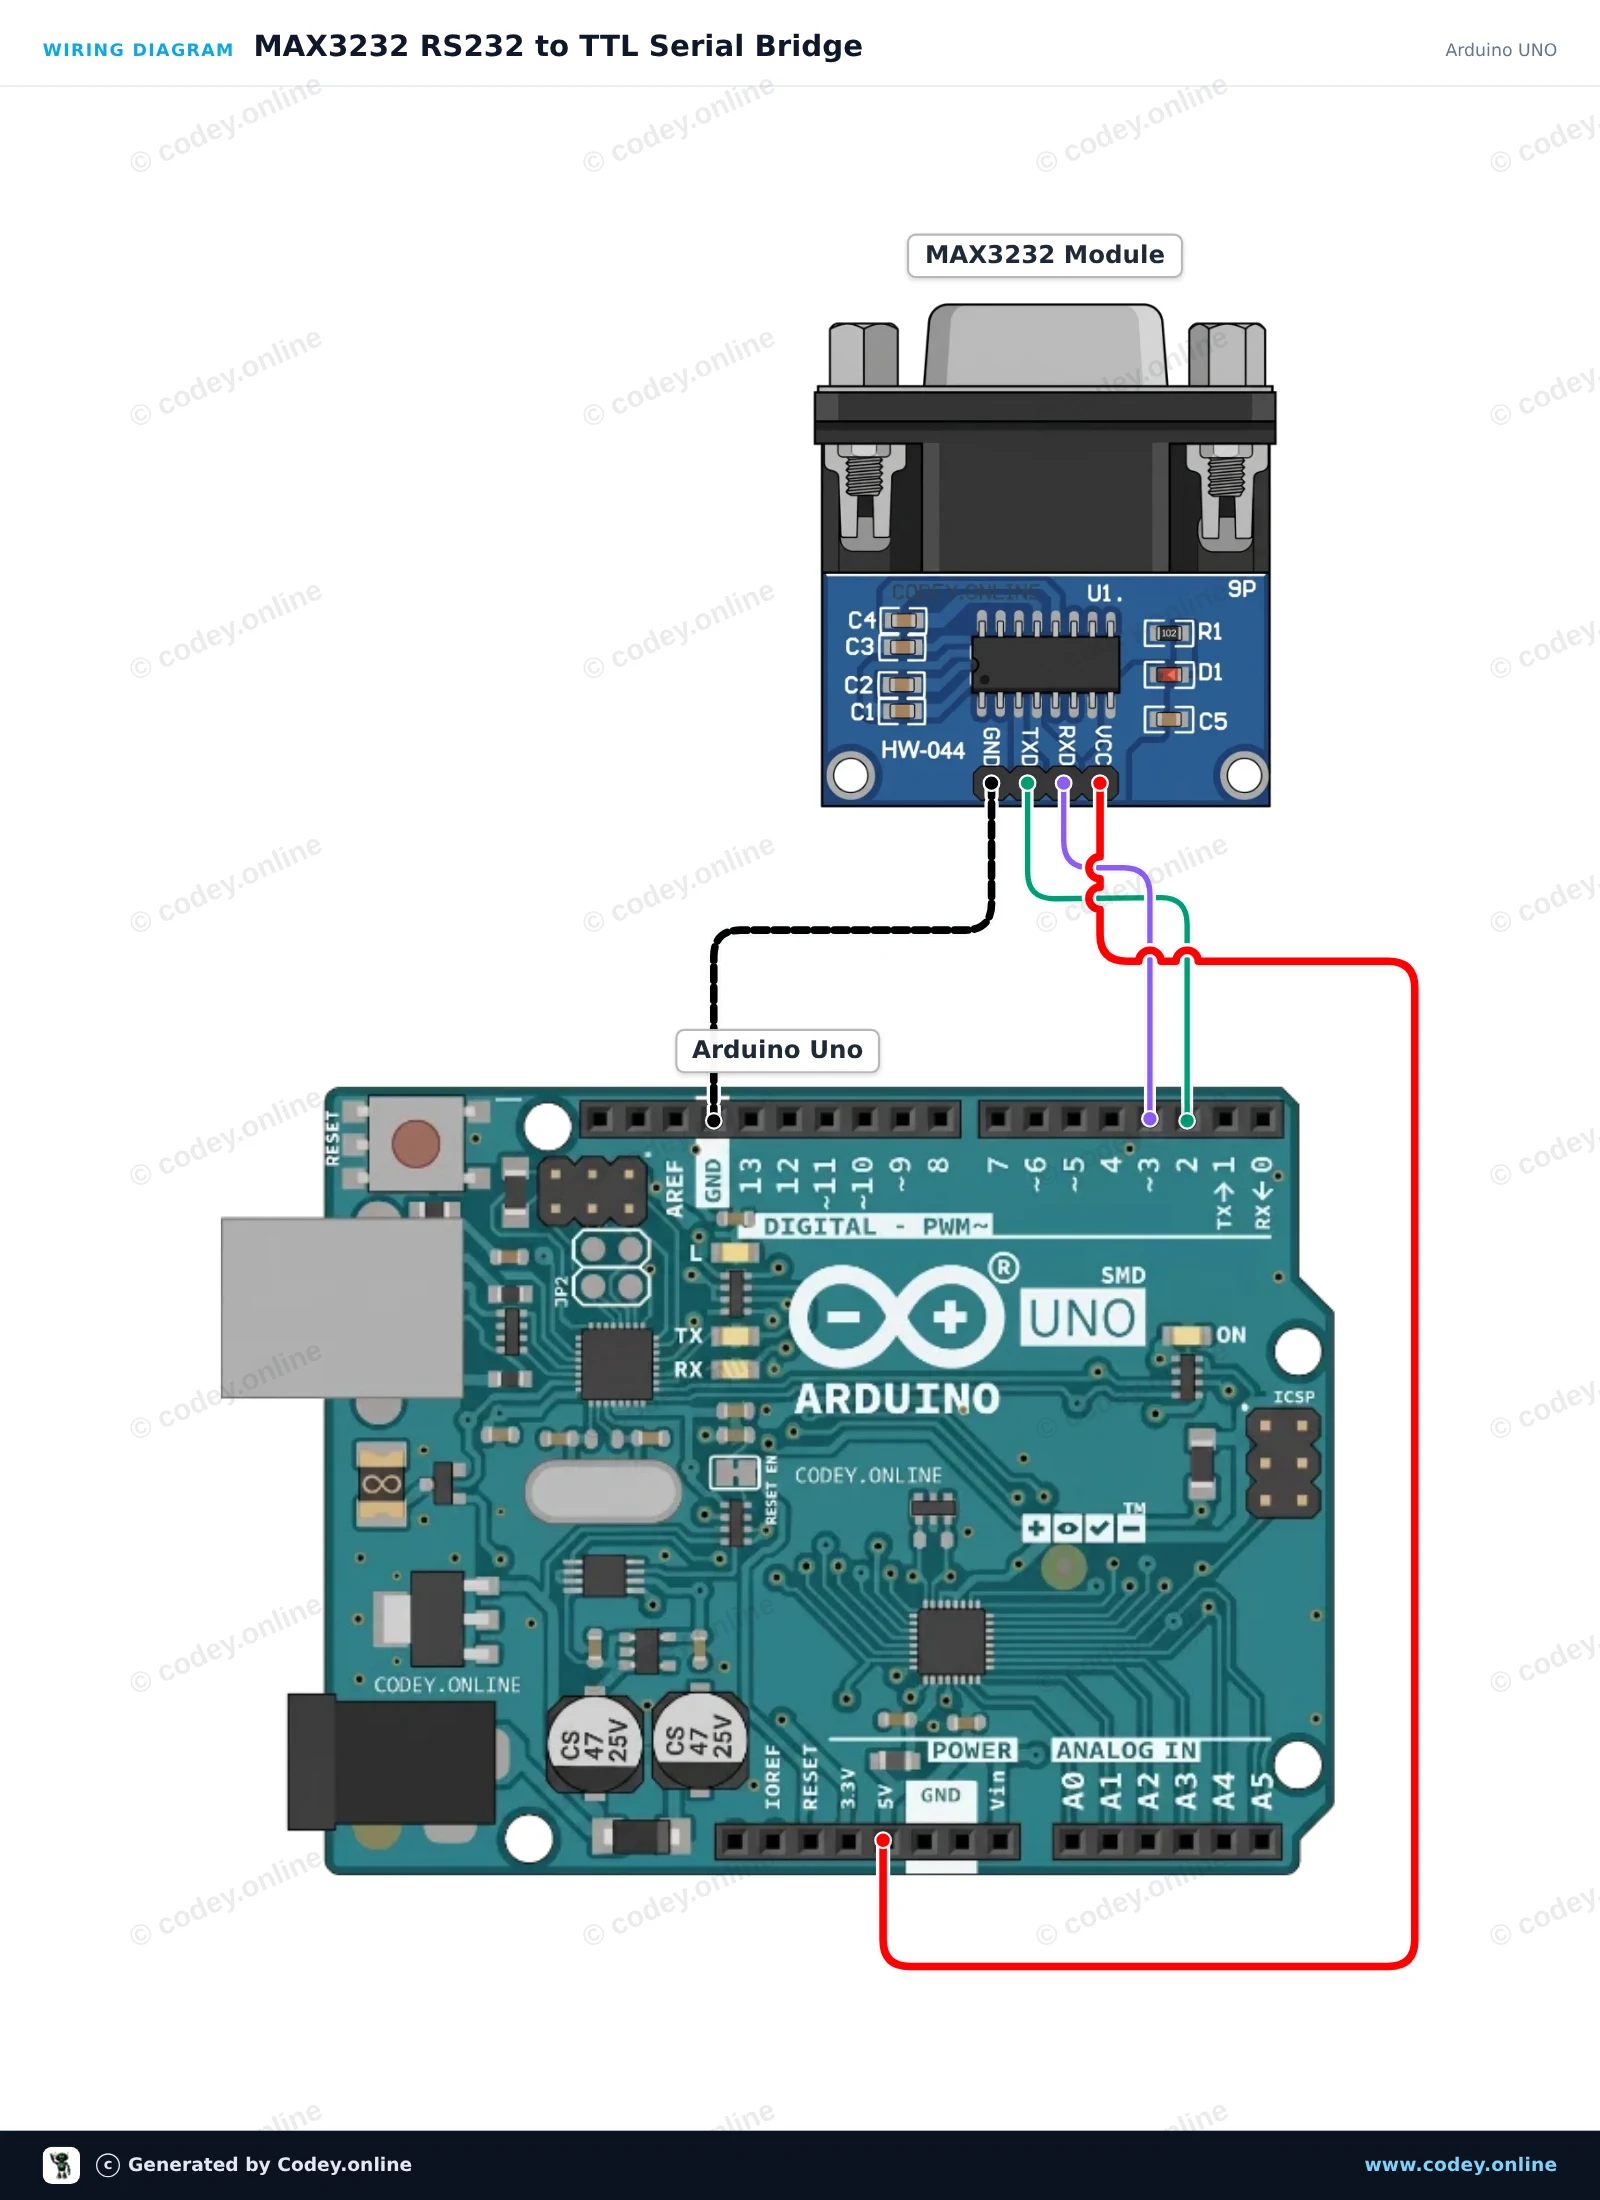
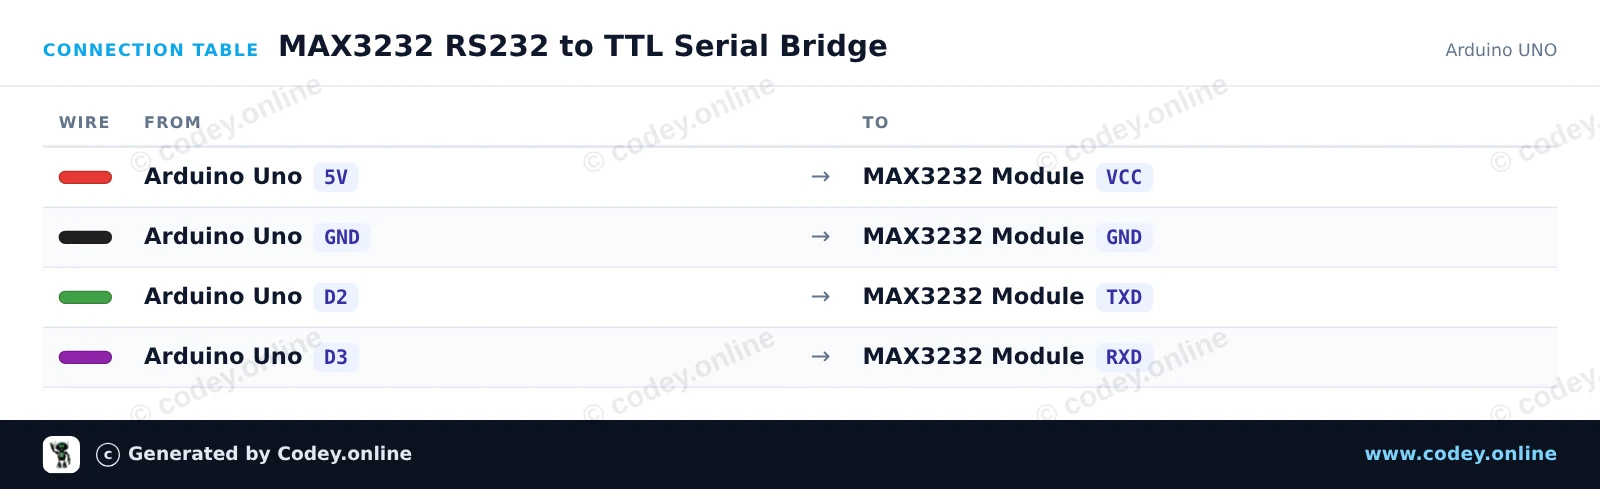
Ето как да свържеш MAX3232 RS232 към TTL серийна модула към Arduino UNO или ESP32, с примерен sketch, който можеш да качиш веднага.
Този проект създава прозрачен сериен мост между Arduino USB Serial Monitor и RS232 устройство чрез модула MAX3232. SoftwareSerial управлява комуникацията на пиновете D2 и D3 при 9600 baud, като оставя хардуерния Serial свободен за монитора на компютъра. Всеки символ, въведен в Serial Monitor, се предава по RS232, а всички входящи RS232 байтове се отпечатват в монитора.
/*
* ==================================================================
* Generated by Codey.online — https://www.codey.online
* ==================================================================
* Project : MAX3232 RS232 to TTL Serial Bridge
* Board : Arduino UNO (arduino:avr:uno)
* Parts : MAX3232 RS232 to TTL Serial Converter Module
* Libraries : none (built-in)
*
* Codey Online is an AI-powered browser IDE for Arduino and ESP32.
* Describe your project and Codey writes the code, draws the wiring
* diagram and uploads it to your board, straight from the browser.
* This code is free to use, modify and share, without warranty.
* ==================================================================
*/
#include <SoftwareSerial.h>
const uint8_t RX_PIN = 2; // Connect to MAX3232 TXD
const uint8_t TX_PIN = 3; // Connect to MAX3232 RXD
SoftwareSerial rs232Serial(RX_PIN, TX_PIN);
void setup() {
Serial.begin(115200);
rs232Serial.begin(9600);
Serial.println(F("--- MAX3232 RS232 Bridge Ready ---"));
Serial.println(F("Type in the Serial Monitor (115200 baud) to send over RS232 (9600 baud)."));
Serial.println(F("Any response from the RS232 device will appear here."));
}
void loop() {
// Forward characters from the USB Serial Monitor to the RS232 module
while (Serial.available() > 0) {
char c = Serial.read();
rs232Serial.write(c);
}
// Forward characters from the RS232 module to the USB Serial Monitor
while (rs232Serial.available() > 0) {
char c = rs232Serial.read();
Serial.write(c);
}
}
Wiring diagram and example code generated by Codey.online — https://www.codey.online
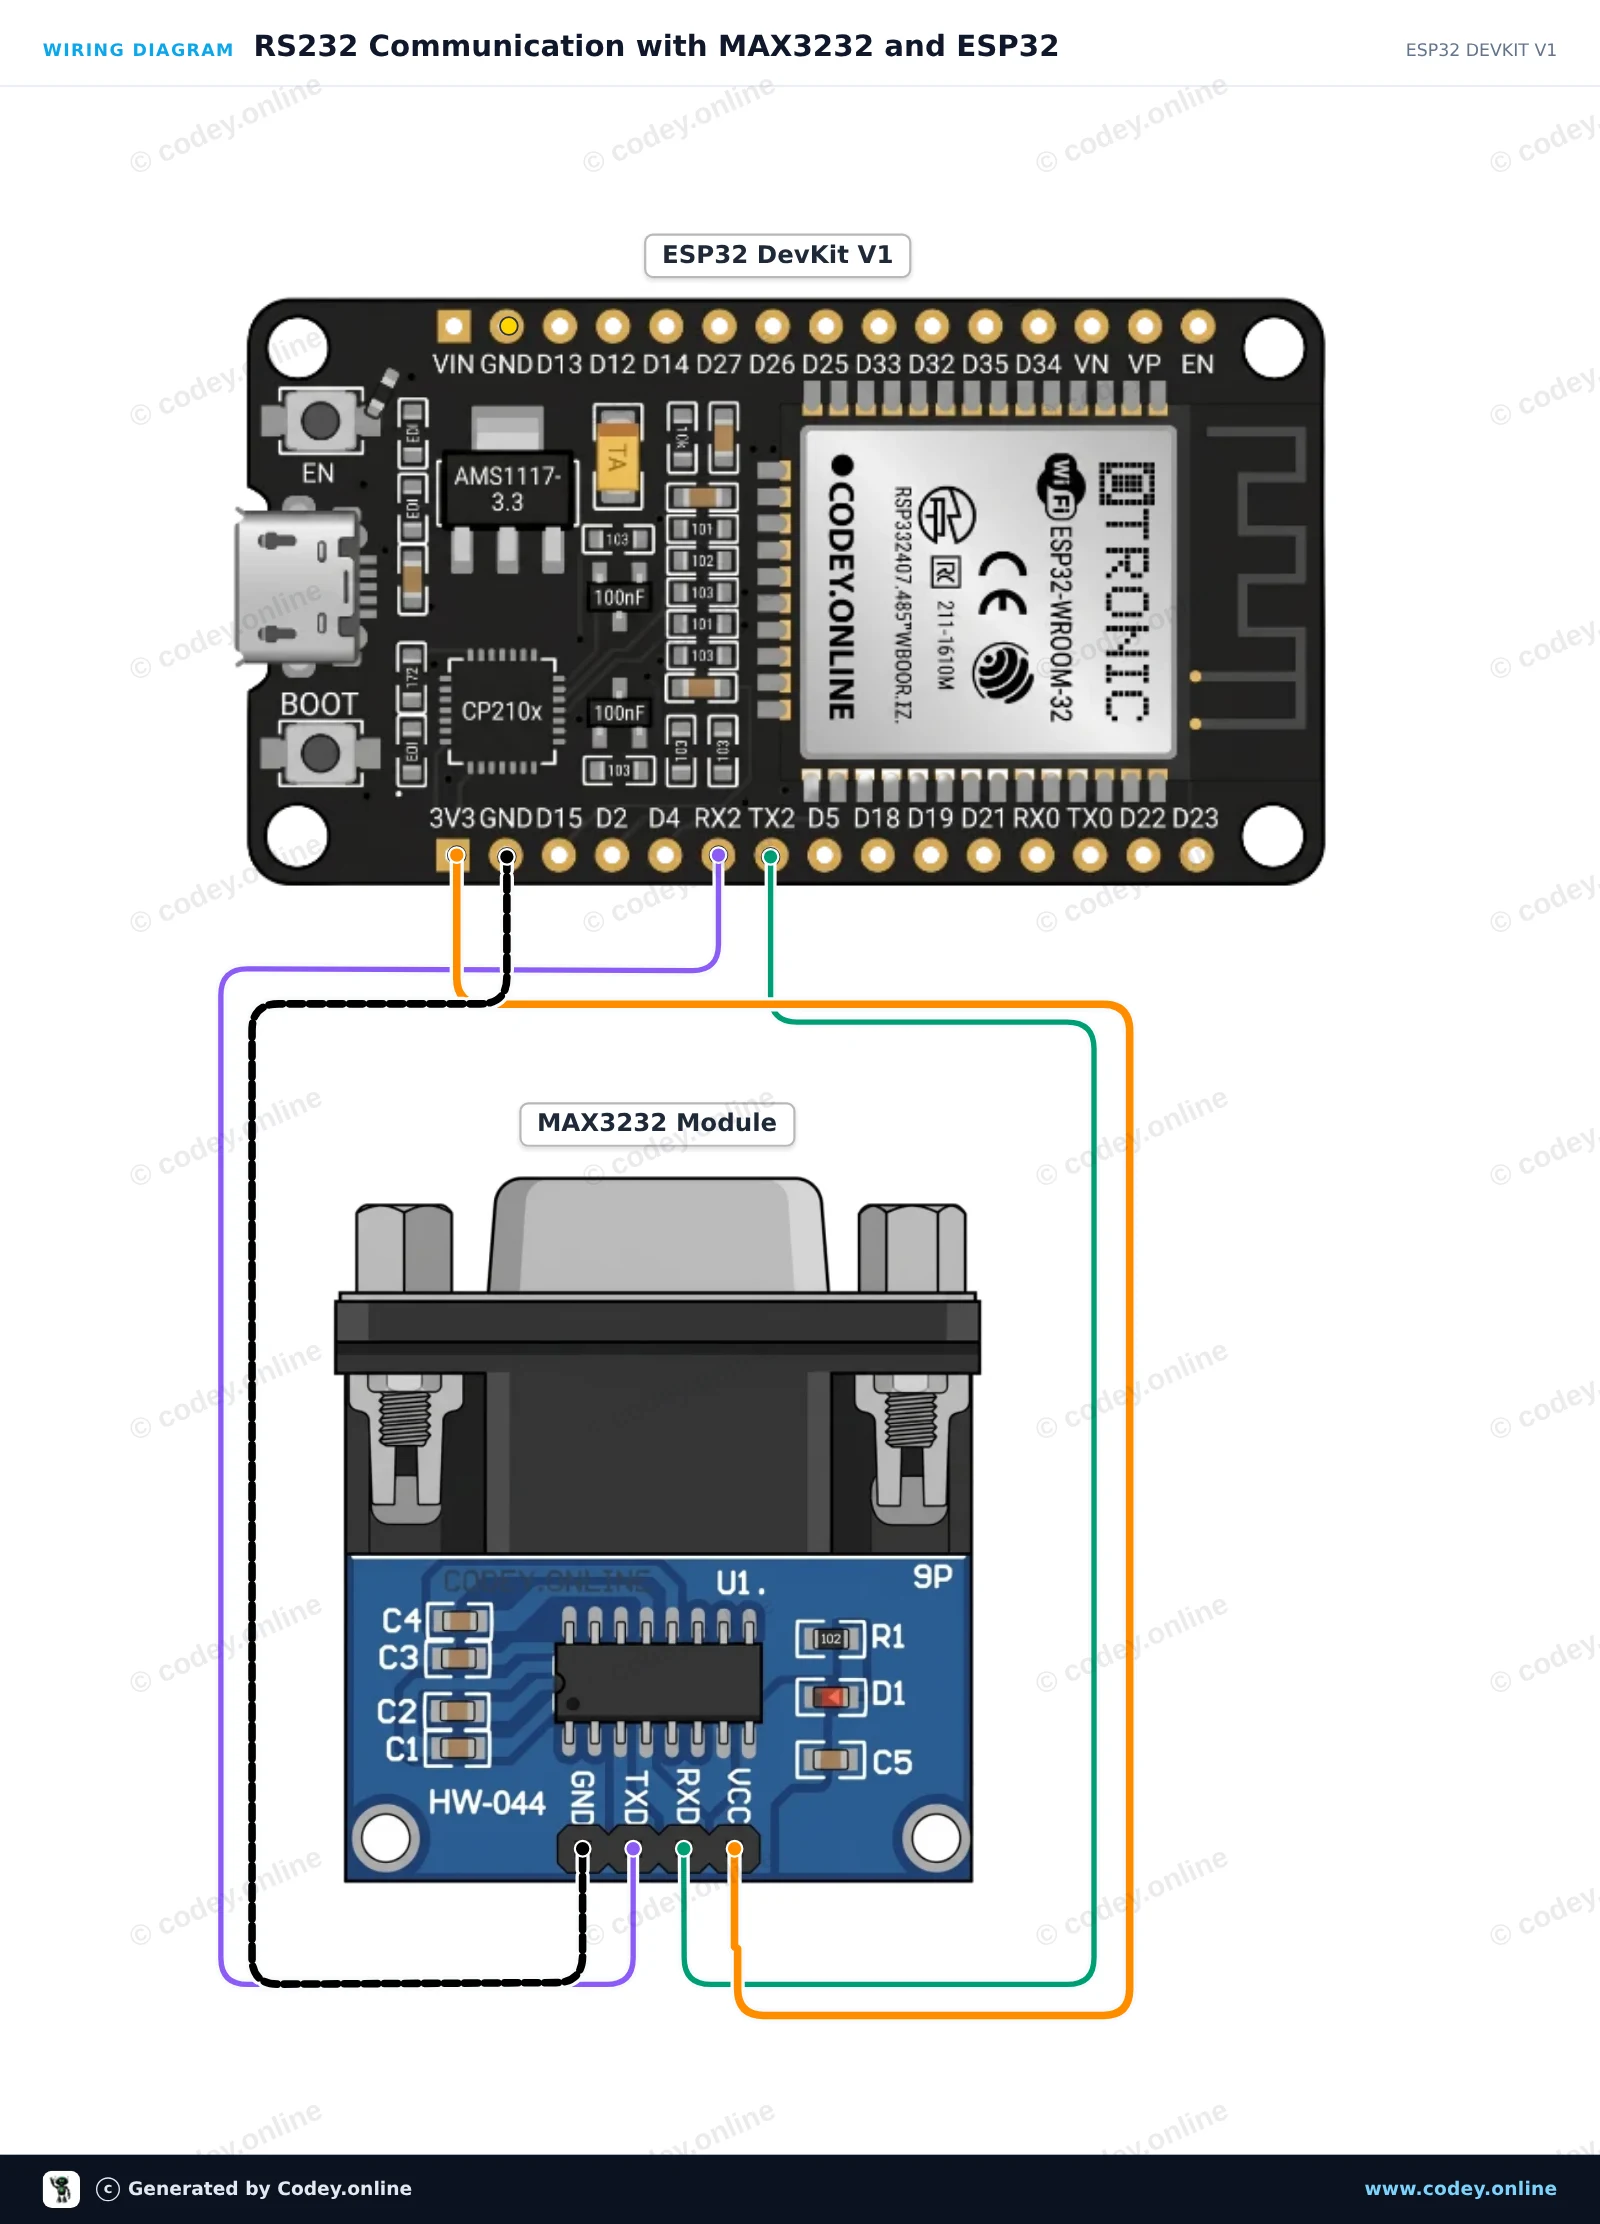
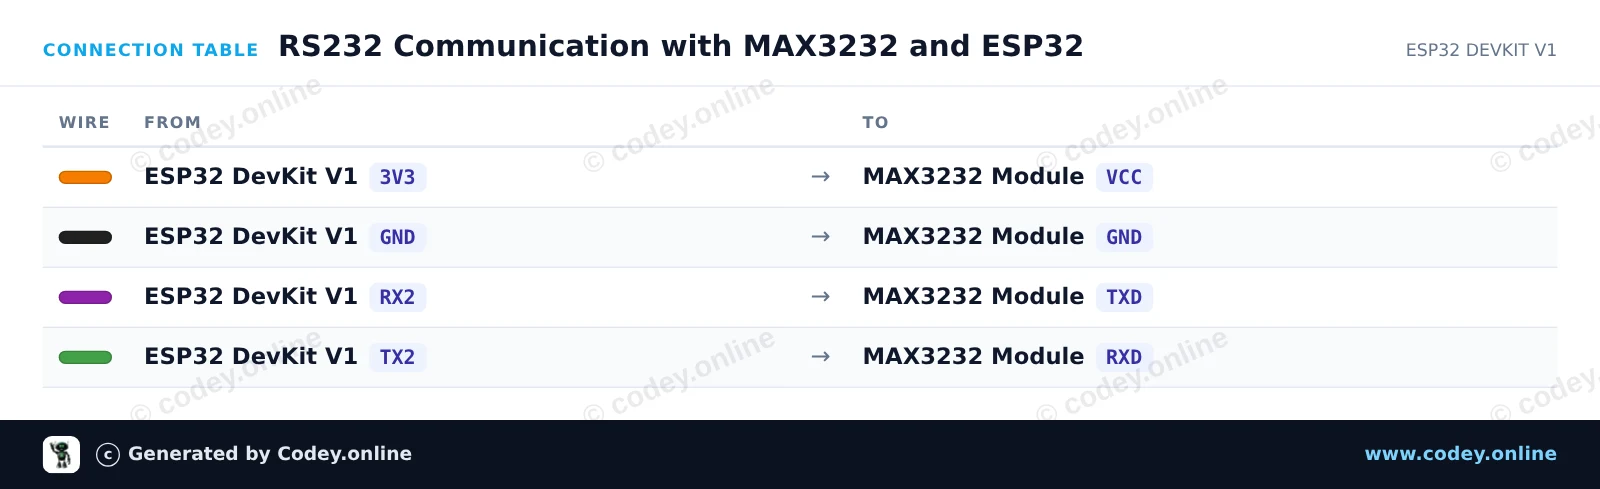
Този проект свързва ESP32 с модул MAX3232, за да позволи RS232 серийна комуникация. ESP32 използва Hardware Serial2 за изпращане и приемане на RS232 сигнали при 3.3V логически нива. За да проверите работата в рамките на няколко минути, свържете пинове 2 и 3 (RX и TX) на DB9 конектора на модула за loopback тест, който връща изходящите съобщения обратно към Serial Monitor.
/*
* ==================================================================
* Generated by Codey.online — https://www.codey.online
* ==================================================================
* Project : RS232 Communication with MAX3232 and ESP32
* Board : ESP32 DEVKIT V1 (esp32:esp32:esp32doit-devkit-v1)
* Parts : MAX3232 RS232 to TTL Serial Converter Module
* Libraries : none (built-in)
*
* Codey Online is an AI-powered browser IDE for Arduino and ESP32.
* Describe your project and Codey writes the code, draws the wiring
* diagram and uploads it to your board, straight from the browser.
* This code is free to use, modify and share, without warranty.
* ==================================================================
*/
// MAX3232 RS232 Demo for ESP32 DEVKIT V1
// Uses Hardware Serial2: GPIO 16 (RX2) and GPIO 17 (TX2)
const int RX_PIN = 16;
const int TX_PIN = 17;
unsigned long lastSendTime = 0;
const unsigned long sendInterval = 2000; // Send a test string every 2 seconds
int messageCounter = 0;
void setup() {
// USB Serial Monitor
Serial.begin(115200);
while (!Serial && millis() < 2000);
// RS232 Port on Serial2 (9600 baud, 8N1)
Serial2.begin(9600, SERIAL_8N1, RX_PIN, TX_PIN);
Serial.println("--- MAX3232 RS232 Bridge Initialized ---");
Serial.println("Tip: Short DB9 pins 2 & 3 for an automatic loopback test.");
}
void loop() {
// Periodically send a message out via RS232
if (millis() - lastSendTime >= sendInterval) {
lastSendTime = millis();
messageCounter++;
String msg = "RS232 Test Message #" + String(messageCounter);
Serial2.println(msg);
Serial.print("[RS232 TX] ");
Serial.println(msg);
}
// Print any incoming data from the RS232 interface
if (Serial2.available()) {
Serial.print("[RS232 RX] ");
while (Serial2.available()) {
char inChar = (char)Serial2.read();
Serial.print(inChar);
}
}
// Forward any user input from Serial Monitor to RS232
if (Serial.available()) {
char outChar = (char)Serial.read();
Serial2.write(outChar);
}
}
Wiring diagram and example code generated by Codey.online — https://www.codey.online
MAX3232 RS232 към TTL сериен порт конверторен модул DB9 конектор
Основните параметри:
Контролен чип: MAX3232
Работно напрежение: 3.3V-5V DC
Работен ток: 6mA
Захранване: външно
Интерфейс: TXD, RXD, GND, VCC
Общи размери: 33 mm x 32 mm x 16 mm

| Размери | 33 mm x 32 mm x 16 mm |
|---|---|
| Свързване | DB9 конектор |
| Модел | MAX3232 |
| Захранване | 6mA |
Напълно отговаря на очакванията.
Работи добре, свързан към Esp32 за връзка с хибриден инвертор
Още не е тествано.
Свързах модула Rs232 с Arduino Uno за Rs232 връзка за данни с Anenji Hybrid inverter, за да извличам актуалните данни от него. Работи отлично и съм доволен от това.
отлични продукти !
MAX3232 RS232 към TTL серийна модула