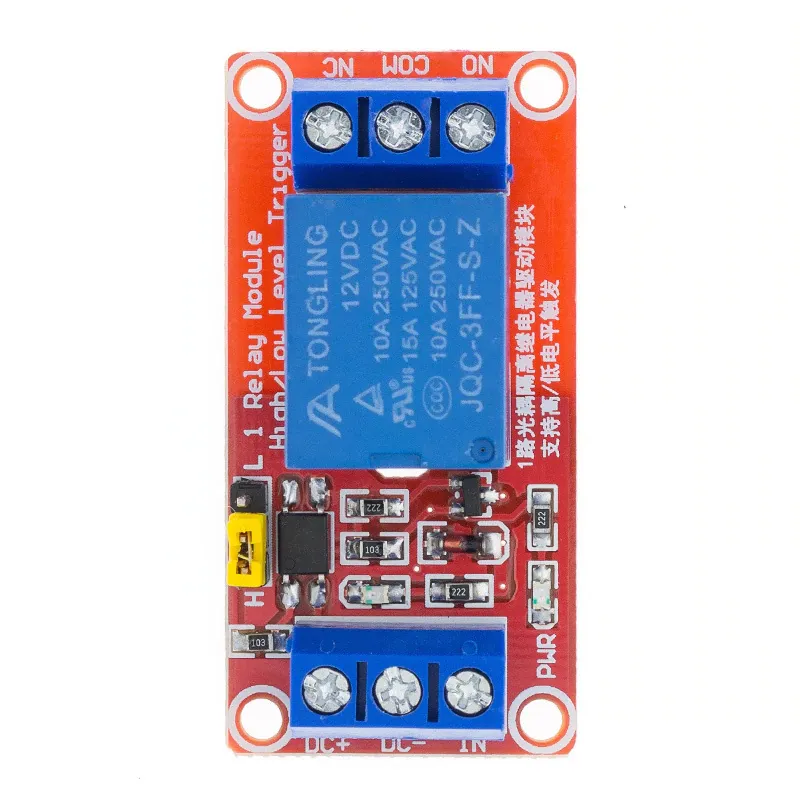
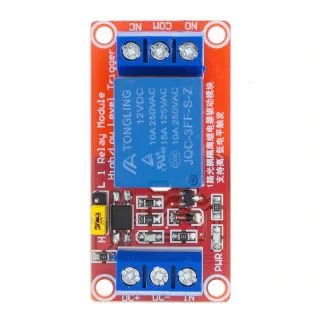
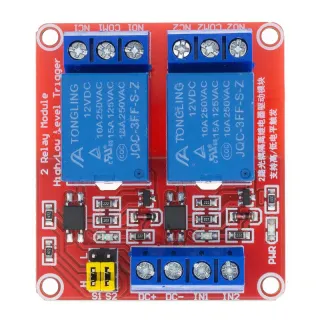
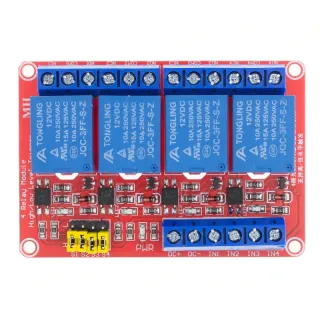
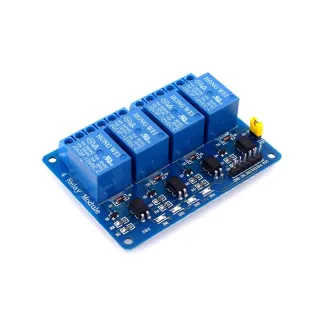
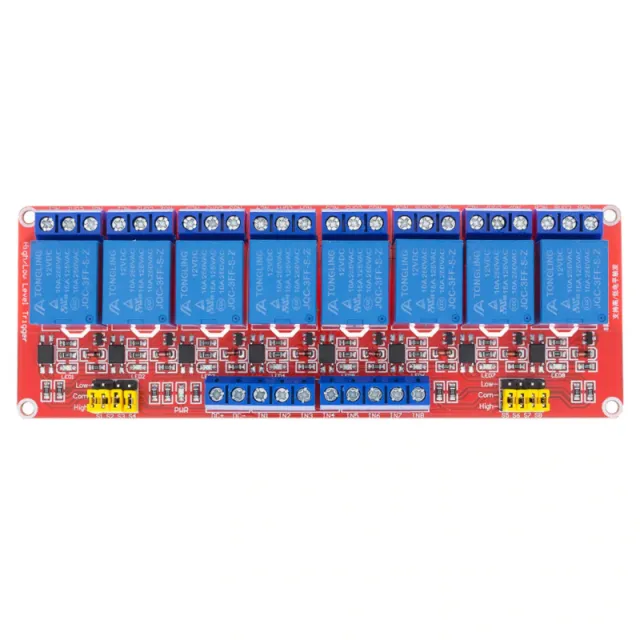
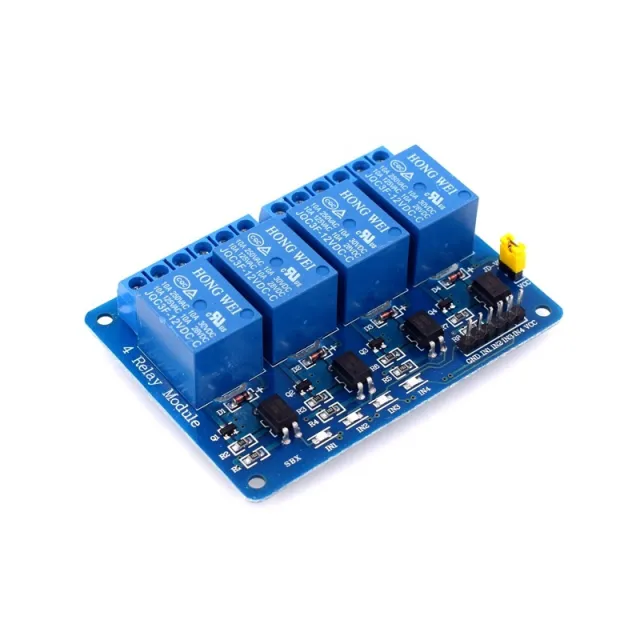
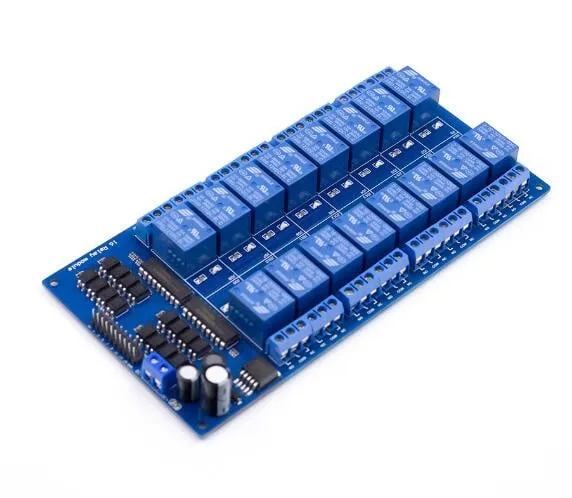
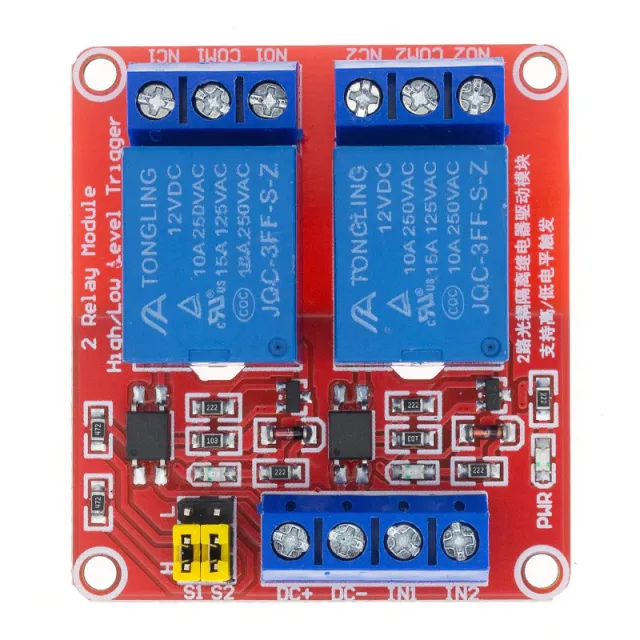
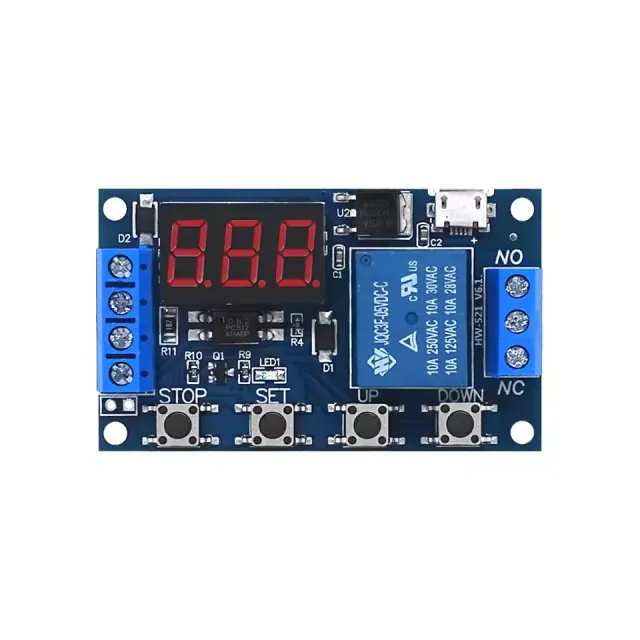
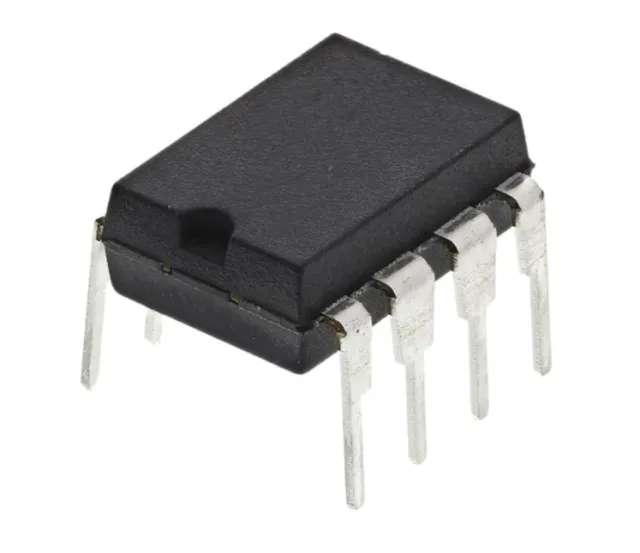
Релейен модул 12V с 1 реле на печатна платка и LED индикатор за превключване на високо натоварване.
SKU: OT901-C111 Артикулен номер: BA050 EAN: 5408955714471 Местоположение: C11.01
Алтернатива
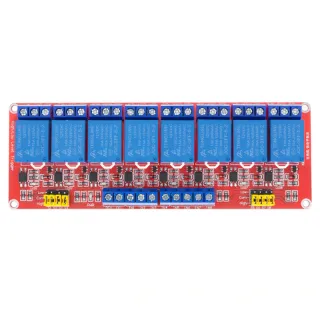
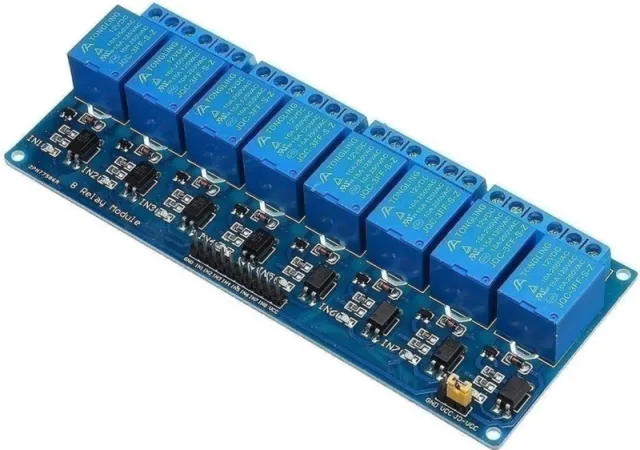
Релейен модул 12v | 8-канален
€ 9,85
Виж тази алтернатива
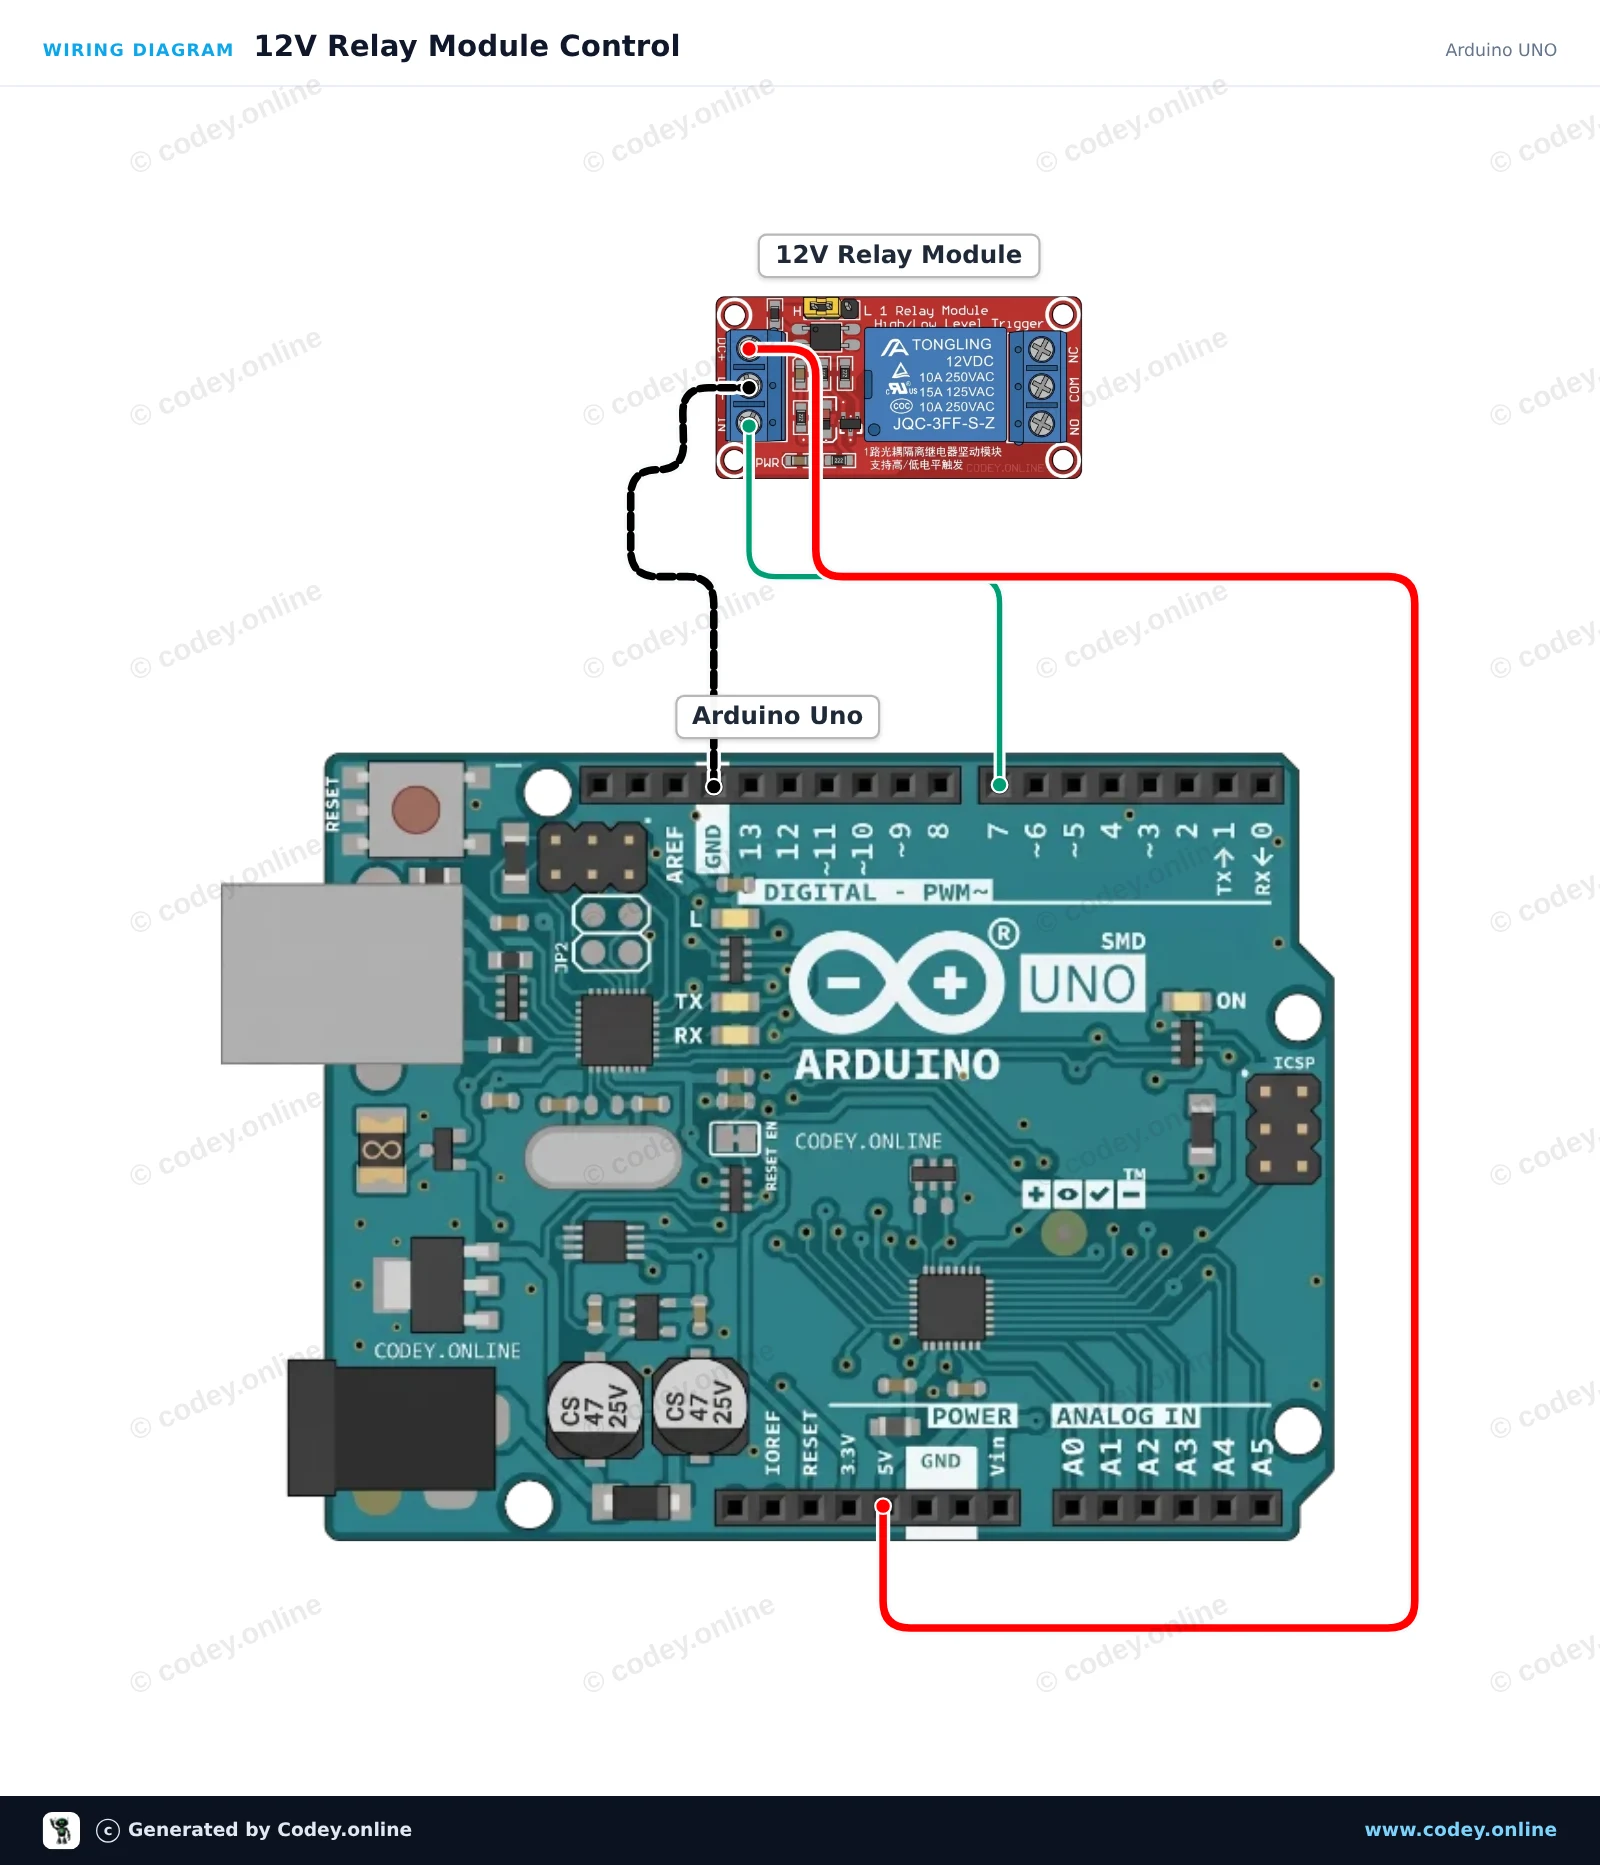
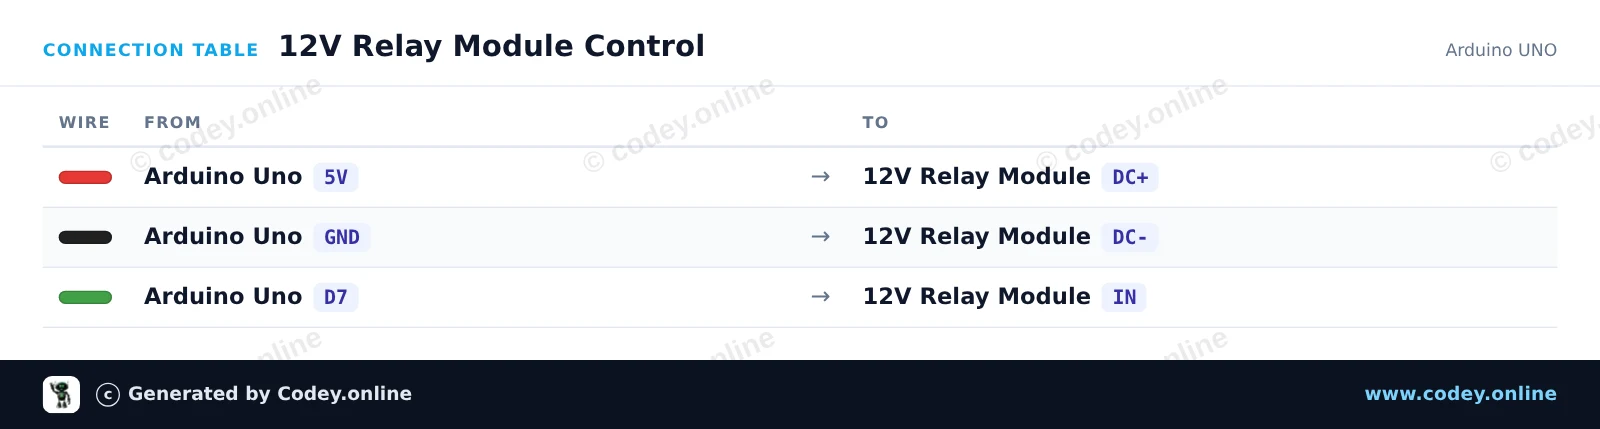
Ето как да свържеш Релейен модул 12v към Arduino UNO или ESP32, с примерен sketch, който можеш да качиш веднага.
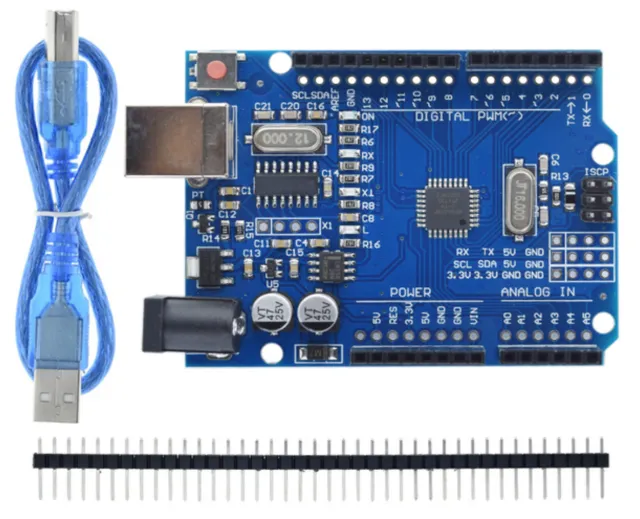
Този проект показва как да управлявате 12V релеен модул с Arduino Uno. Скетчът периодично включва и изключва релето на всеки 2 секунди, като показва текущото състояние в Serial Monitor. Вграден LED индикатор на модула ще светне, когато релето е захранено.
/*
* ==================================================================
* Generated by Codey.online — https://www.codey.online
* ==================================================================
* Project : 12V Relay Module Control
* Board : Arduino UNO (arduino:avr:uno)
* Parts : Relais Module 12v AC250V 10A Relais 12v 1 relais LED indicator
* Libraries : none (built-in)
*
* Codey Online is an AI-powered browser IDE for Arduino and ESP32.
* Describe your project and Codey writes the code, draws the wiring
* diagram and uploads it to your board, straight from the browser.
* This code is free to use, modify and share, without warranty.
* ==================================================================
*/
// Pin configuration
const int RELAY_PIN = 7;
void setup() {
// Initialize serial communication
Serial.begin(115200);
while (!Serial) {
; // Wait for serial port to connect
}
// Configure relay control pin
pinMode(RELAY_PIN, OUTPUT);
digitalWrite(RELAY_PIN, HIGH); // Default off (active-low module)
Serial.println(F("12V Relay Module Demo Initialized"));
}
void loop() {
// Activate relay (Low-level trigger)
Serial.println(F("Relay: ON"));
digitalWrite(RELAY_PIN, LOW);
delay(2000);
// Deactivate relay
Serial.println(F("Relay: OFF"));
digitalWrite(RELAY_PIN, HIGH);
delay(2000);
}
Wiring diagram and example code generated by Codey.online — https://www.codey.online
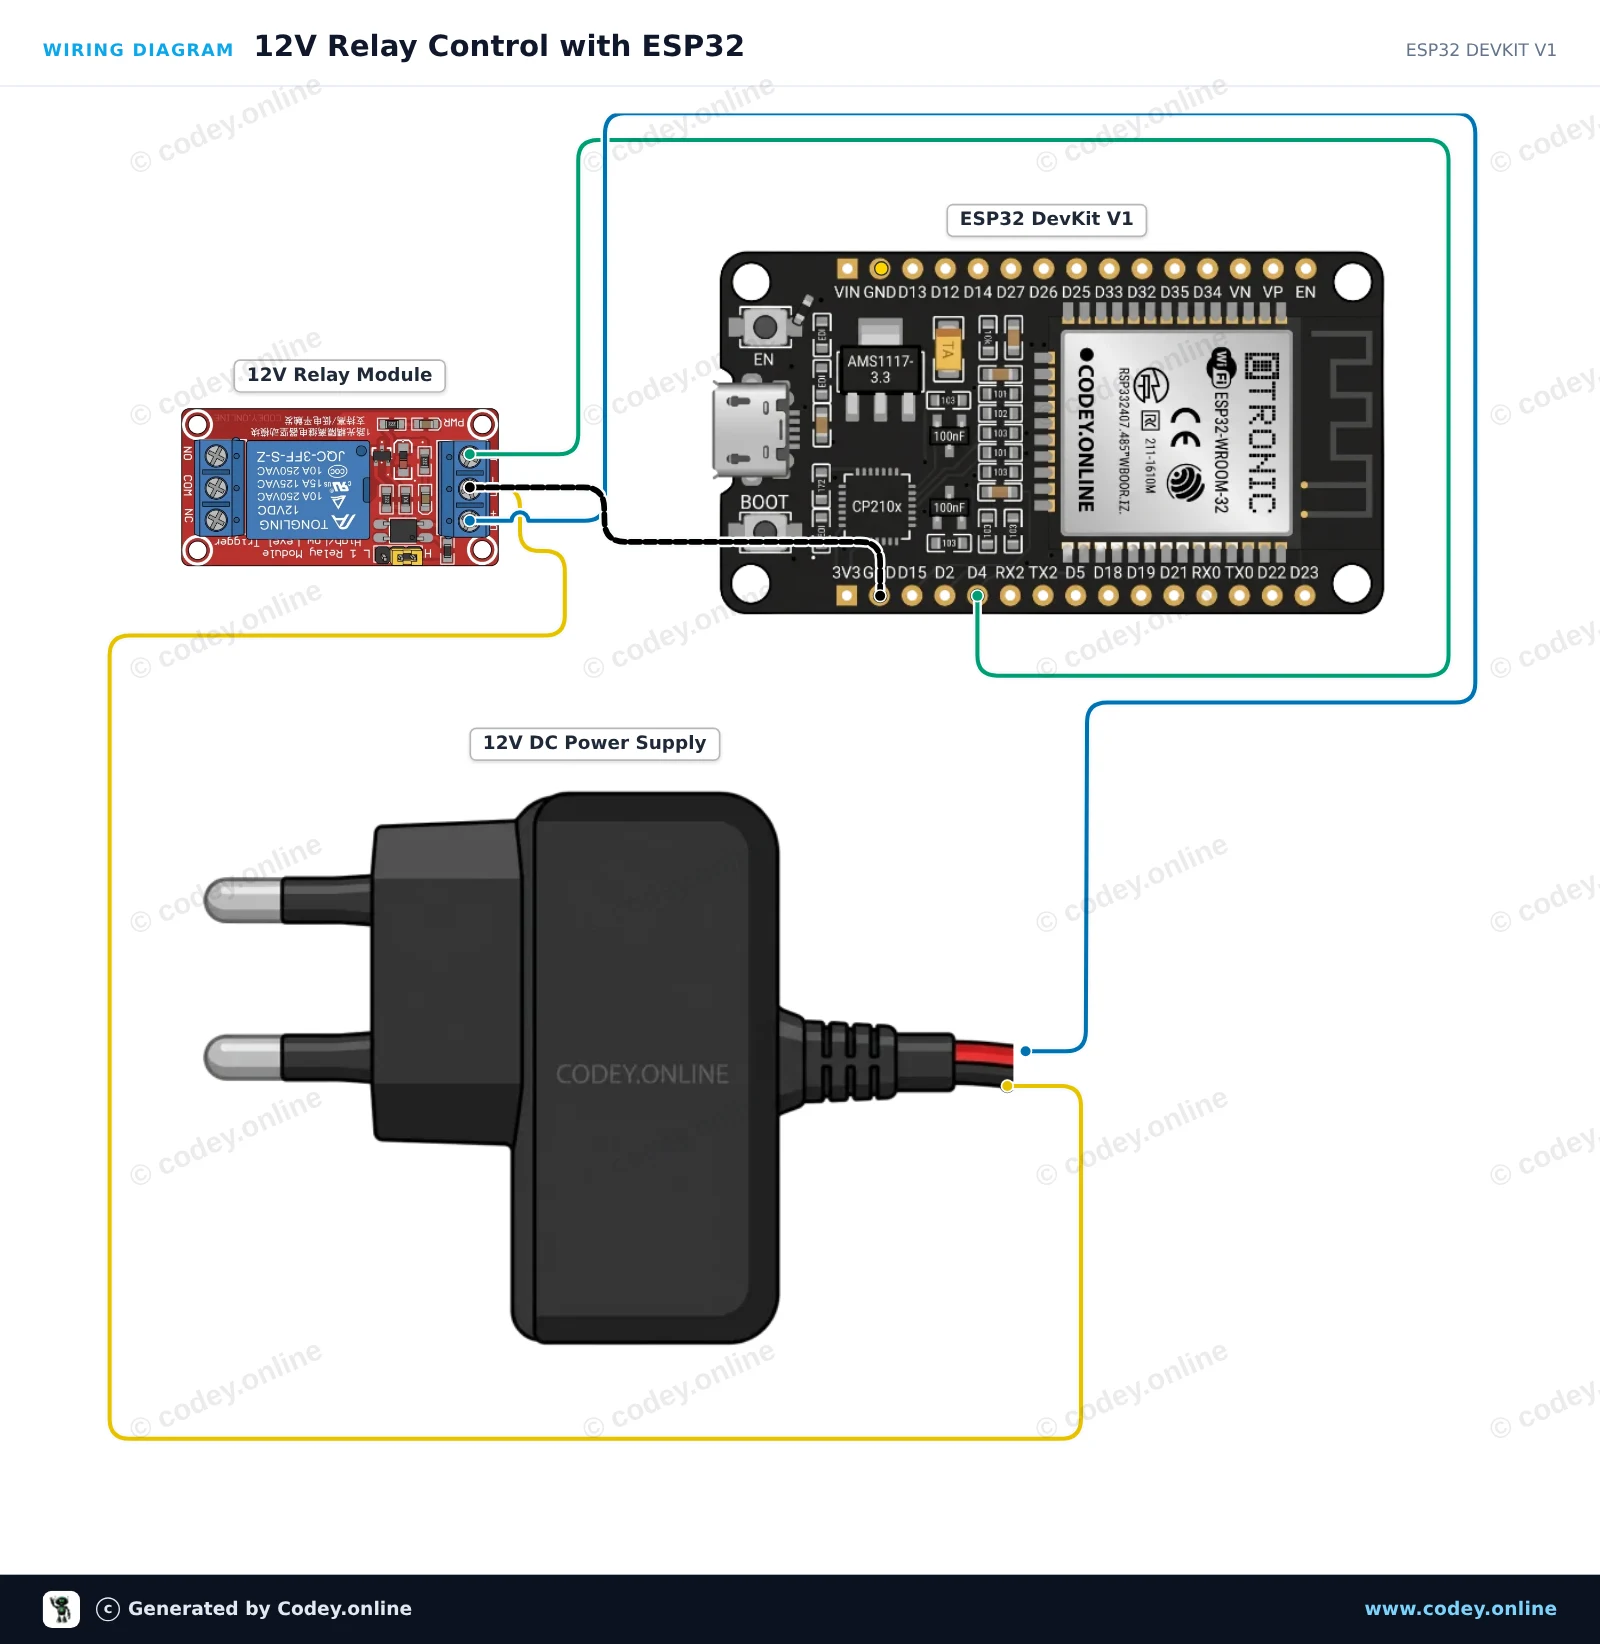
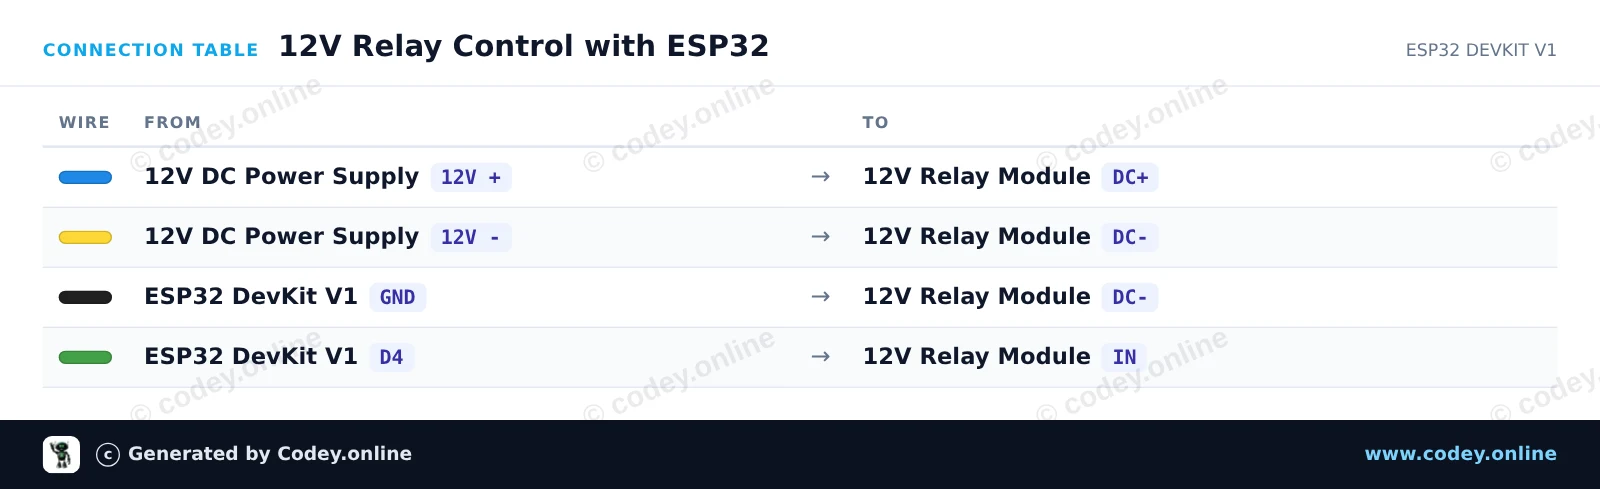
Този проект показва как да управлявате 12V едноканален релеен модул с ESP32. Бобината на релето се захранва от външно 12V DC захранване със споделена маса с ESP32, а GPIO 4 включва и изключва релето на всеки две секунди.
/*
* ==================================================================
* Generated by Codey.online — https://www.codey.online
* ==================================================================
* Project : 12V Relay Control with ESP32
* Board : ESP32 DEVKIT V1 (esp32:esp32:esp32doit-devkit-v1)
* Parts : Relais Module 12v AC250V 10A Relais 12v 1 relais LED indicator
* Libraries : none (built-in)
*
* Codey Online is an AI-powered browser IDE for Arduino and ESP32.
* Describe your project and Codey writes the code, draws the wiring
* diagram and uploads it to your board, straight from the browser.
* This code is free to use, modify and share, without warranty.
* ==================================================================
*/
// Pin connected to relay control input
const int RELAY_PIN = 4;
void setup() {
Serial.begin(115200);
// Configure relay pin as output
pinMode(RELAY_PIN, OUTPUT);
digitalWrite(RELAY_PIN, LOW);
Serial.println("ESP32 12V Relay Demo Started");
}
void loop() {
// Turn relay ON
Serial.println("Relay ON");
digitalWrite(RELAY_PIN, HIGH);
delay(2000);
// Turn relay OFF
Serial.println("Relay OFF");
digitalWrite(RELAY_PIN, LOW);
delay(2000);
}
Wiring diagram and example code generated by Codey.online — https://www.codey.online
Ключови думи: 12v relais, relais 12v, relay 12v, 12v relay
Размери
Дължина: 5,1cm
Ширина: 2,54cm
Височина: 1,9cm
| Ширина | 2,54 cm |
|---|---|
| Дължина | 5,1 cm |
| Височина | 1,9 cm |
| Възможно е високо натоварване | AC250V 10A |
Добър продукт на прилична цена
Върши това, което трябва
Добър продукт, при който сам трябва да откриеш свързванията чрез измерване и т.н. Това трябва да е по-добре
Релейен модул 12v