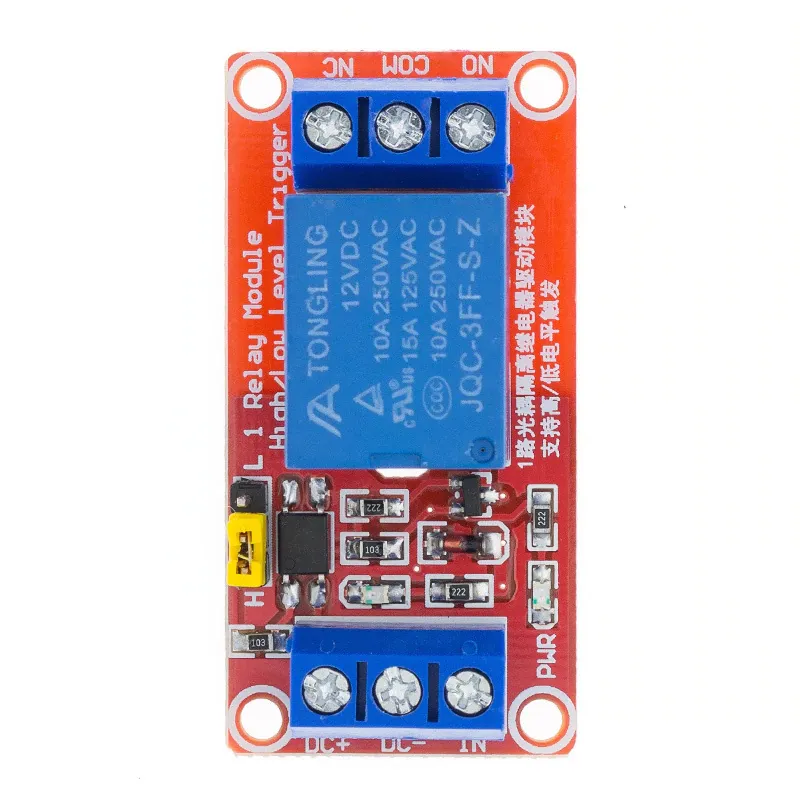
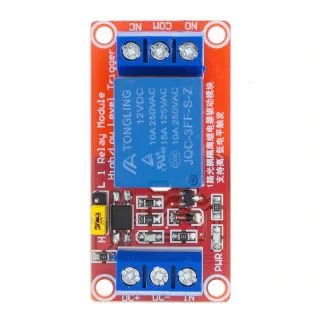
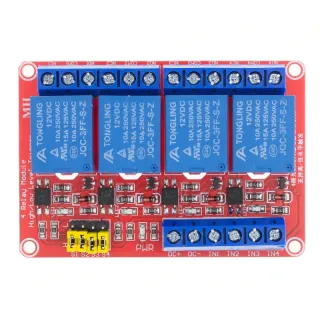
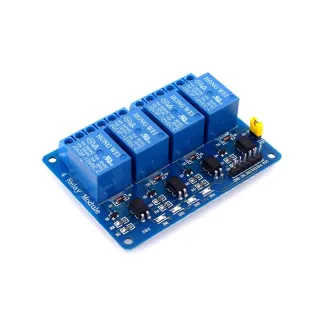
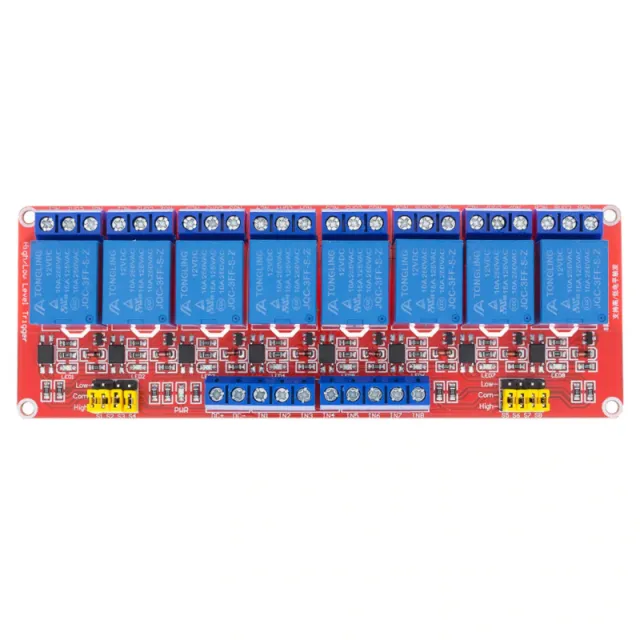
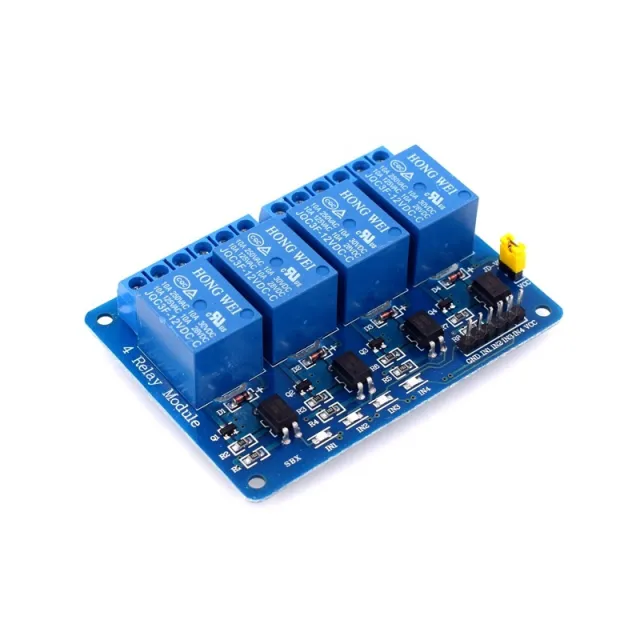
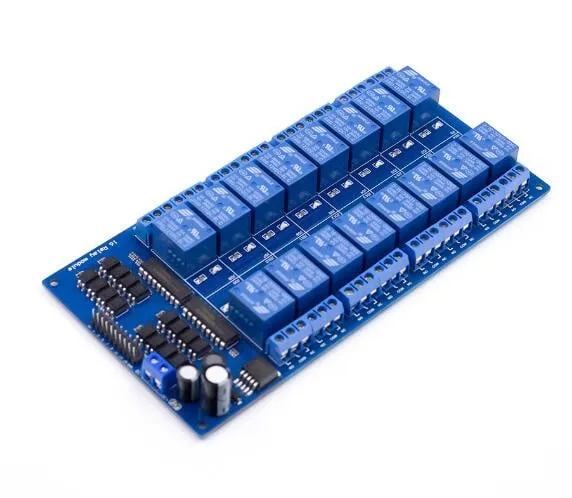
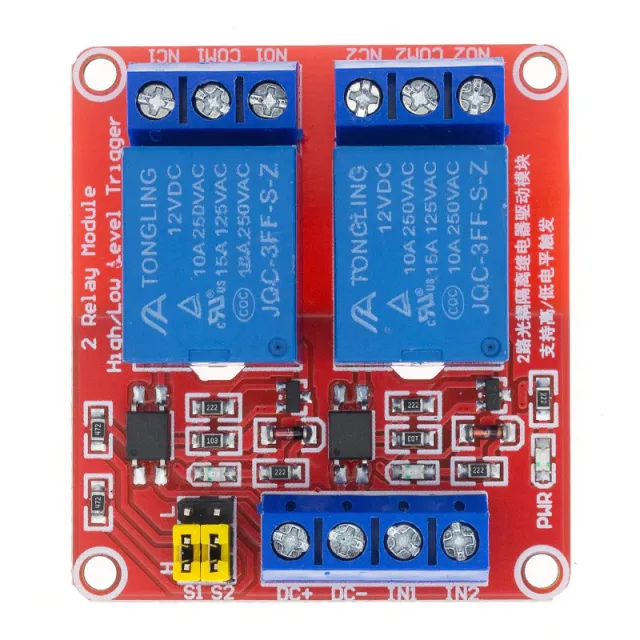
Relay module 12V with 1 relay on PCB and LED indicator for switching high loads.
SKU: OT901-C111 Article number: BA050 EAN: 5408955714471 Location: C11.01
Alternative
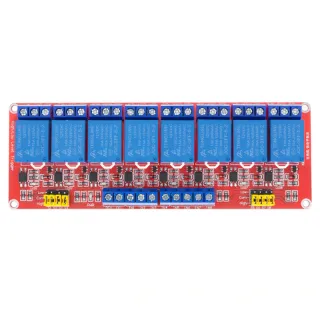
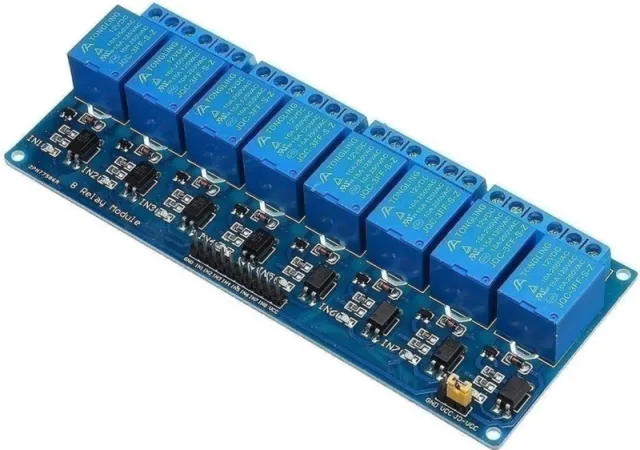
Relay Module 12V | 8-channel
€ 9,85
View this alternative
How to connect the Relay Module 12v to an Arduino UNO or ESP32, with an example sketch you can upload straight away.
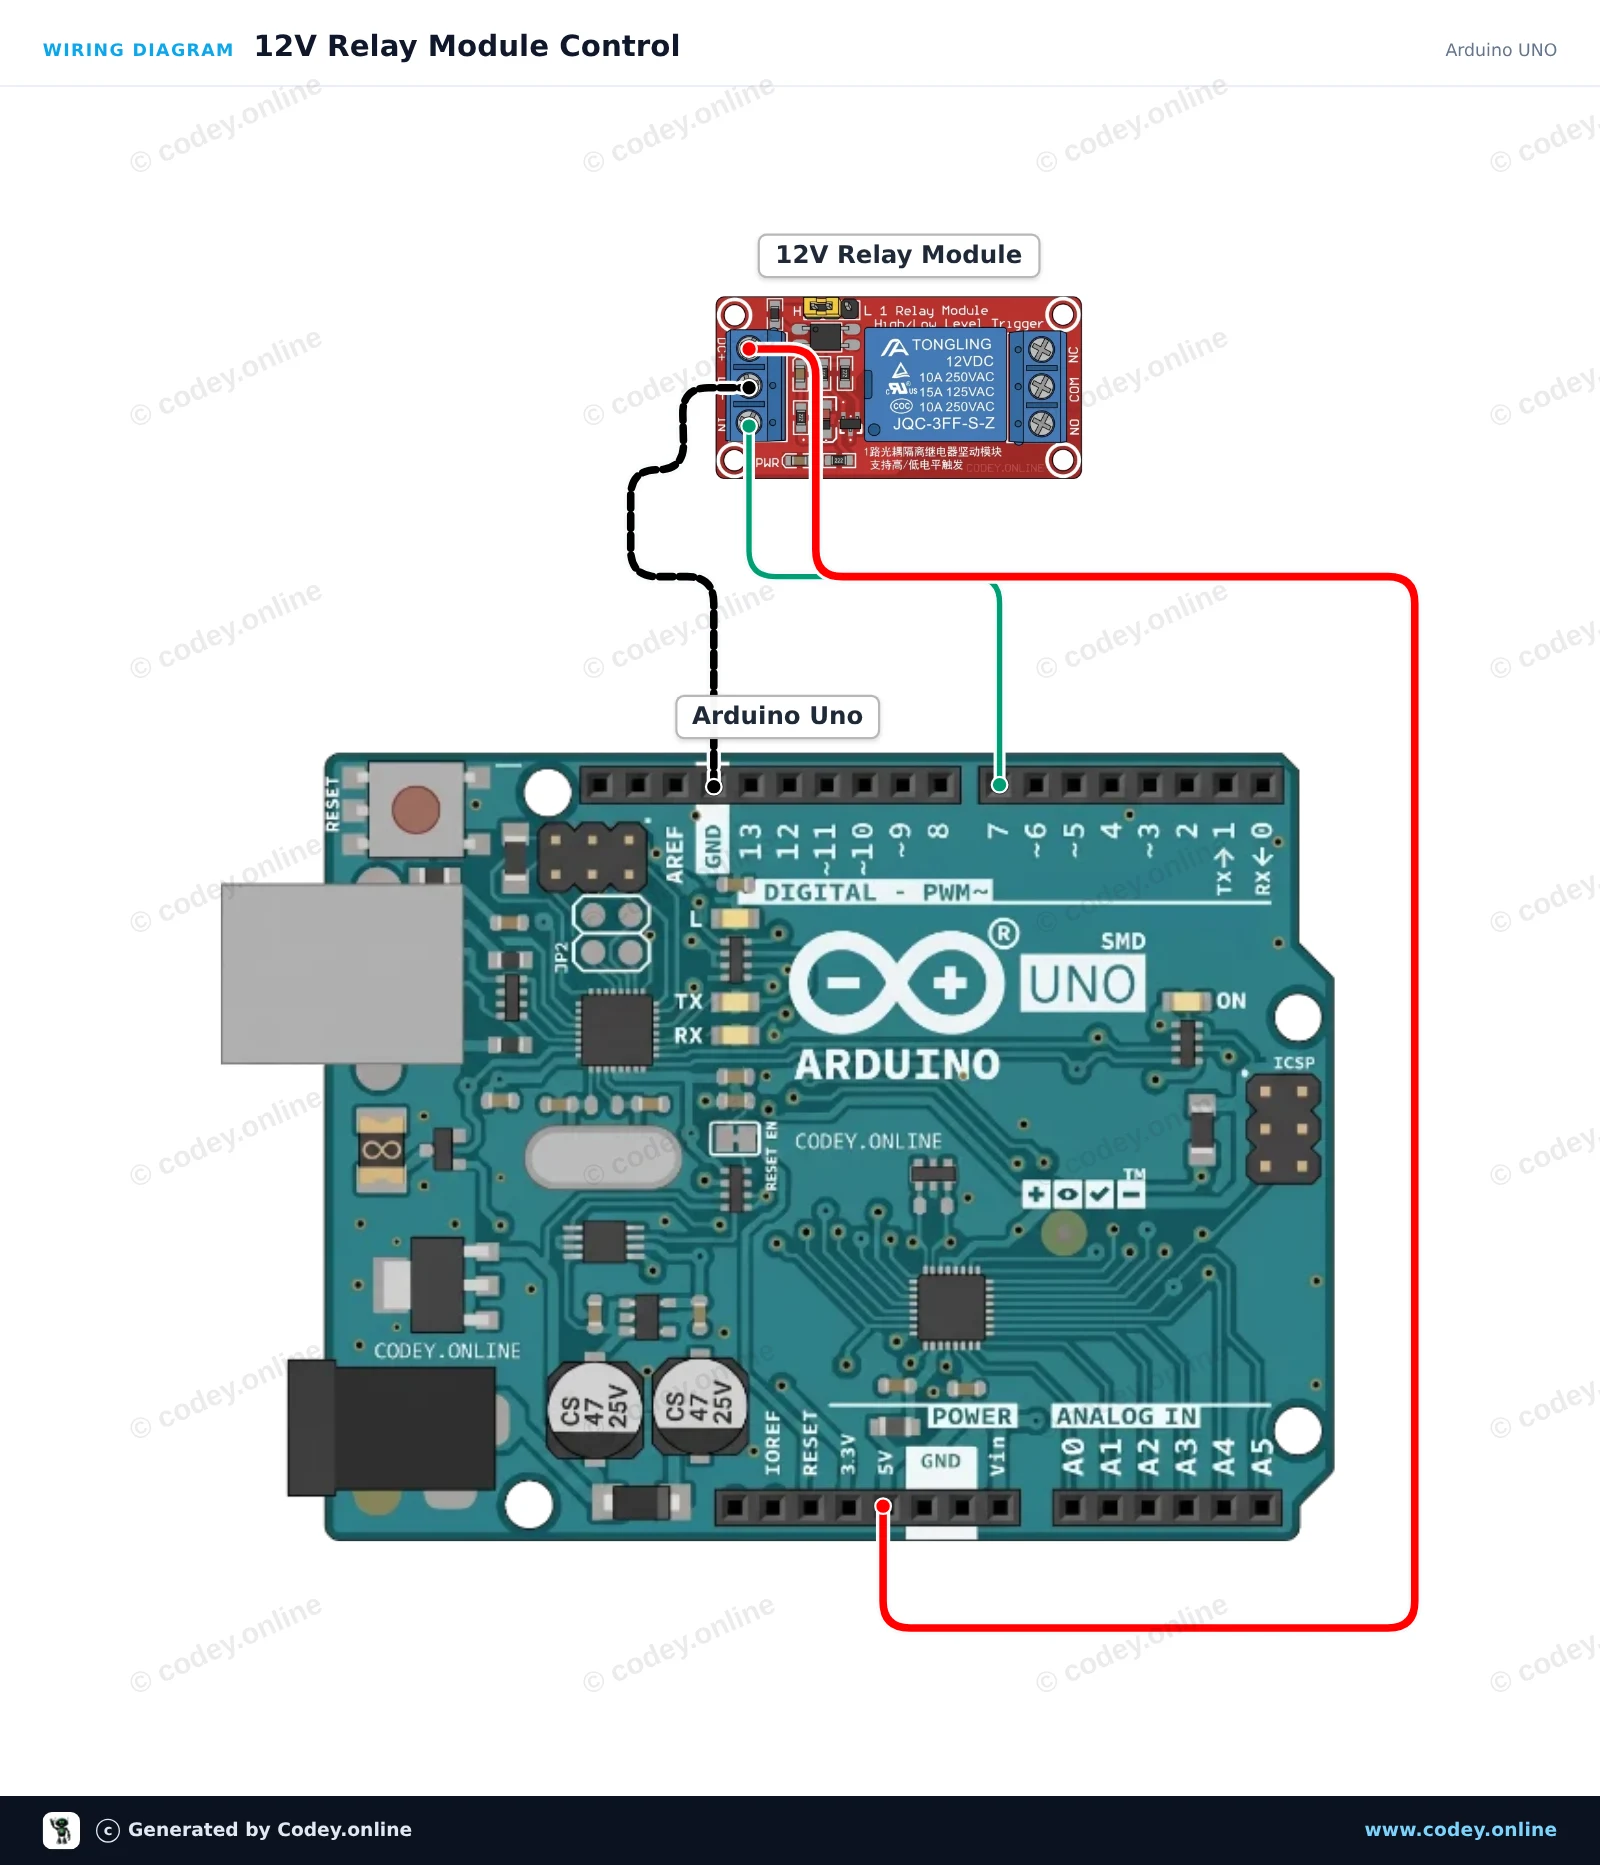
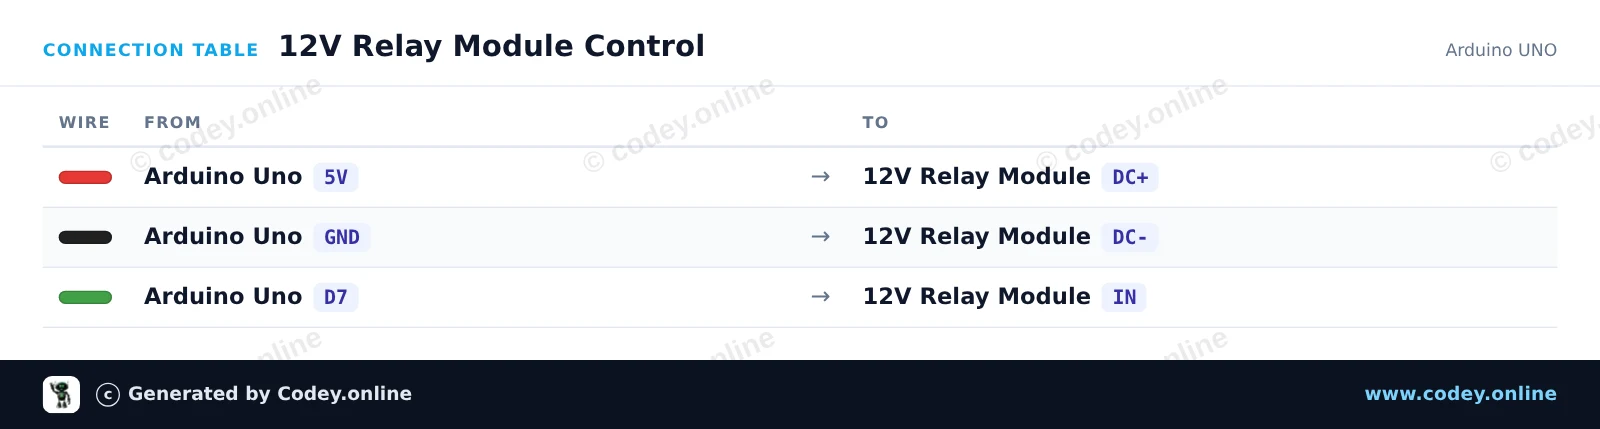
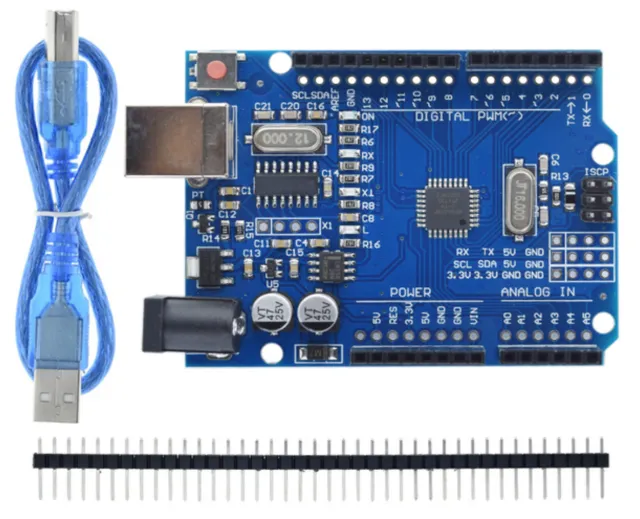
This project demonstrates how to control a 12V relay module with an Arduino Uno. The sketch periodically turns the relay ON and OFF every 2 seconds, displaying the current state in the Serial Monitor. An onboard LED indicator on the module will light up when the relay is energized.
/*
* ==================================================================
* Generated by Codey.online — https://www.codey.online
* ==================================================================
* Project : 12V Relay Module Control
* Board : Arduino UNO (arduino:avr:uno)
* Parts : Relais Module 12v AC250V 10A Relais 12v 1 relais LED indicator
* Libraries : none (built-in)
*
* Codey Online is an AI-powered browser IDE for Arduino and ESP32.
* Describe your project and Codey writes the code, draws the wiring
* diagram and uploads it to your board, straight from the browser.
* This code is free to use, modify and share, without warranty.
* ==================================================================
*/
// Pin configuration
const int RELAY_PIN = 7;
void setup() {
// Initialize serial communication
Serial.begin(115200);
while (!Serial) {
; // Wait for serial port to connect
}
// Configure relay control pin
pinMode(RELAY_PIN, OUTPUT);
digitalWrite(RELAY_PIN, HIGH); // Default off (active-low module)
Serial.println(F("12V Relay Module Demo Initialized"));
}
void loop() {
// Activate relay (Low-level trigger)
Serial.println(F("Relay: ON"));
digitalWrite(RELAY_PIN, LOW);
delay(2000);
// Deactivate relay
Serial.println(F("Relay: OFF"));
digitalWrite(RELAY_PIN, HIGH);
delay(2000);
}
Wiring diagram and example code generated by Codey.online — https://www.codey.online
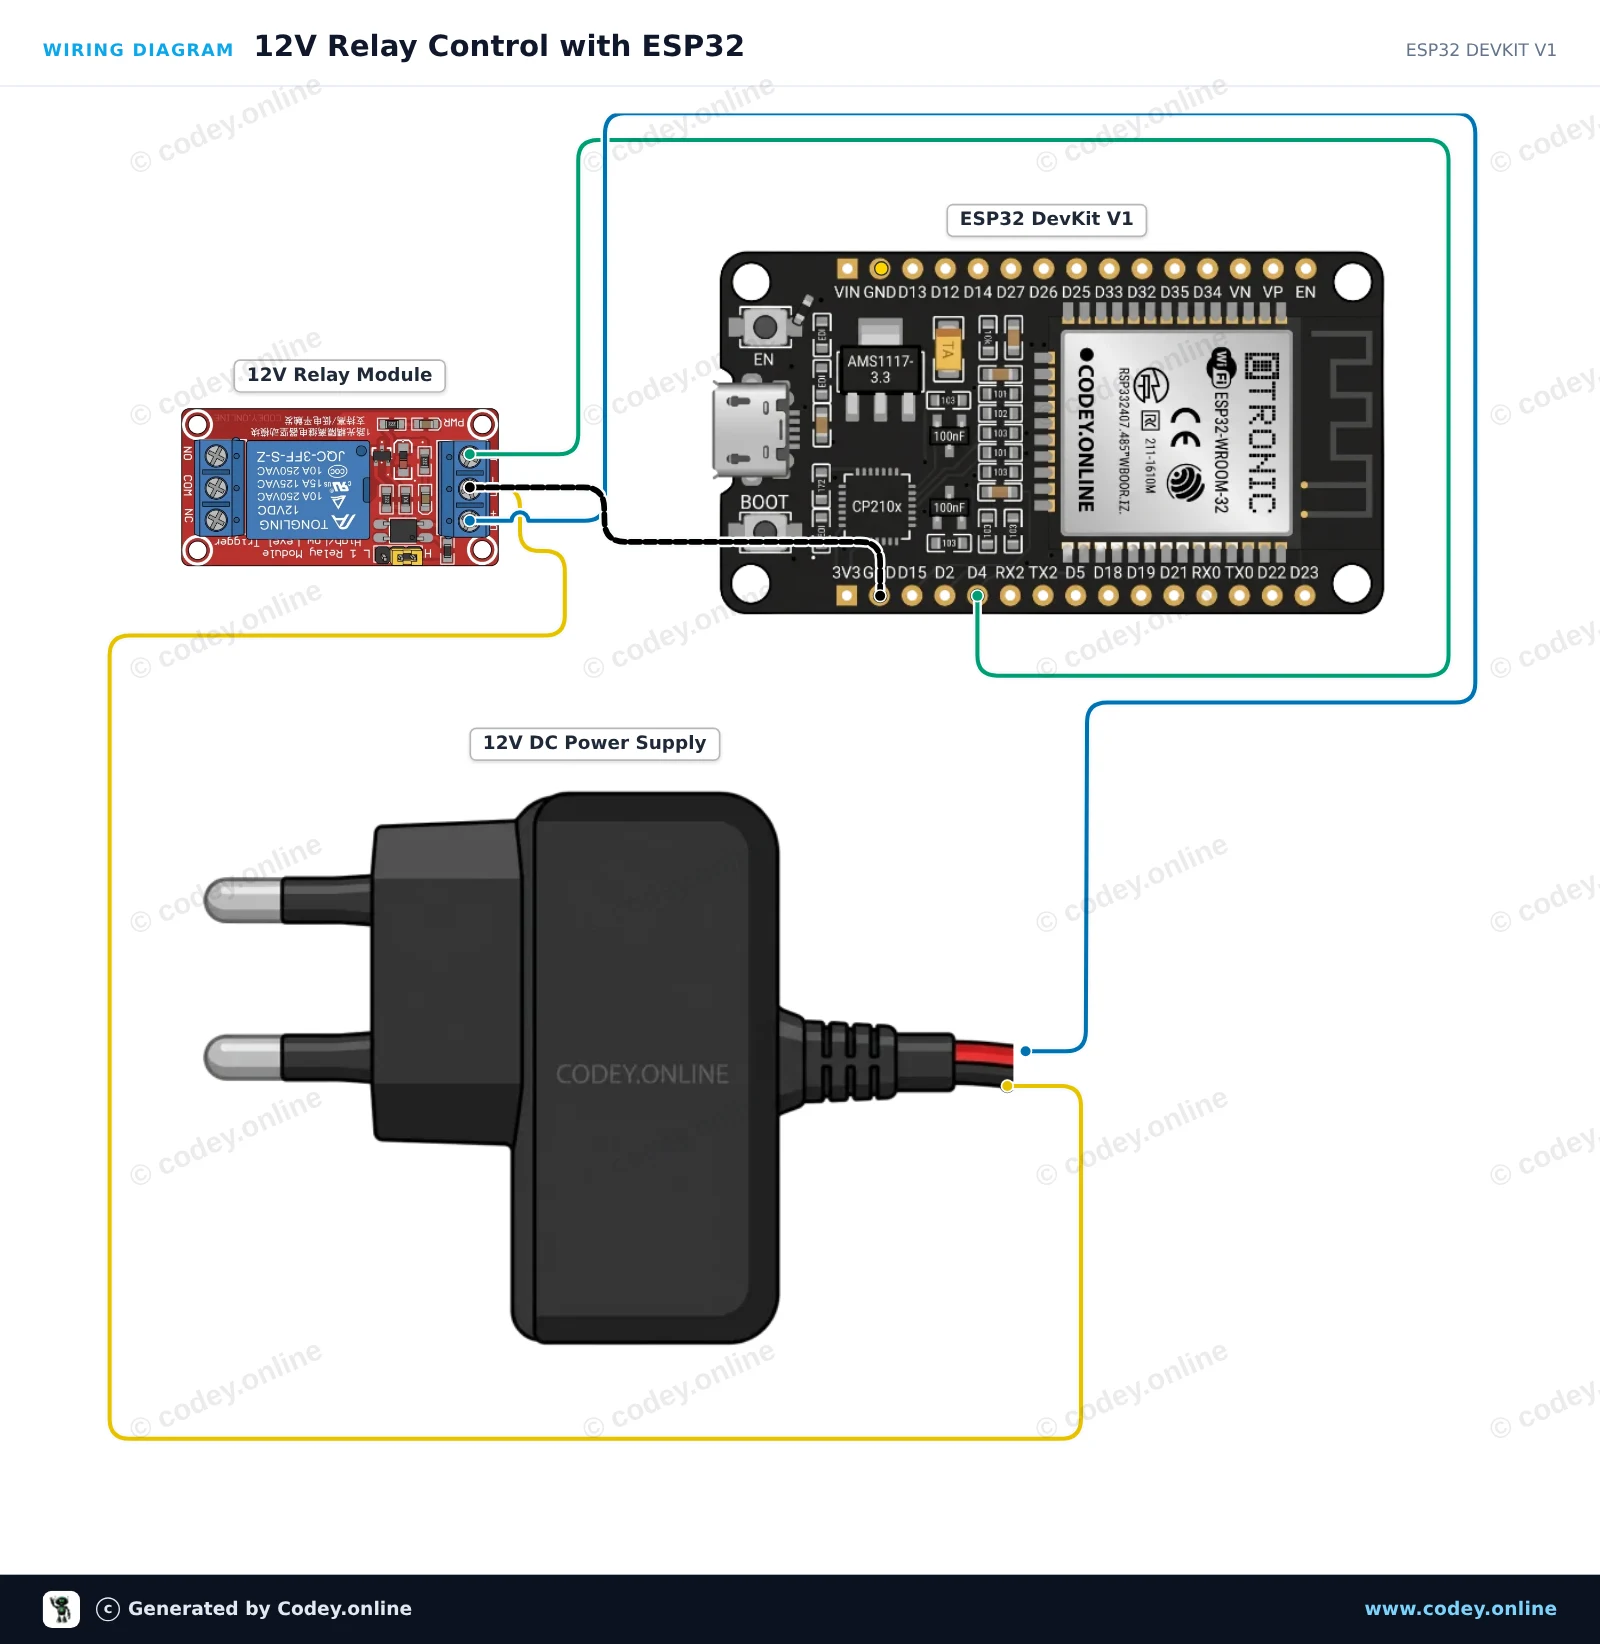
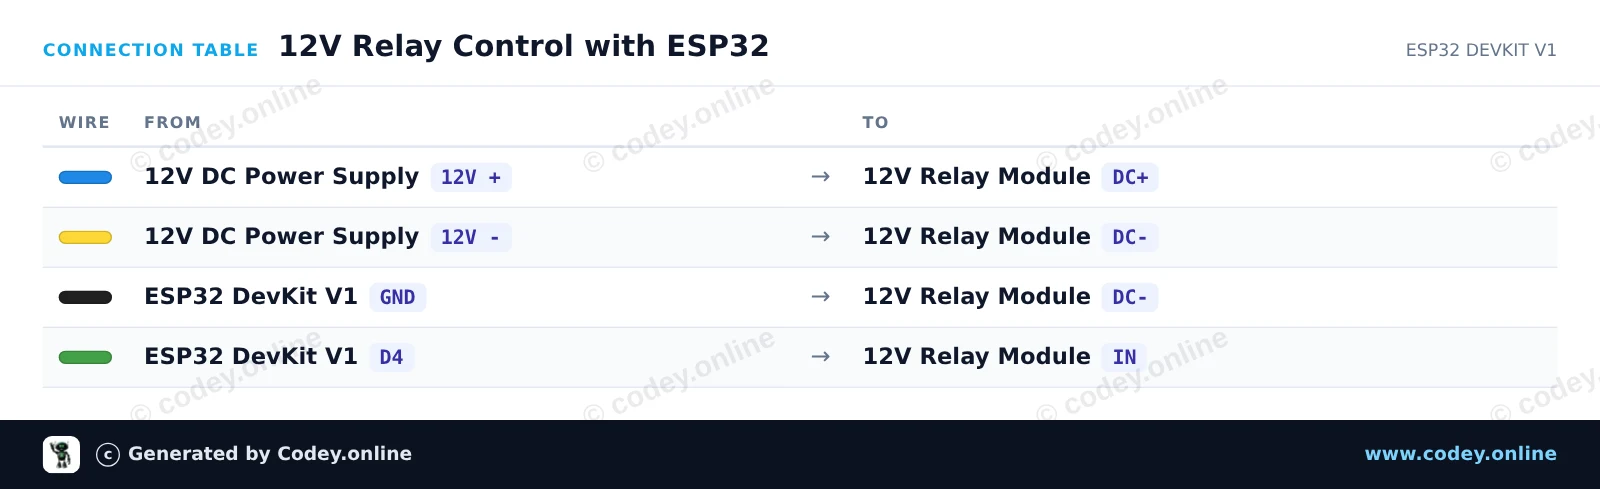
This project demonstrates how to control a 12V single-channel relay module using an ESP32. The relay coil is powered by an external 12V DC power supply with a shared ground to the ESP32, and GPIO 4 toggles the relay on and off every two seconds.
/*
* ==================================================================
* Generated by Codey.online — https://www.codey.online
* ==================================================================
* Project : 12V Relay Control with ESP32
* Board : ESP32 DEVKIT V1 (esp32:esp32:esp32doit-devkit-v1)
* Parts : Relais Module 12v AC250V 10A Relais 12v 1 relais LED indicator
* Libraries : none (built-in)
*
* Codey Online is an AI-powered browser IDE for Arduino and ESP32.
* Describe your project and Codey writes the code, draws the wiring
* diagram and uploads it to your board, straight from the browser.
* This code is free to use, modify and share, without warranty.
* ==================================================================
*/
// Pin connected to relay control input
const int RELAY_PIN = 4;
void setup() {
Serial.begin(115200);
// Configure relay pin as output
pinMode(RELAY_PIN, OUTPUT);
digitalWrite(RELAY_PIN, LOW);
Serial.println("ESP32 12V Relay Demo Started");
}
void loop() {
// Turn relay ON
Serial.println("Relay ON");
digitalWrite(RELAY_PIN, HIGH);
delay(2000);
// Turn relay OFF
Serial.println("Relay OFF");
digitalWrite(RELAY_PIN, LOW);
delay(2000);
}
Wiring diagram and example code generated by Codey.online — https://www.codey.online
Keywords: 12V relay, relay 12V, relay 12V, 12V relay
Dimensions
Length: 5.1cm
Width: 2.54cm
Height: 1.9cm
| Width | 2,54 cm |
|---|---|
| Length | 5,1 cm |
| Height | 1,9 cm |
| High load possible | AC250V 10A |
Good product at a fair price
Does what it should
Good product, but you have to figure out the connections yourself by measuring and so on. That should be better
Relay Module 12v