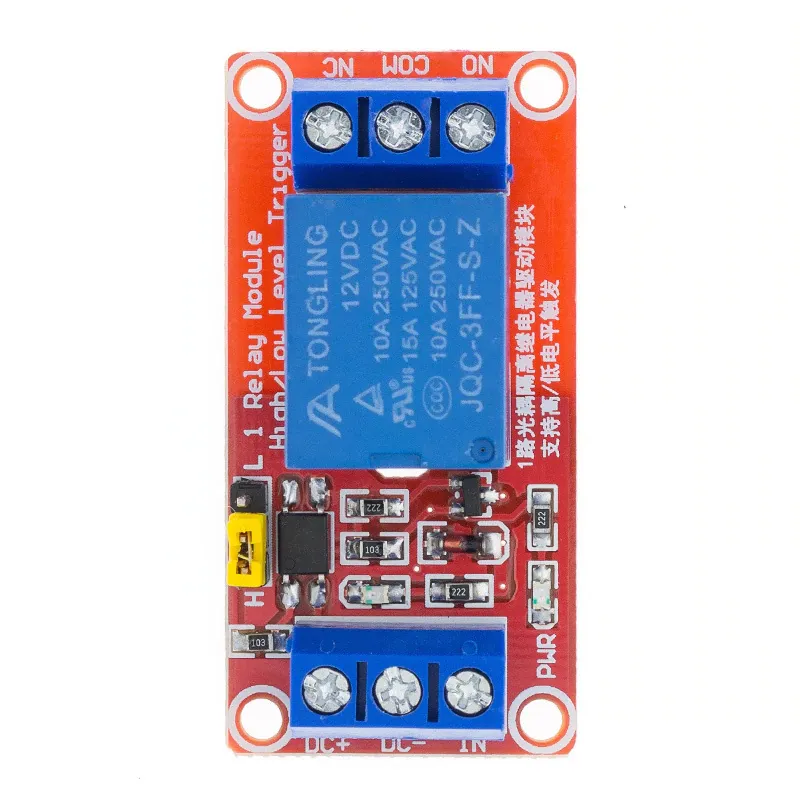
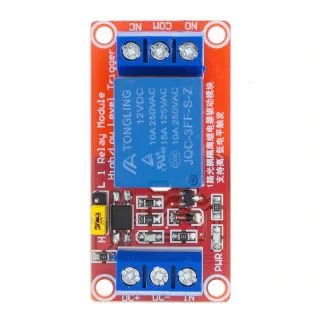
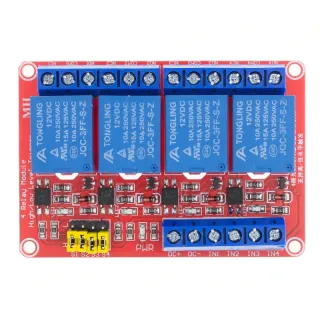
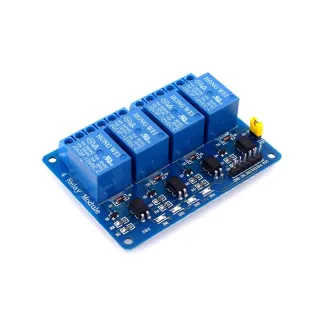
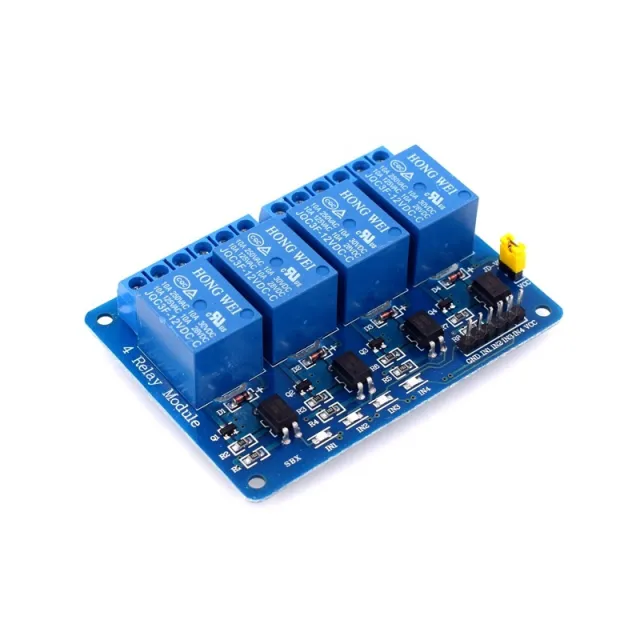
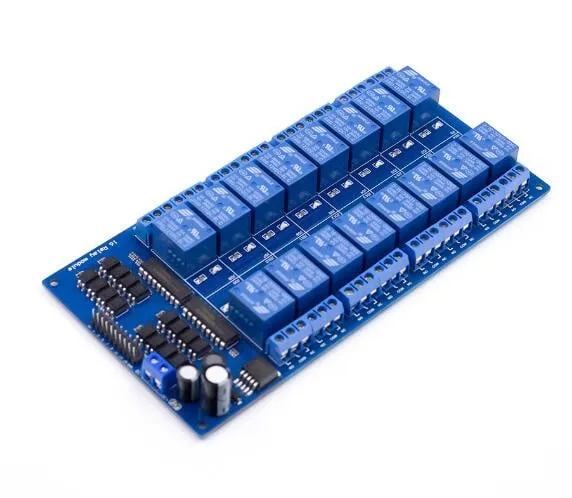
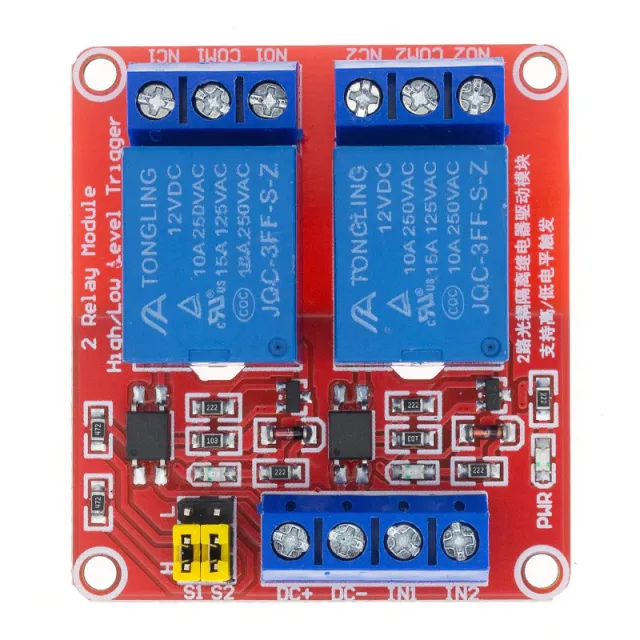
Releemoduuli 12 V, jossa on 1 rele piirilevyllä ja LED-merkkivalo suuren kuorman kytkentään.
SKU: OT901-C111 Tuotenumero: BA050 EAN: 5408955714471 Sijainti: C11.01
Vaihtoehto
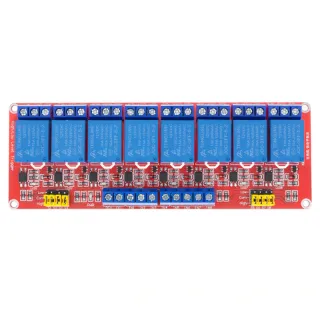
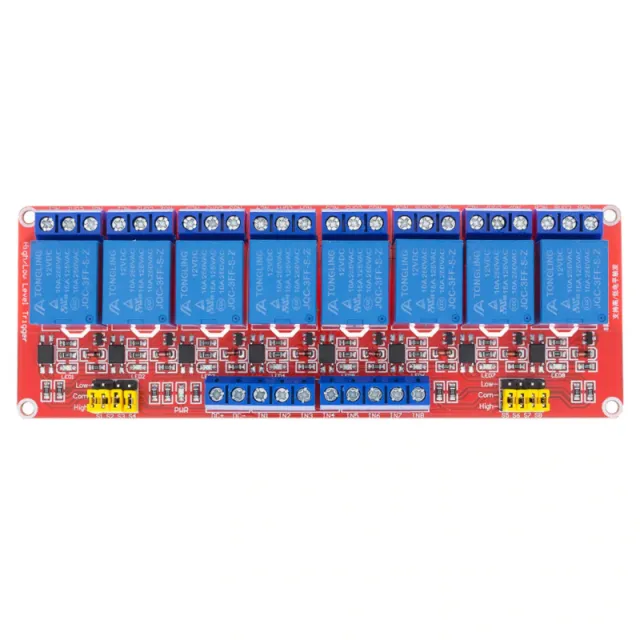
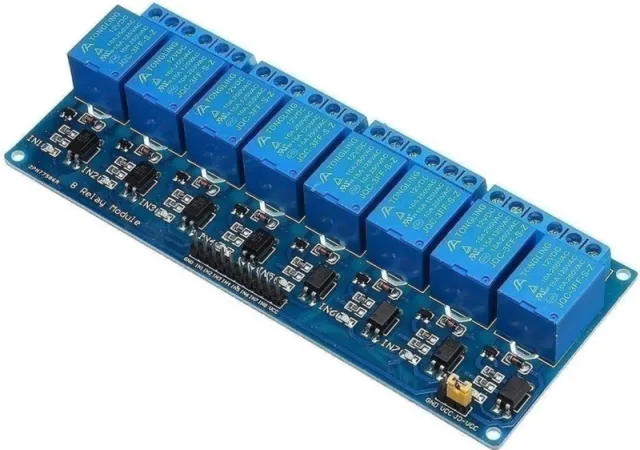
Relemoduuli 12v | 8-kanavainen
€ 9,85
Katso tämä vaihtoehto
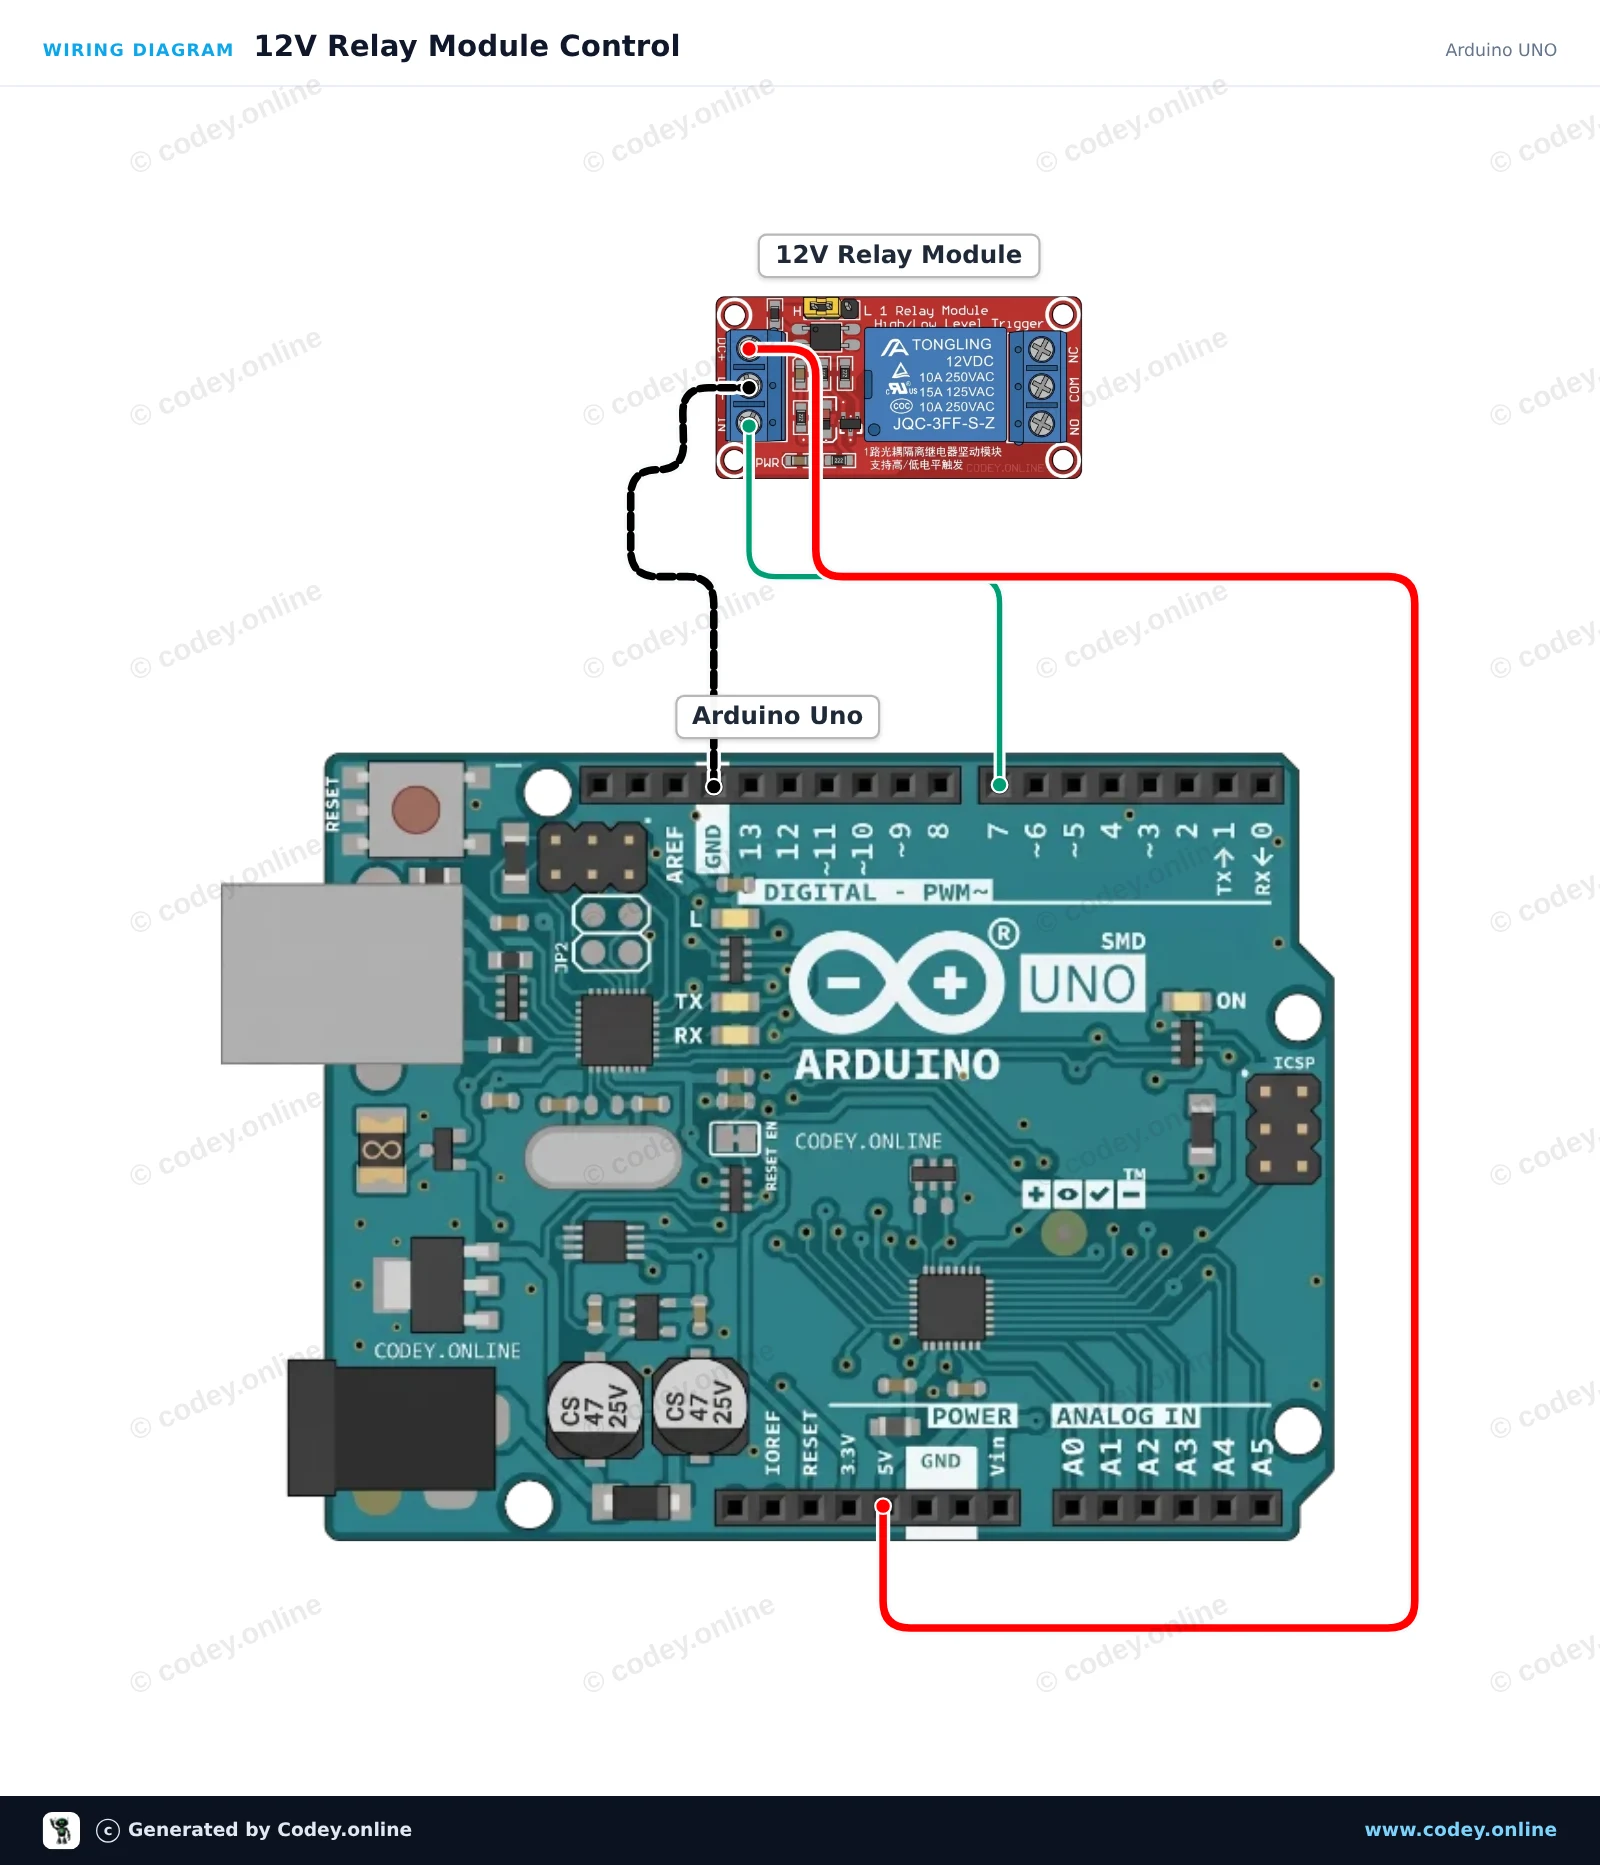
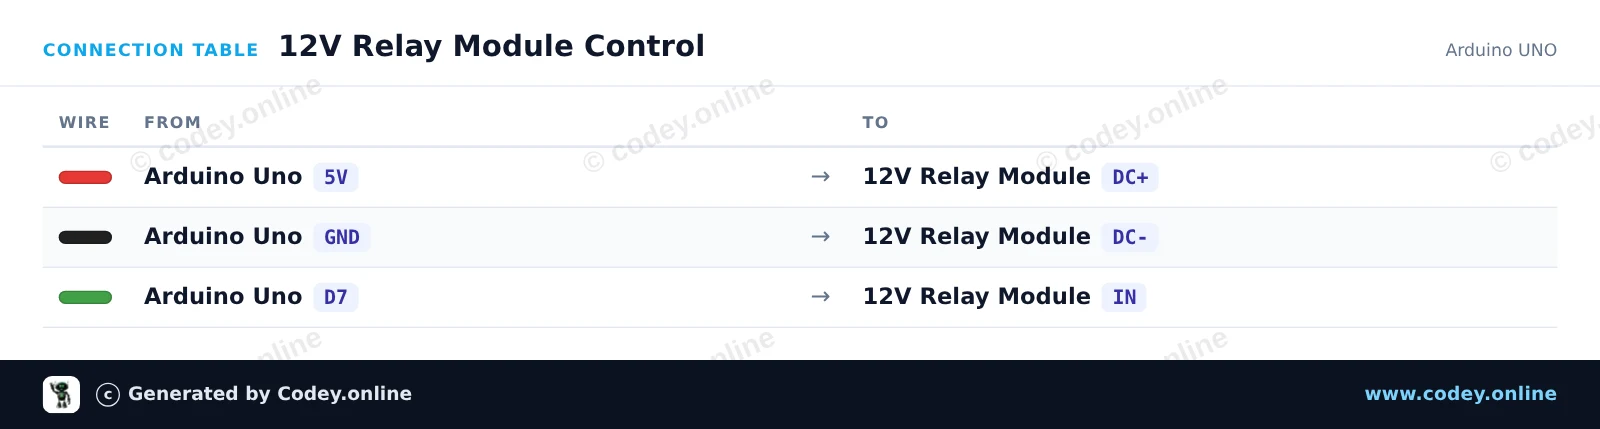
Näin kytket Relemoduuli 12v:n Arduino UNOon tai ESP32:een, mukana esimerkkisketsi, jonka voit ladata heti.
Tämä projekti näyttää, miten 12V-relemoduulia ohjataan Arduino Unolla. Sketch kytkee releen päälle ja pois vuorotellen 2 sekunnin välein ja näyttää nykyisen tilan Serial Monitorissa. Moduulin sisäinen LED-merkkivalo syttyy, երբ rele on vetäneenä.
/*
* ==================================================================
* Generated by Codey.online — https://www.codey.online
* ==================================================================
* Project : 12V Relay Module Control
* Board : Arduino UNO (arduino:avr:uno)
* Parts : Relais Module 12v AC250V 10A Relais 12v 1 relais LED indicator
* Libraries : none (built-in)
*
* Codey Online is an AI-powered browser IDE for Arduino and ESP32.
* Describe your project and Codey writes the code, draws the wiring
* diagram and uploads it to your board, straight from the browser.
* This code is free to use, modify and share, without warranty.
* ==================================================================
*/
// Pin configuration
const int RELAY_PIN = 7;
void setup() {
// Initialize serial communication
Serial.begin(115200);
while (!Serial) {
; // Wait for serial port to connect
}
// Configure relay control pin
pinMode(RELAY_PIN, OUTPUT);
digitalWrite(RELAY_PIN, HIGH); // Default off (active-low module)
Serial.println(F("12V Relay Module Demo Initialized"));
}
void loop() {
// Activate relay (Low-level trigger)
Serial.println(F("Relay: ON"));
digitalWrite(RELAY_PIN, LOW);
delay(2000);
// Deactivate relay
Serial.println(F("Relay: OFF"));
digitalWrite(RELAY_PIN, HIGH);
delay(2000);
}
Wiring diagram and example code generated by Codey.online — https://www.codey.online
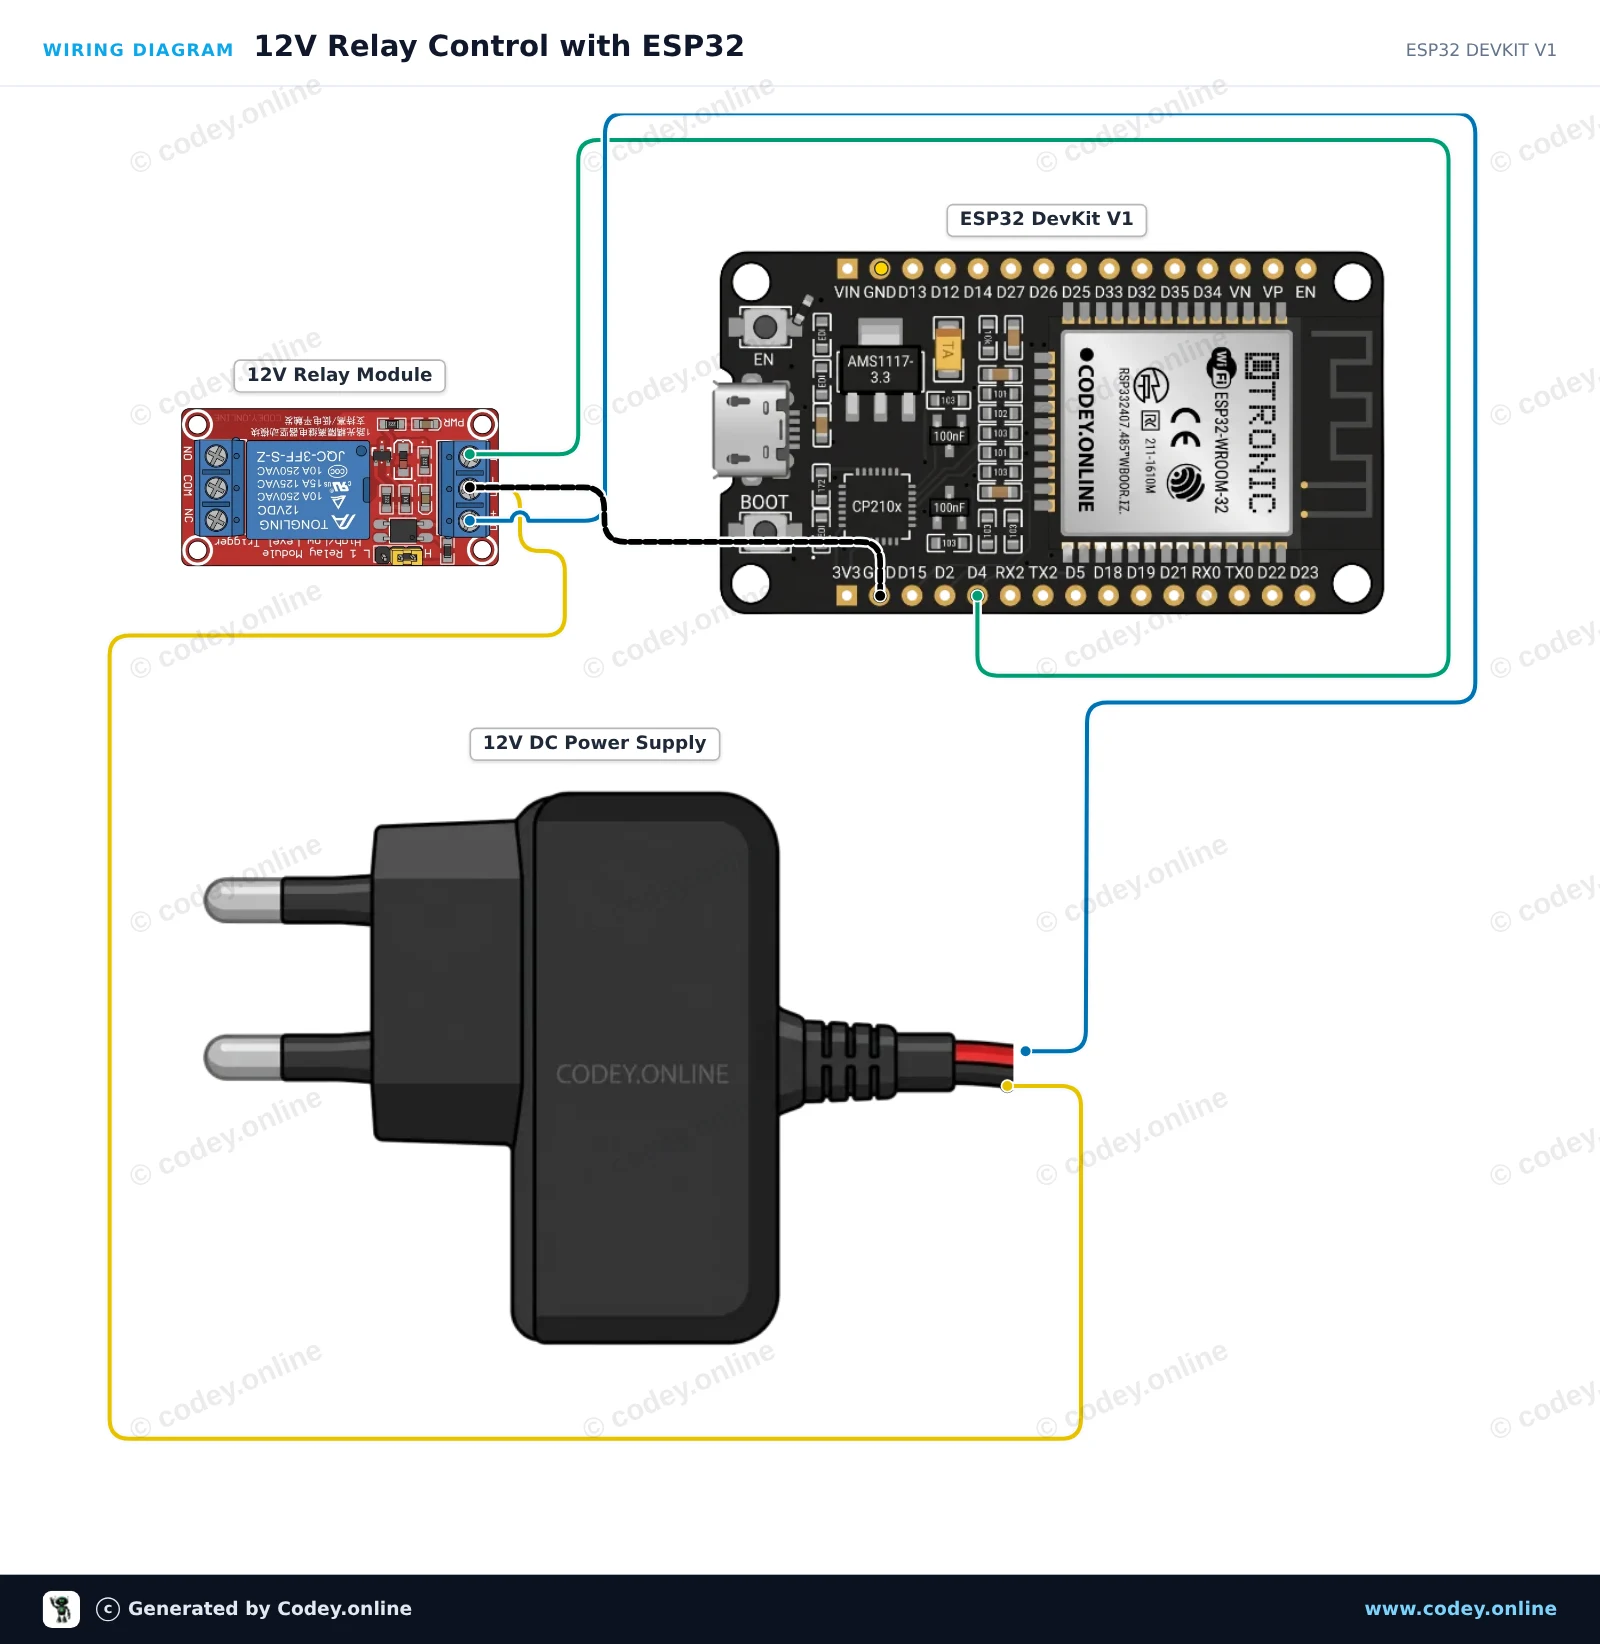
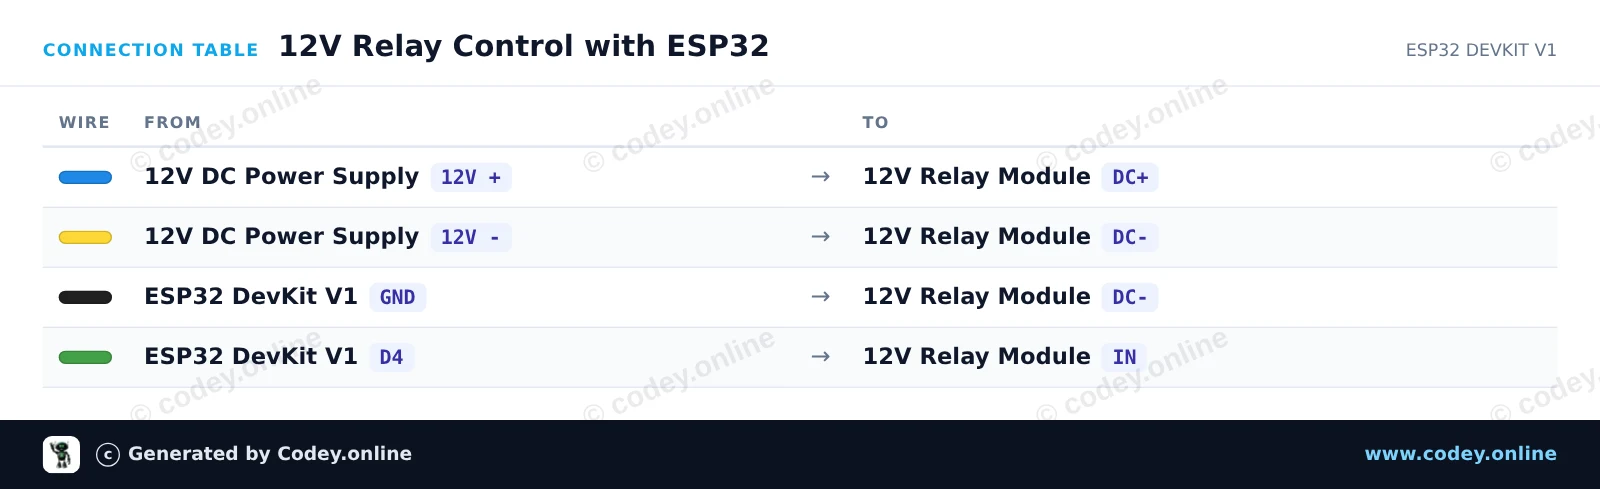
Tässä projektissa näytetään, miten 12V yhden kanavan relemoduulia ohjataan ESP32:lla. Releen kela saa virtansa ulkoisesta 12V DC -virtalähteestä, jonka maa on jaettu ESP32:n kanssa, ja GPIO 4 kytkee releen päälle ja pois kahden sekunnin välein.
/*
* ==================================================================
* Generated by Codey.online — https://www.codey.online
* ==================================================================
* Project : 12V Relay Control with ESP32
* Board : ESP32 DEVKIT V1 (esp32:esp32:esp32doit-devkit-v1)
* Parts : Relais Module 12v AC250V 10A Relais 12v 1 relais LED indicator
* Libraries : none (built-in)
*
* Codey Online is an AI-powered browser IDE for Arduino and ESP32.
* Describe your project and Codey writes the code, draws the wiring
* diagram and uploads it to your board, straight from the browser.
* This code is free to use, modify and share, without warranty.
* ==================================================================
*/
// Pin connected to relay control input
const int RELAY_PIN = 4;
void setup() {
Serial.begin(115200);
// Configure relay pin as output
pinMode(RELAY_PIN, OUTPUT);
digitalWrite(RELAY_PIN, LOW);
Serial.println("ESP32 12V Relay Demo Started");
}
void loop() {
// Turn relay ON
Serial.println("Relay ON");
digitalWrite(RELAY_PIN, HIGH);
delay(2000);
// Turn relay OFF
Serial.println("Relay OFF");
digitalWrite(RELAY_PIN, LOW);
delay(2000);
}
Wiring diagram and example code generated by Codey.online — https://www.codey.online
Hakusanat: 12v relais, relais 12v, relay 12v, 12v relay
Mitat
Pituus: 5,1cm
Leveys: 2,54cm
Korkeus: 1,9cm
| Leveys | 2,54 cm |
|---|---|
| Pituus | 5,1 cm |
| Korkeus | 1,9 cm |
| Suuri kuormitus mahdollinen | AC250V 10A |
Hyvä tuote kohtuulliseen hintaan
Tekee sen, mitä sen pitää
Hyvä tuote, jonka liitännät joutuu itse selvittämään mittaamalla ja muulla vastaavalla. Sen pitäisi olla parempi
Etkö ole tyytyväinen? Sinulla on 30 päivää aikaa vastaanotosta palauttaa tuote.
Kaikki palautuksista
Relemoduuli 12v