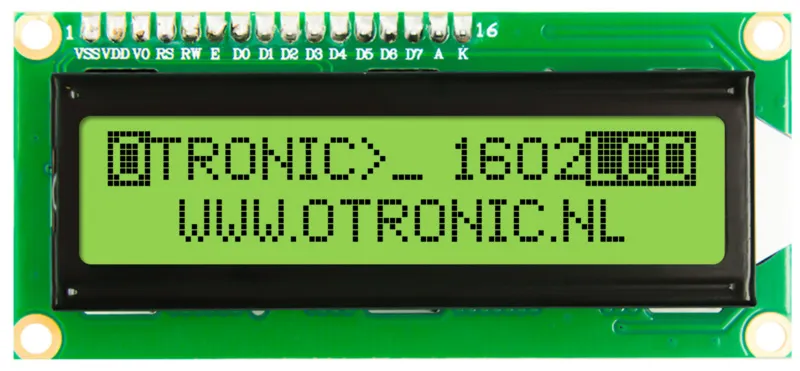
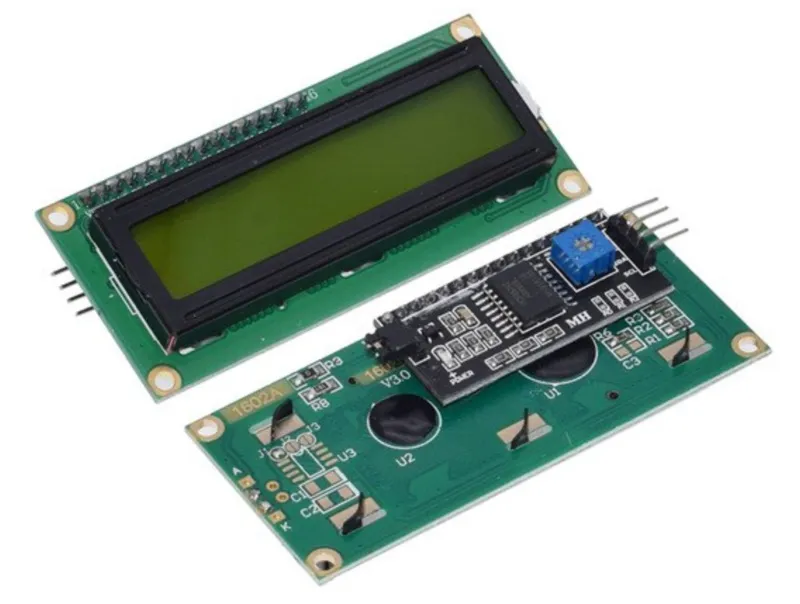
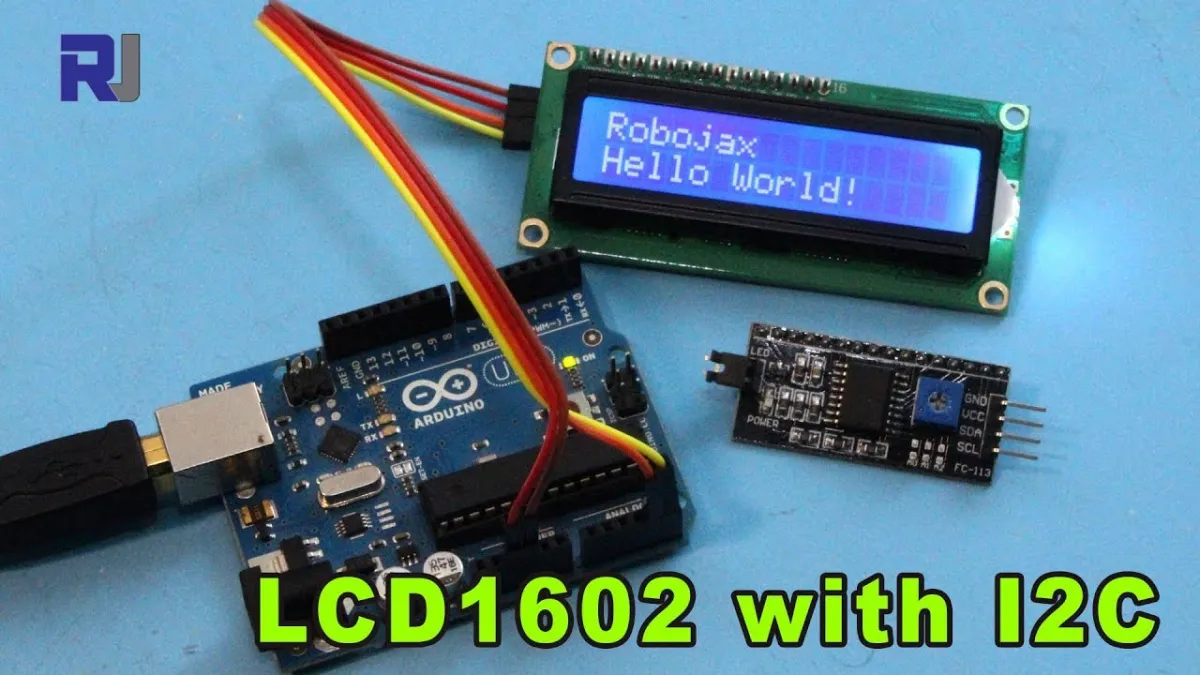
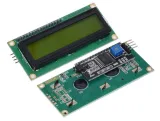
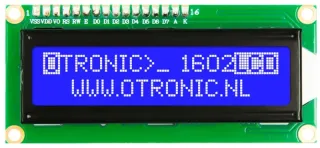
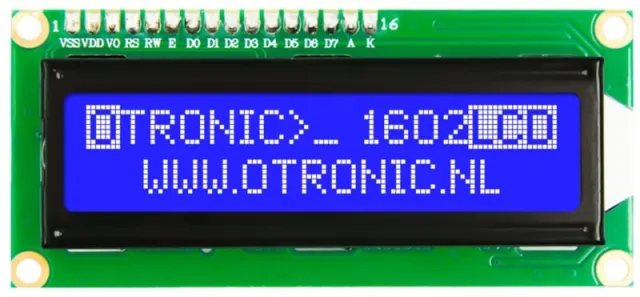
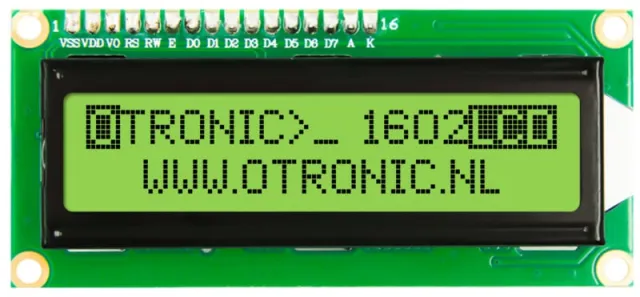
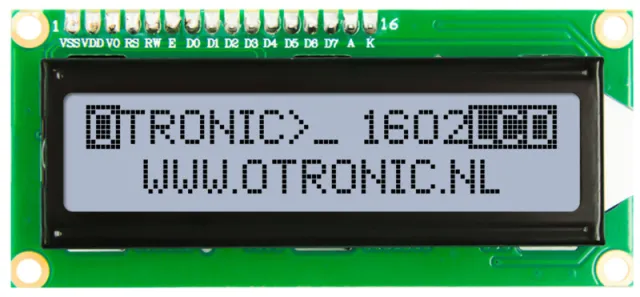
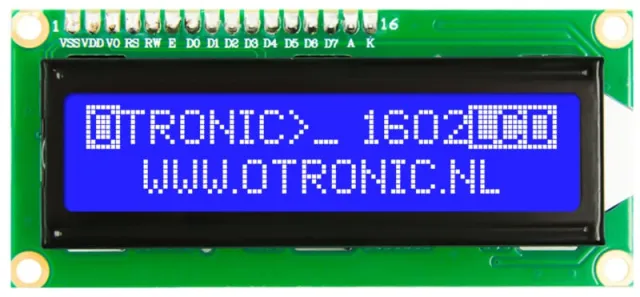
1602 LCD display with I2C module for Arduino, ESP32, ESP8266 or Raspberry Pi projects.
SKU: OT851-C35 Article number: XI343 EAN: 4252580702508 Location: C03.05
Alternative
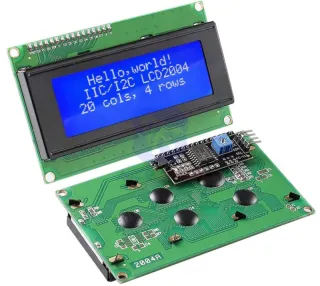
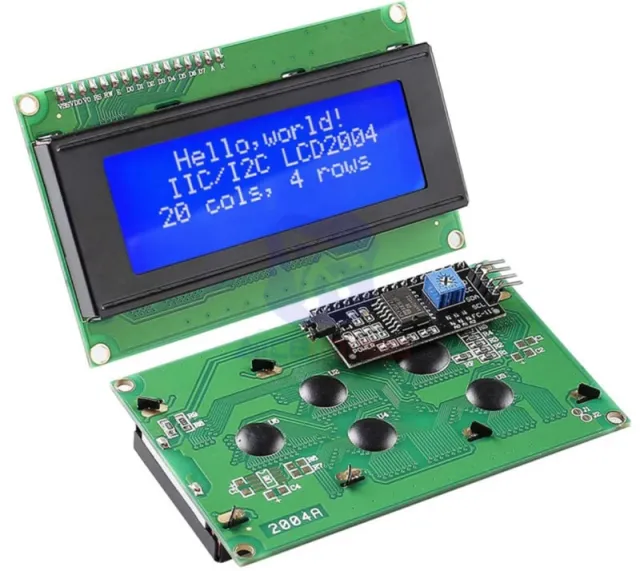
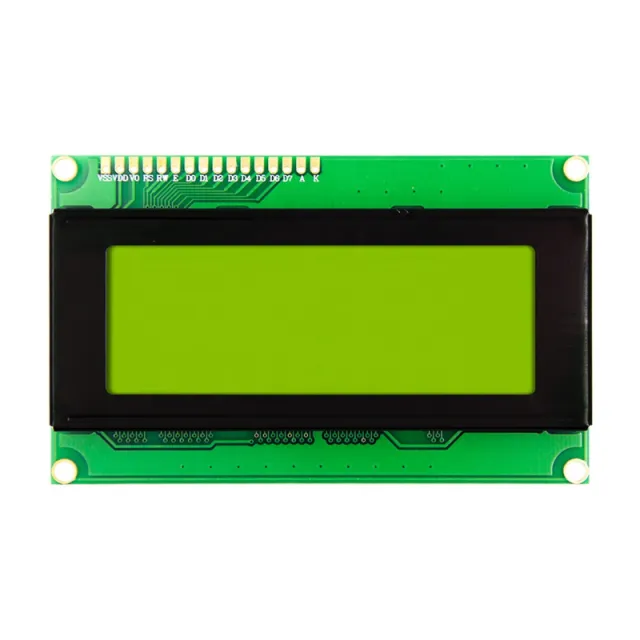
2004 LCD blue backlight 20x4 with I2C pre-soldered
€ 6,70
View this alternative
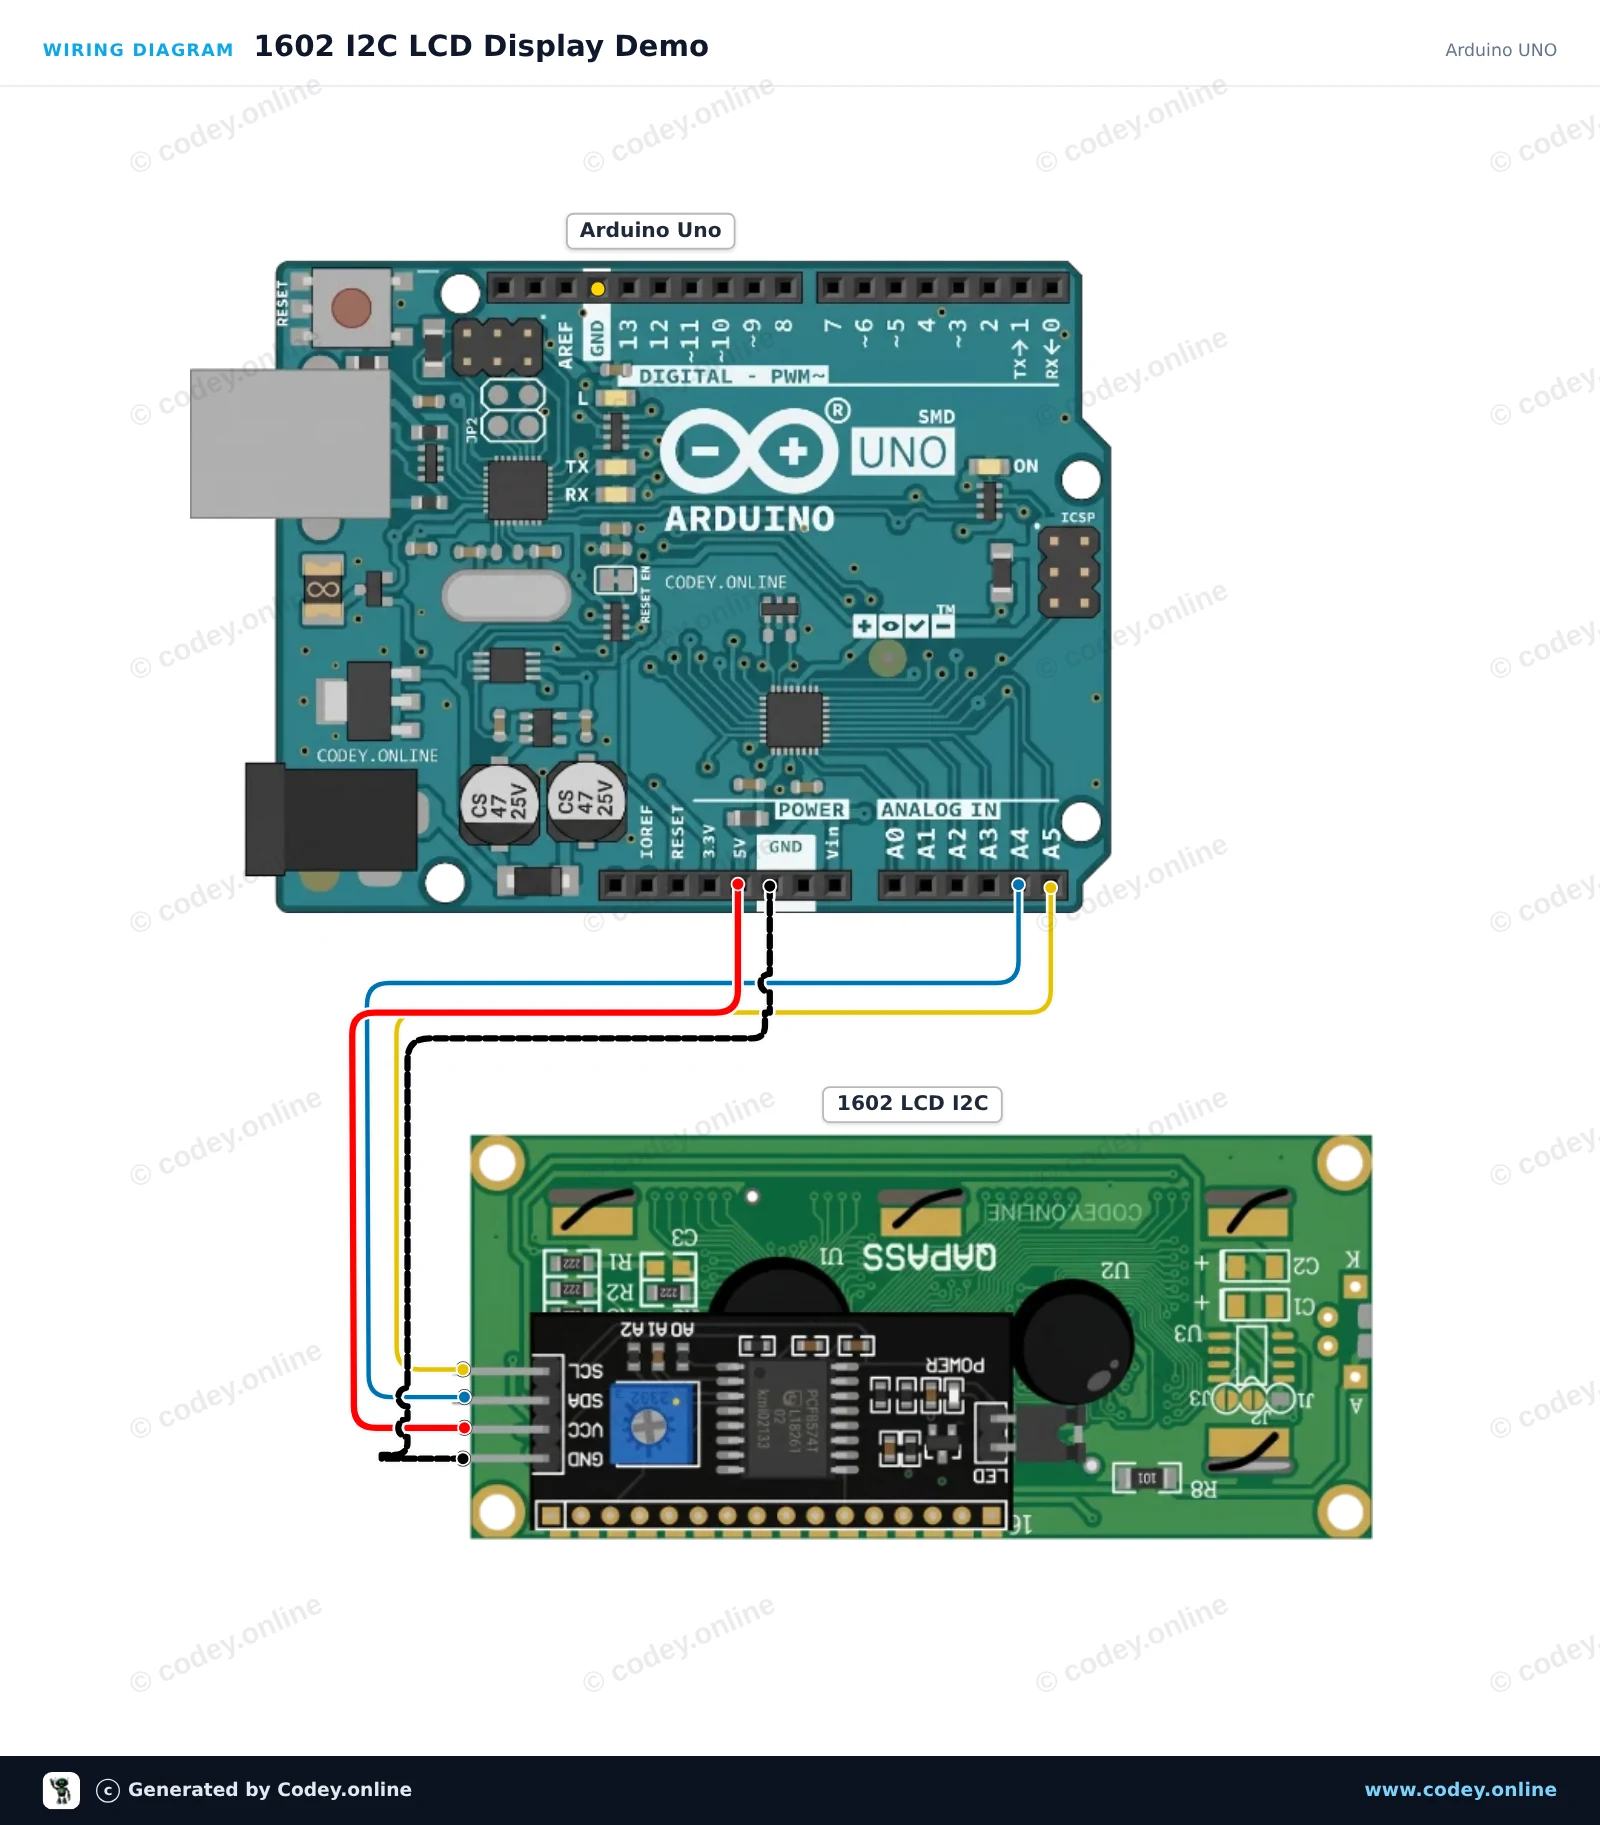
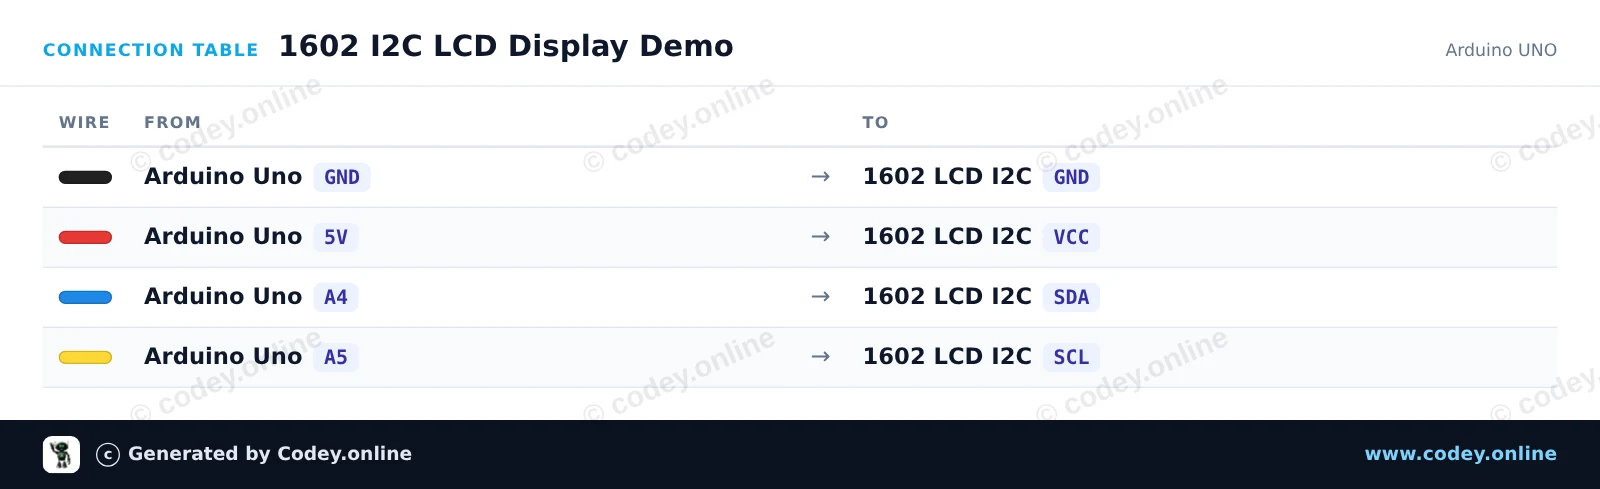
How to connect the 1602 LCD green/yellow backlight with pre-soldered I2C to an Arduino UNO or ESP32, with an example sketch you can upload straight away.
This project connects a 16x2 character LCD via I2C to an Arduino Uno. The display initializes, turns on the backlight, displays a greeting message on the first row, and counts uptime in seconds on the second row.
/*
* ==================================================================
* Generated by Codey.online — https://www.codey.online
* ==================================================================
* Project : 1602 I2C LCD Display Demo
* Board : Arduino UNO (arduino:avr:uno)
* Parts : 1602 LCD I2C DISPLAY
* Libraries : LiquidCrystal I2C 1.1.2
*
* Codey Online is an AI-powered browser IDE for Arduino and ESP32.
* Describe your project and Codey writes the code, draws the wiring
* diagram and uploads it to your board, straight from the browser.
* This code is free to use, modify and share, without warranty.
* ==================================================================
*/
#include <Wire.h>
#include <LiquidCrystal_I2C.h>
// Common I2C addresses are 0x27 or 0x3F for 1602 LCD modules
LiquidCrystal_I2C lcd(0x27, 16, 2);
void setup() {
Serial.begin(115200);
lcd.init();
lcd.backlight();
lcd.setCursor(0, 0);
lcd.print(F("Hello, Arduino!"));
Serial.println(F("LCD initialized successfully."));
}
void loop() {
unsigned long seconds = millis() / 1000;
lcd.setCursor(0, 1);
lcd.print(F("Uptime: "));
lcd.print(seconds);
lcd.print(F("s "));
delay(500);
}
Required libraries: LiquidCrystal I2C 1.1.2
Wiring diagram and example code generated by Codey.online — https://www.codey.online
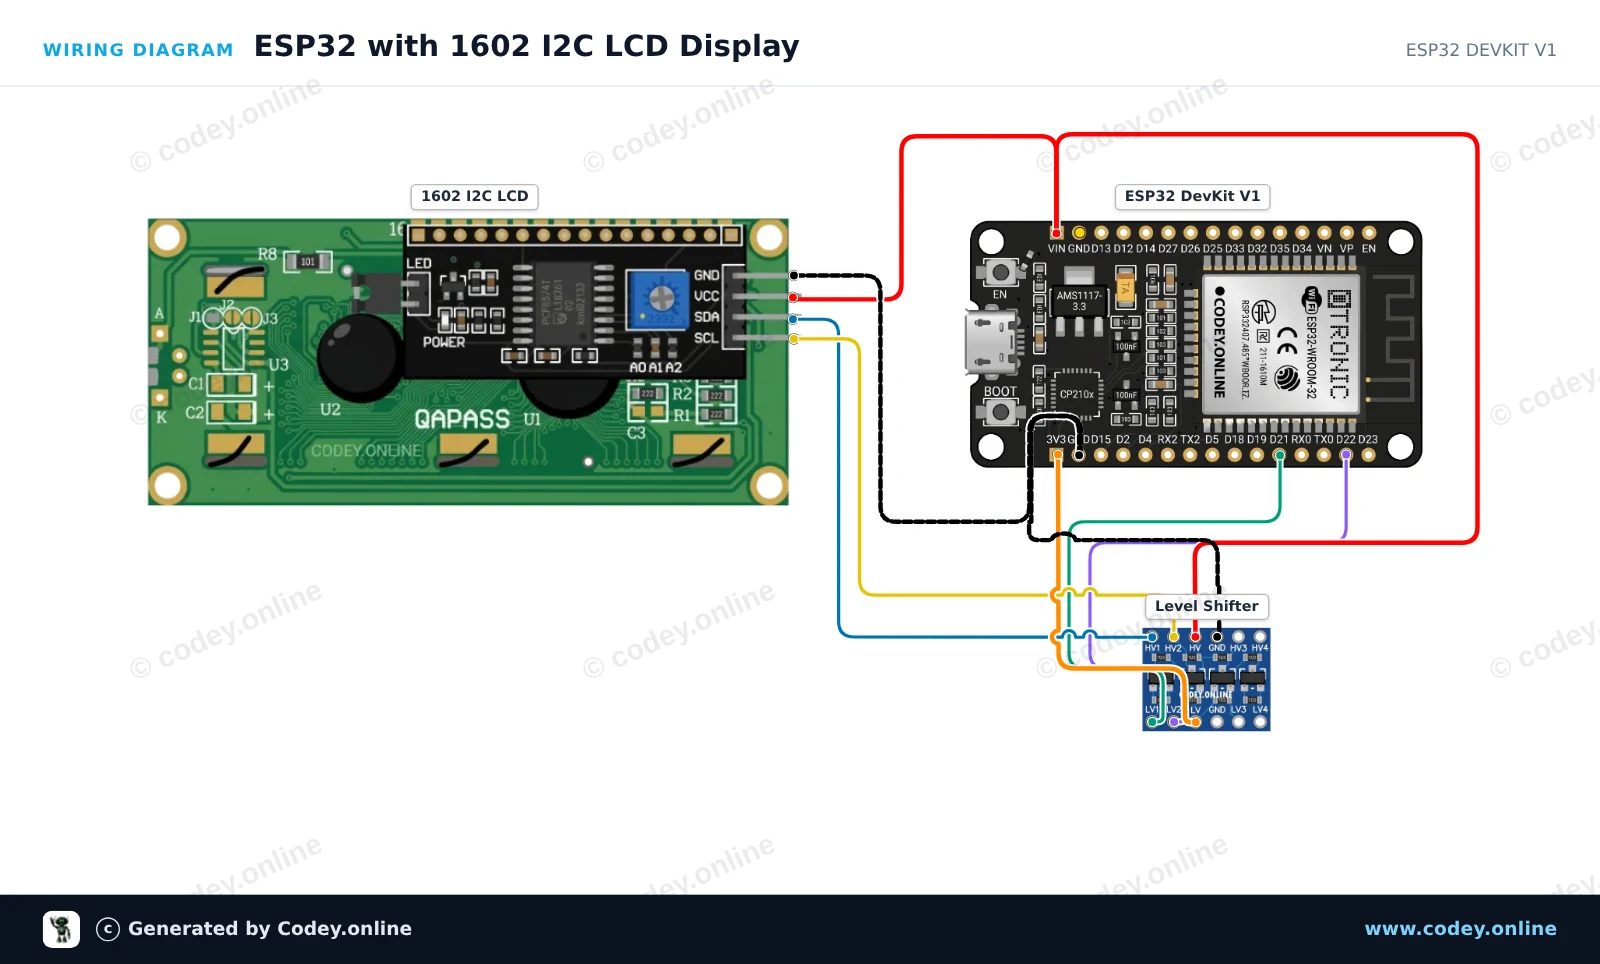
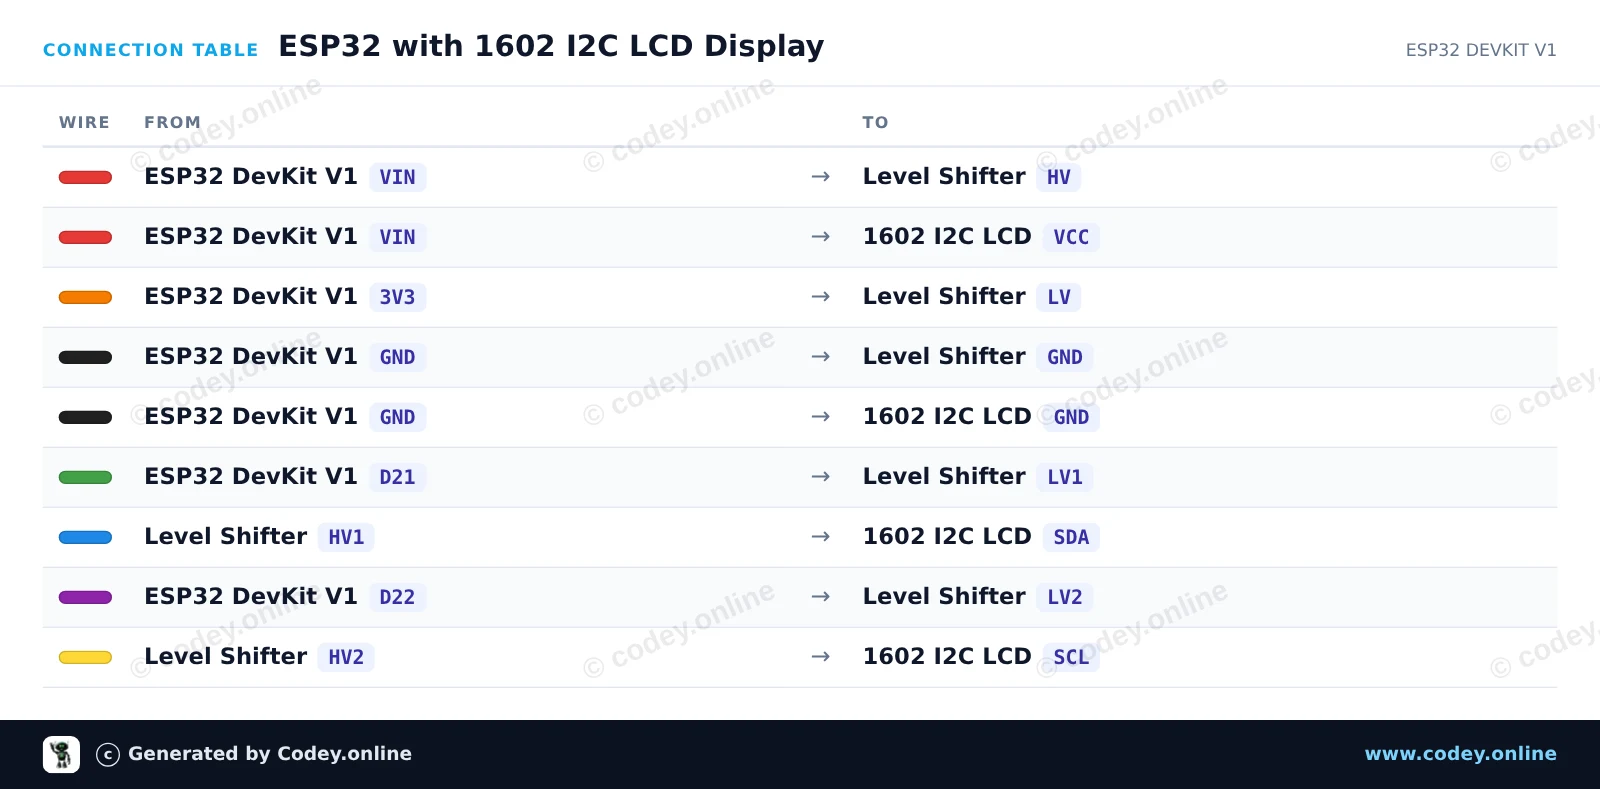
This project demonstrates how to connect and display text on a 1602 LCD screen using an I2C backpack. A 4-channel bidirectional logic level shifter is used to safely translate the 3.3V I2C signals of the ESP32 to the 5V signals required by the LCD module. After uploading, the LCD shows a welcome message and updates an uptime counter every second.
/*
* ==================================================================
* Generated by Codey.online — https://www.codey.online
* ==================================================================
* Project : ESP32 with 1602 I2C LCD Display
* Board : ESP32 DEVKIT V1 (esp32:esp32:esp32doit-devkit-v1)
* Parts : 1602 LCD I2C DISPLAY
* Libraries : LiquidCrystal I2C 1.1.2
*
* Codey Online is an AI-powered browser IDE for Arduino and ESP32.
* Describe your project and Codey writes the code, draws the wiring
* diagram and uploads it to your board, straight from the browser.
* This code is free to use, modify and share, without warranty.
* ==================================================================
*/
#include <Wire.h>
#include <LiquidCrystal_I2C.h>
// Set the LCD address (commonly 0x27 or 0x3F) for a 16 chars and 2 line display
LiquidCrystal_I2C lcd(0x27, 16, 2);
void setup() {
// Initialize I2C on default ESP32 pins (SDA=21, SCL=22)
Wire.begin(21, 22);
lcd.init();
lcd.backlight();
// Display greeting
lcd.setCursor(0, 0);
lcd.print("ESP32 LCD Demo");
lcd.setCursor(0, 1);
lcd.print("Uptime: ");
}
void loop() {
// Update uptime in seconds
lcd.setCursor(8, 1);
lcd.print(millis() / 1000);
lcd.print("s ");
delay(1000);
}
Required libraries: LiquidCrystal I2C 1.1.2
Wiring diagram and example code generated by Codey.online — https://www.codey.online
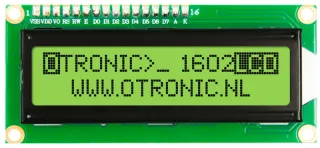
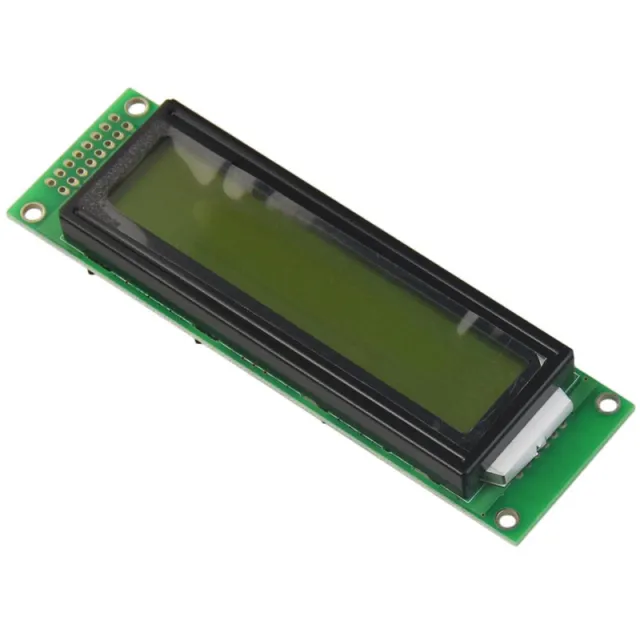
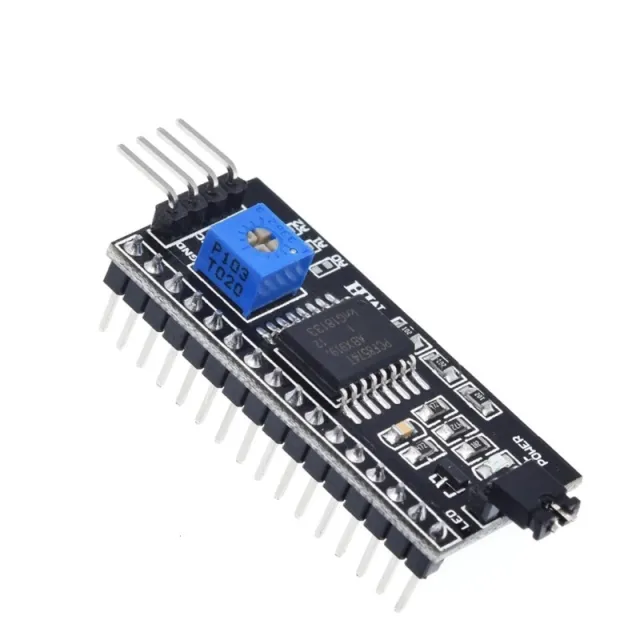
1602 LCD with pre-soldered I2C module. Ready to use in your Arduino, ESP32, ESP8266 or Raspberry Pi project. Much easier than without this module. Now only 2 wires are needed to control this LCD display.
LCD with green/yellow backlight and black characters. 2 lines, 16 characters per line. Contrast is (software) adjustable.
– Works on: 5V
– Dimensions: 98mm x 60mm x 15mm.
Includes I2C module!
Get started quickly with this OTRONIC 1602 LCD display with I2C module. Download the OTRONIC 1602 LCD QUICK START GUIDE for a wiring diagram and example code for the Arduino IDE software.
Dimensions
Length: 8cm
Width: 3.6cm
Height: 1.66cm
| Power supply | 5 V |
|---|---|
| Dimensions | 98 mm x 60 mm x 15 mm |
| Color | green/yellow backlight |
| Connection | 2 wires |
| Resolution | 2 lines |
| Interface | I2C |
| Suitable for | Arduino |
Helpful explanation on the webshop, does not feel cheap at all.
Does exactly what it is supposed to do.
1602 LCD green/yellow backlight with pre-soldered I2C