Ordered on weekdays before 14:00 = shipped the same day and delivered the next day in 98% of cases. Free returns 30-day reflection period 1-year warranty

Wiring diagram and code example

How to connect the 1602 LCD blue backlight with I2C pre-soldered to an Arduino UNO or ESP32, with an example sketch you can upload straight away.

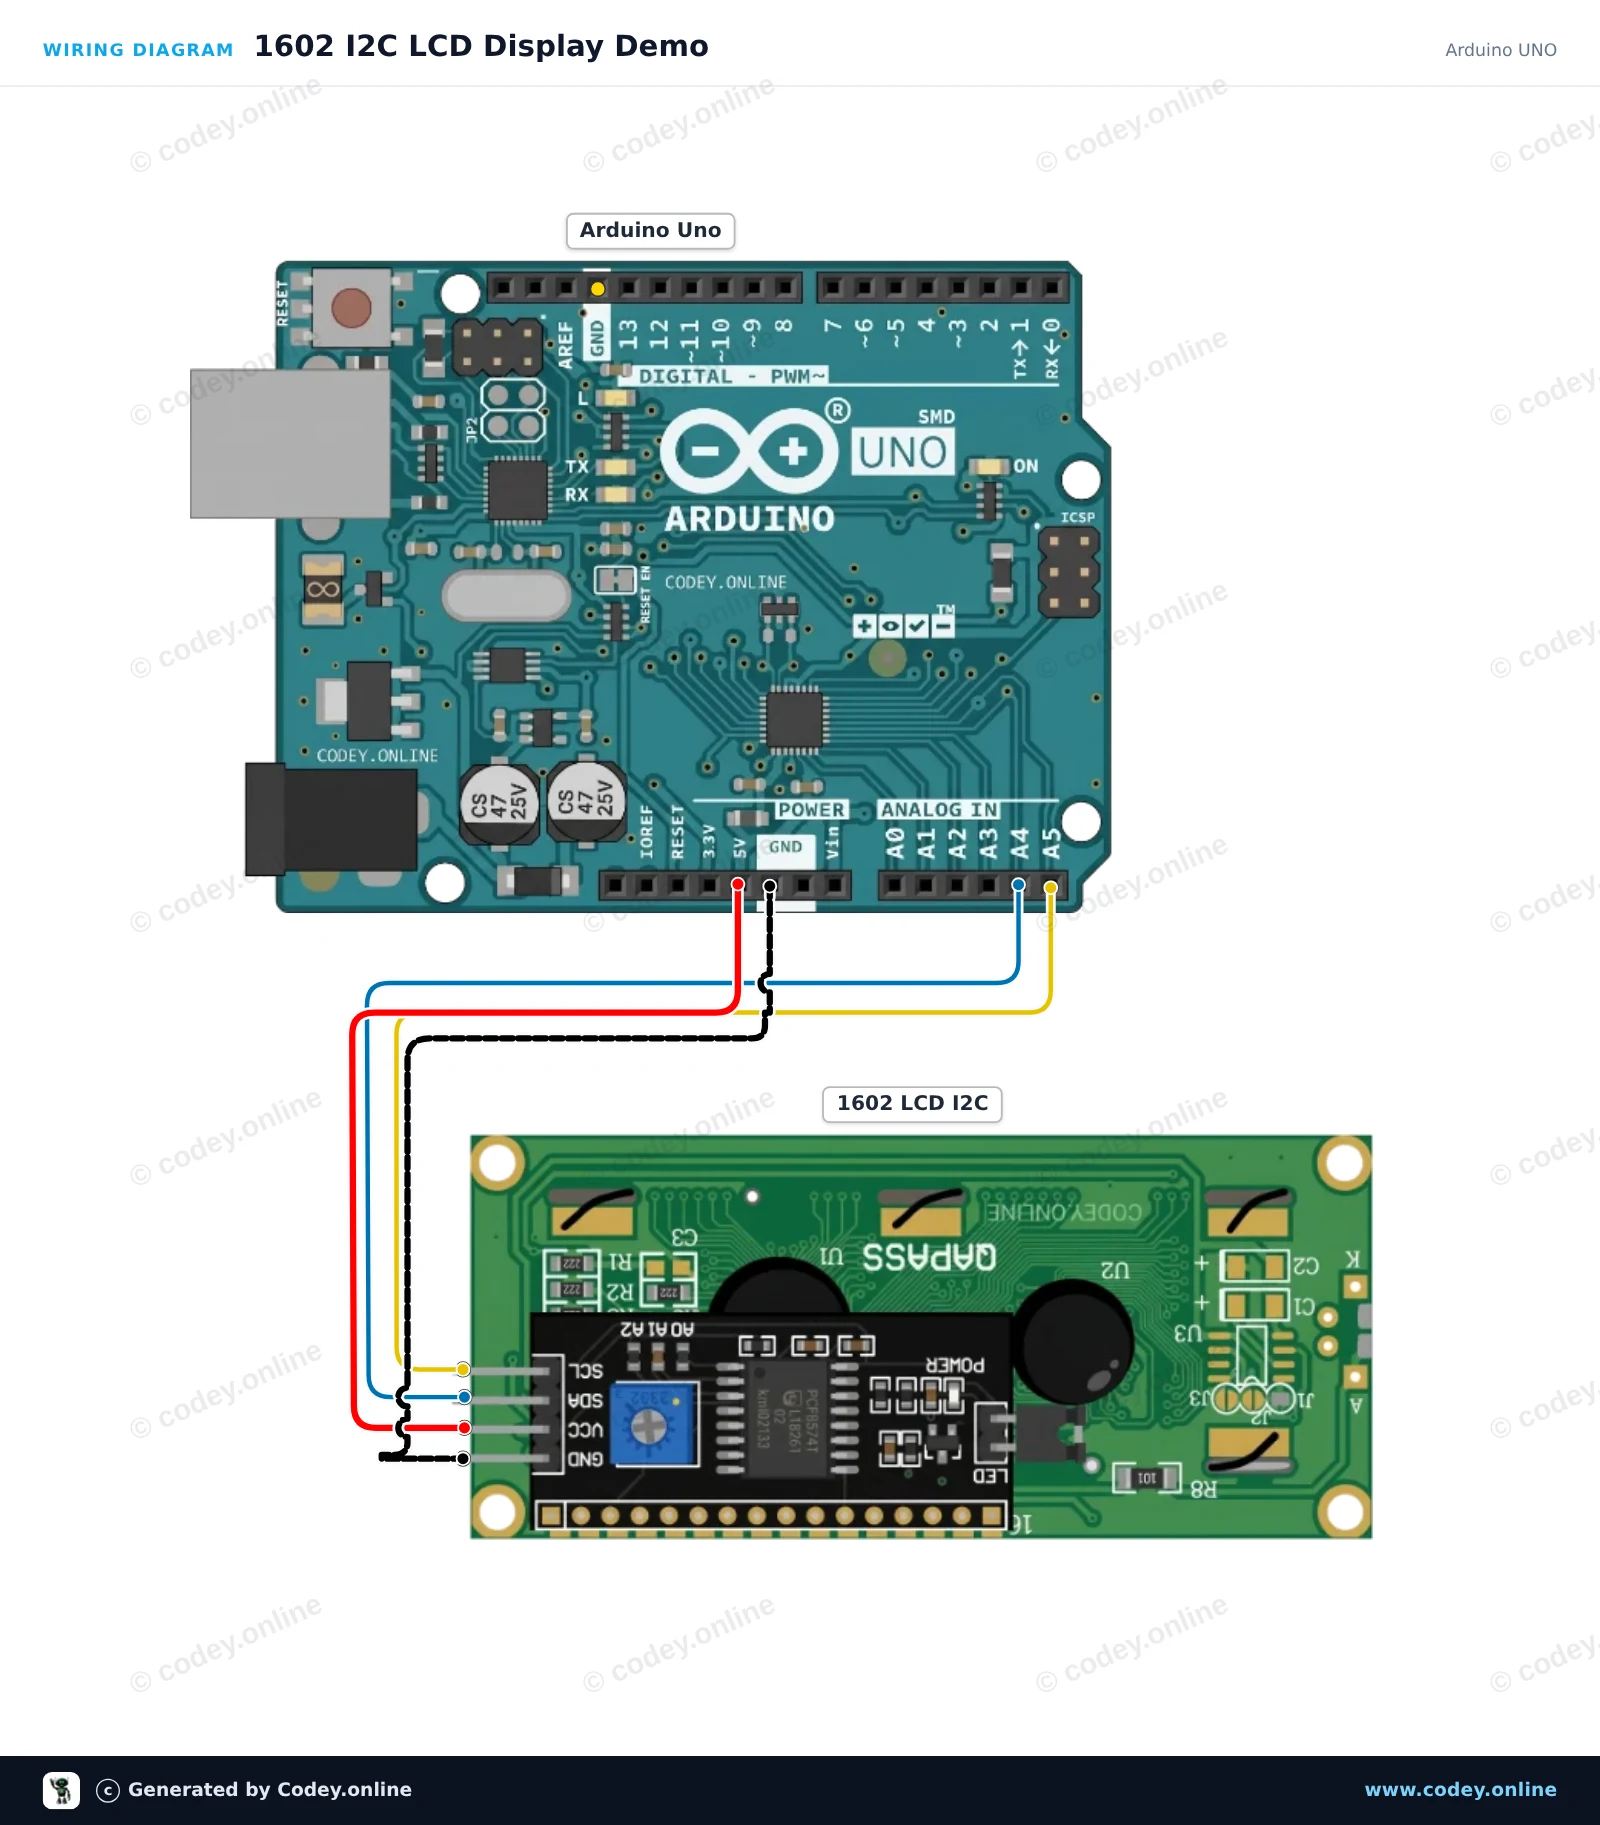
1602 I2C LCD Display Demo

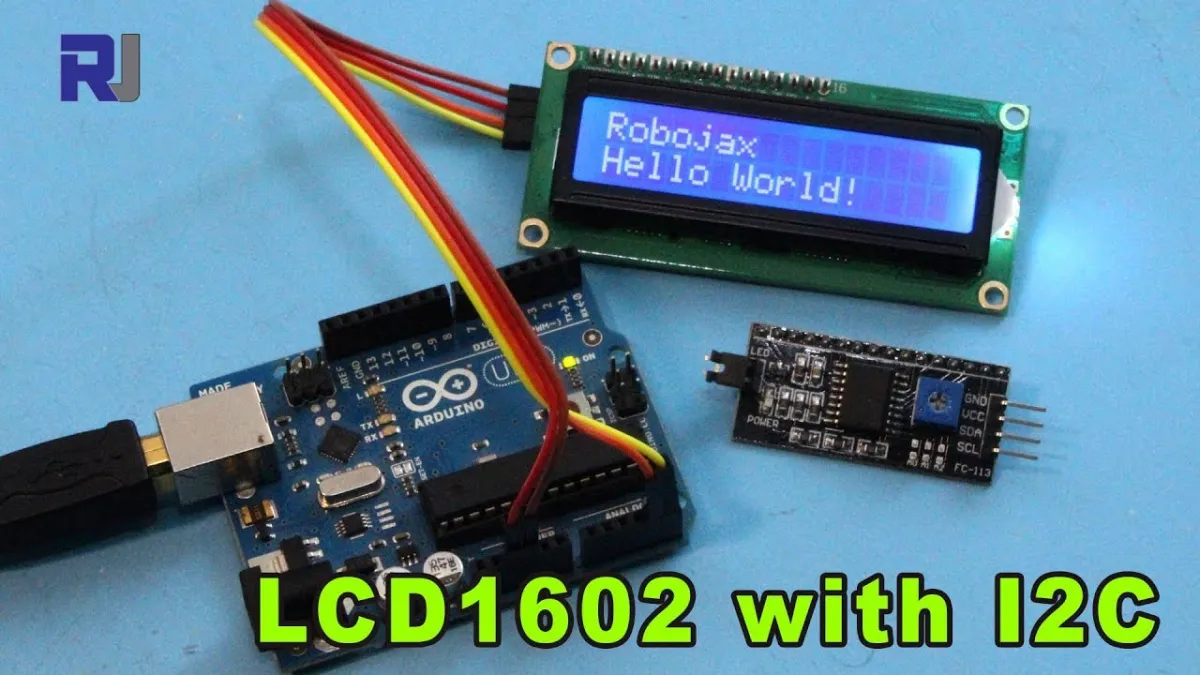
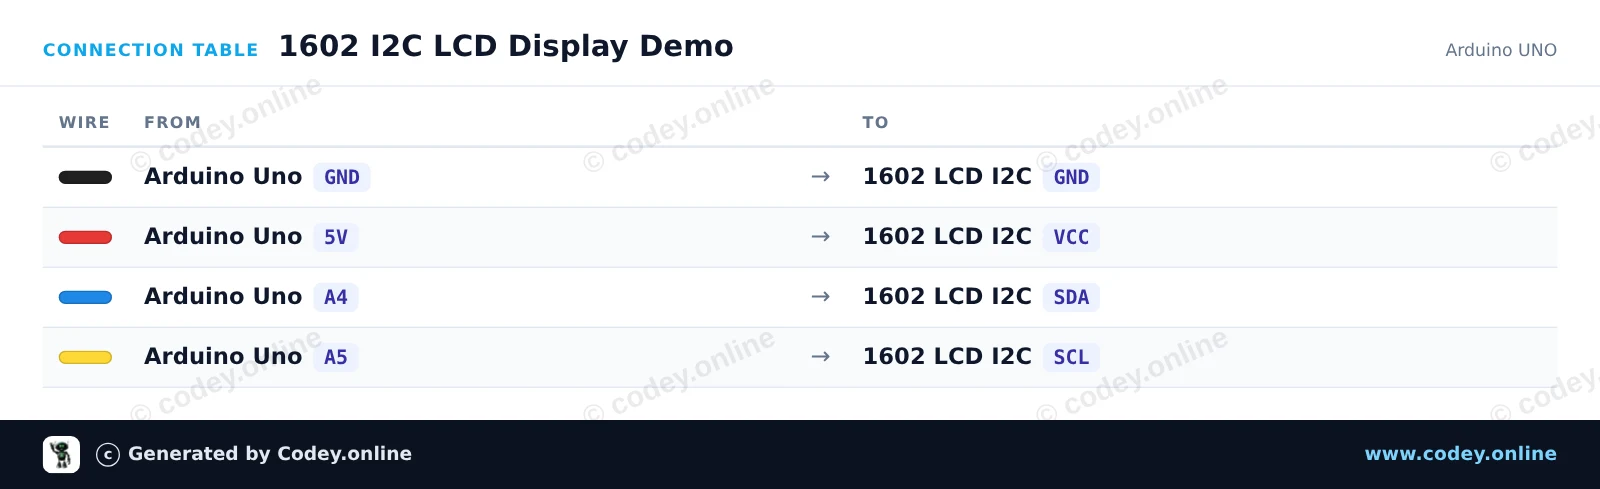
Connect the 1602 I2C LCD display to the Arduino Uno using just four wires. The sketch initializes the display, enables the backlight, and shows a greeting along with a live uptime counter updated every second. Adjust the small potentiometer on the back of the module if the text appears too faint or dark.

Wiring diagram: 1602 LCD blue backlight with I2C pre-soldered on an Arduino UNO
Wiring diagram · Click to enlarge
Connection table: 1602 LCD blue backlight with I2C pre-soldered on an Arduino UNO
Connection table · Click to enlarge
1602_I2C_LCD_Display_Demo.ino · compiled and verified
/*
 * ==================================================================
 *  Generated by Codey.online  —  https://www.codey.online
 * ==================================================================
 *  Project   : 1602 I2C LCD Display Demo
 *  Board     : Arduino UNO (arduino:avr:uno)
 *  Parts     : 1602 LCD I2C DISPLAY
 *  Libraries : LiquidCrystal I2C 1.1.2
 *
 *  Codey Online is an AI-powered browser IDE for Arduino and ESP32.
 *  Describe your project and Codey writes the code, draws the wiring
 *  diagram and uploads it to your board, straight from the browser.
 *  This code is free to use, modify and share, without warranty.
 * ==================================================================
 */

#include <Wire.h>
#include <LiquidCrystal_I2C.h>

// Set the LCD address to 0x27 for a 16 chars and 2 line display
// (If your display stays blank, try address 0x3F)
LiquidCrystal_I2C lcd(0x27, 16, 2);

void setup() {
  Serial.begin(115200);
  Serial.println(F("Starting 1602 I2C LCD demo..."));

  lcd.init();
  lcd.backlight();

  lcd.setCursor(0, 0);
  lcd.print(F("Hello, World!"));
}

void loop() {
  // Display the running uptime in seconds on the second line
  unsigned long seconds = millis() / 1000;

  lcd.setCursor(0, 1);
  lcd.print(F("Uptime: "));
  lcd.print(seconds);
  lcd.print(F("s   "));

  Serial.print(F("Uptime: "));
  Serial.print(seconds);
  Serial.println(F(" s"));

  delay(1000);
}

Required libraries: LiquidCrystal I2C 1.1.2

Wiring diagram and example code generated by Codey.online — https://www.codey.online

ESP32 1602 I2C LCD Display Demo

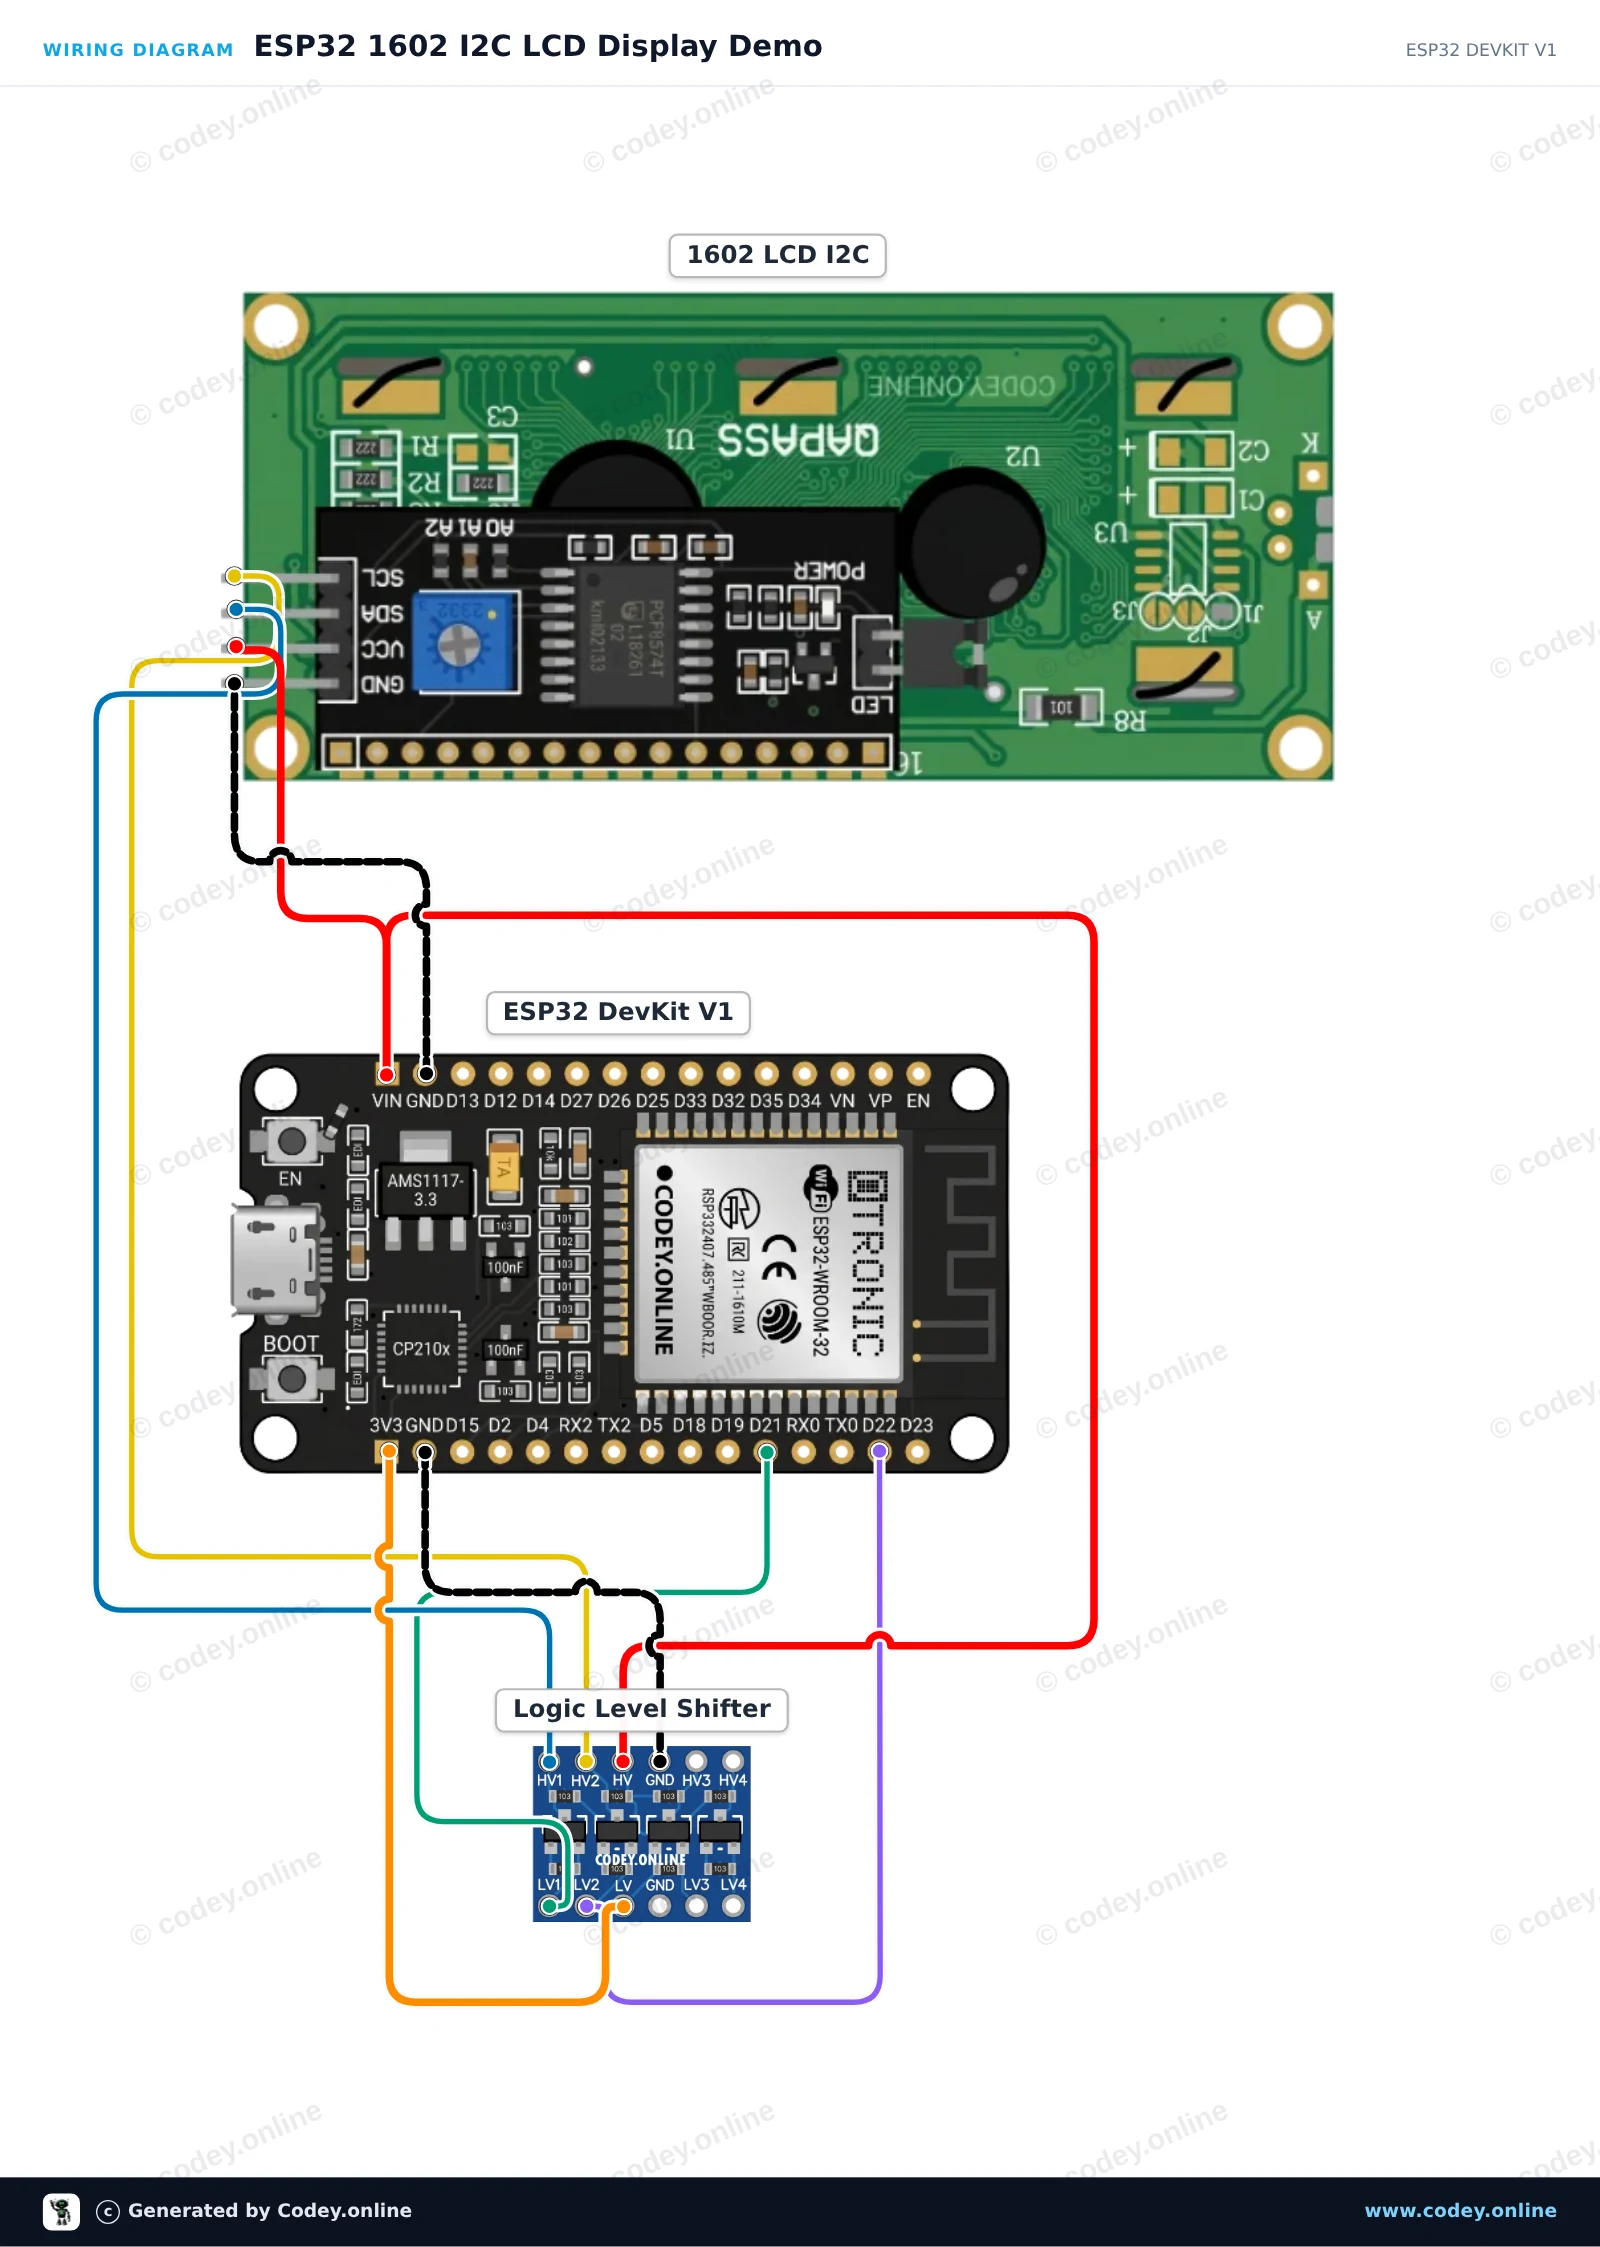
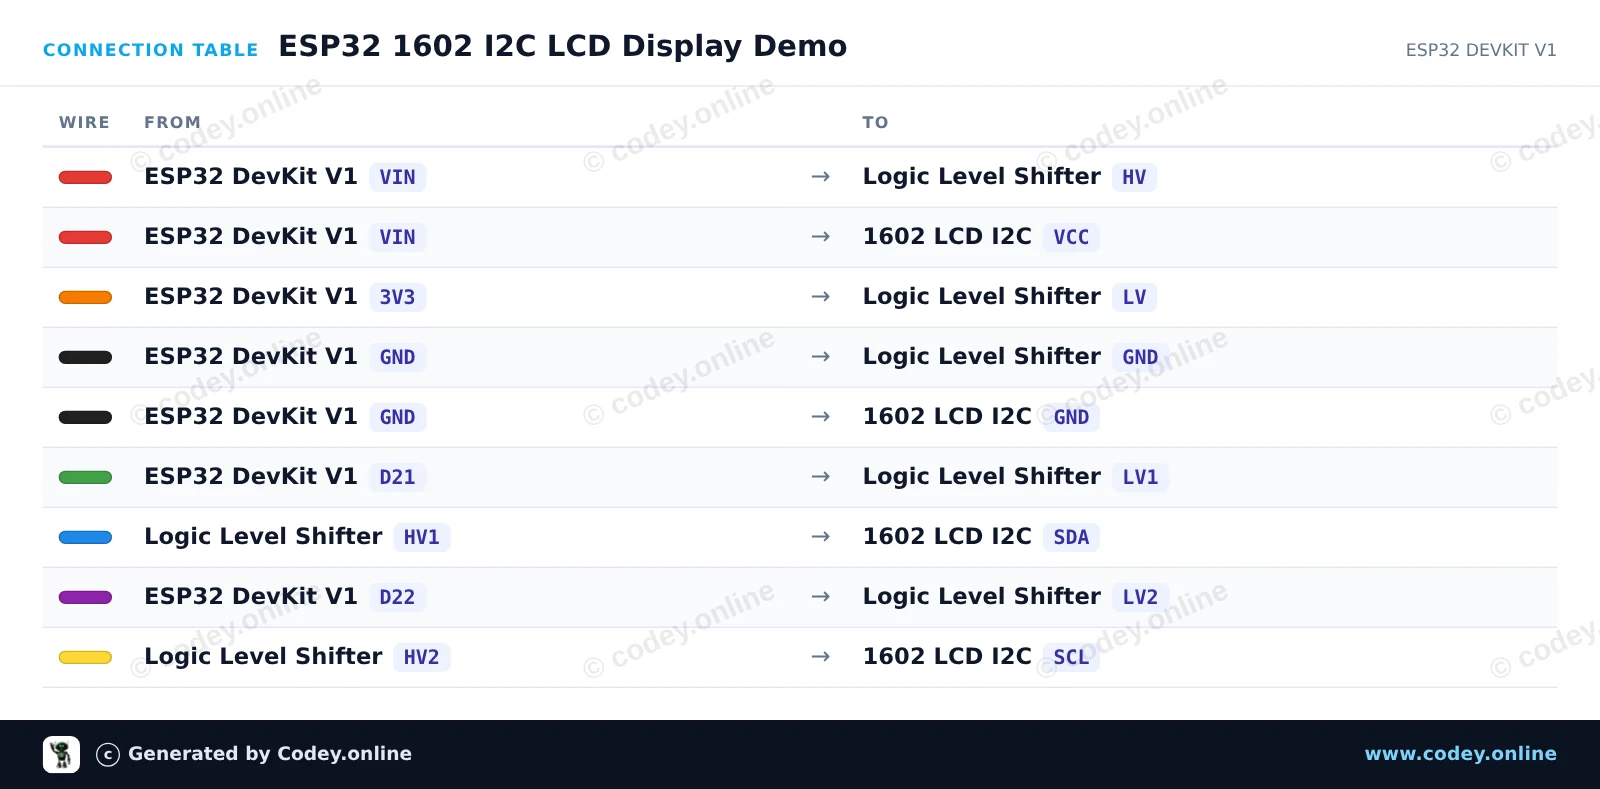
This project demonstrates how to connect a 5V 1602 I2C LCD display to an ESP32 using a logic level shifter for safe bidirectional communication. The display initializes, turns on the backlight, and shows a welcome message alongside an updating uptime counter.

Wiring diagram: 1602 LCD blue backlight with I2C pre-soldered on an ESP32 DevKit V1
Wiring diagram · Click to enlarge
Connection table: 1602 LCD blue backlight with I2C pre-soldered on an ESP32 DevKit V1
Connection table · Click to enlarge
ESP32_1602_I2C_LCD_Display_Demo.ino · compiled and verified
/*
 * ==================================================================
 *  Generated by Codey.online  —  https://www.codey.online
 * ==================================================================
 *  Project   : ESP32 1602 I2C LCD Display Demo
 *  Board     : ESP32 DEVKIT V1 (esp32:esp32:esp32doit-devkit-v1)
 *  Parts     : 1602 LCD I2C DISPLAY
 *  Libraries : LiquidCrystal I2C 1.1.2
 *
 *  Codey Online is an AI-powered browser IDE for Arduino and ESP32.
 *  Describe your project and Codey writes the code, draws the wiring
 *  diagram and uploads it to your board, straight from the browser.
 *  This code is free to use, modify and share, without warranty.
 * ==================================================================
 */

#include <Wire.h>
#include <LiquidCrystal_I2C.h>

// Set LCD I2C address (commonly 0x27 or 0x3F) and dimensions (16 columns, 2 rows)
LiquidCrystal_I2C lcd(0x27, 16, 2);

void setup() {
  // Initialize I2C with ESP32 default pins: SDA (GPIO 21), SCL (GPIO 22)
  Wire.begin(21, 22);
  
  lcd.init();
  lcd.backlight();
  
  lcd.setCursor(0, 0);
  lcd.print("ESP32 LCD Demo");
  lcd.setCursor(0, 1);
  lcd.print("Uptime: ");
}

void loop() {
  // Update uptime counter in seconds
  lcd.setCursor(8, 1);
  lcd.print(millis() / 1000);
  lcd.print("s  ");
  delay(500);
}

Required libraries: LiquidCrystal I2C 1.1.2

Wiring diagram and example code generated by Codey.online — https://www.codey.online

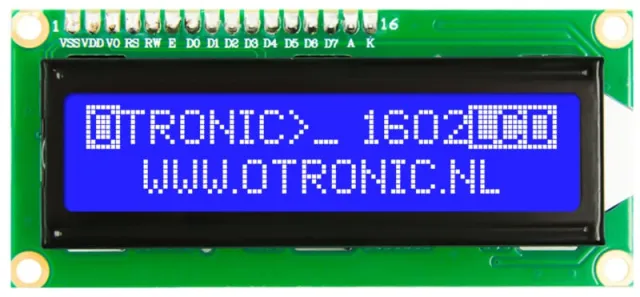
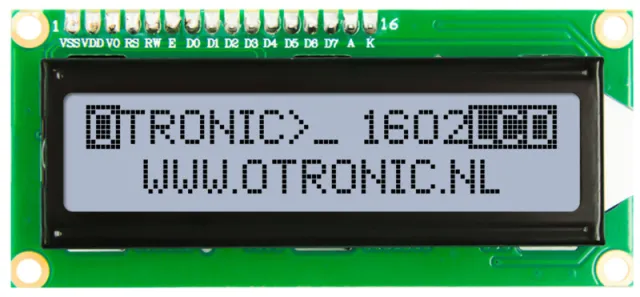
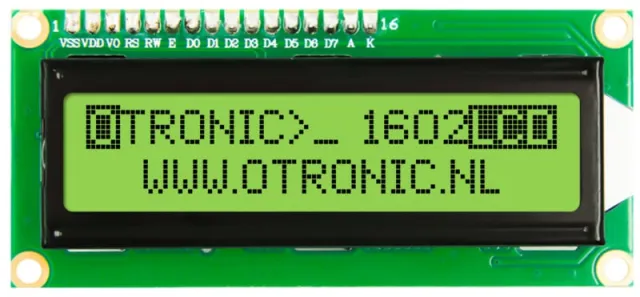
1602 LCD blue backlight with I2C pre-soldered

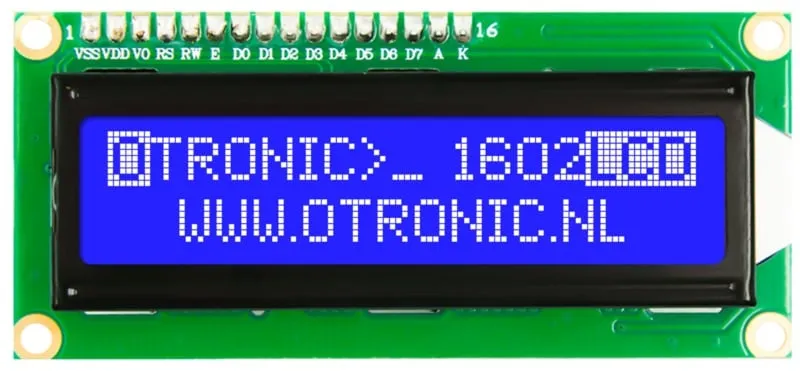
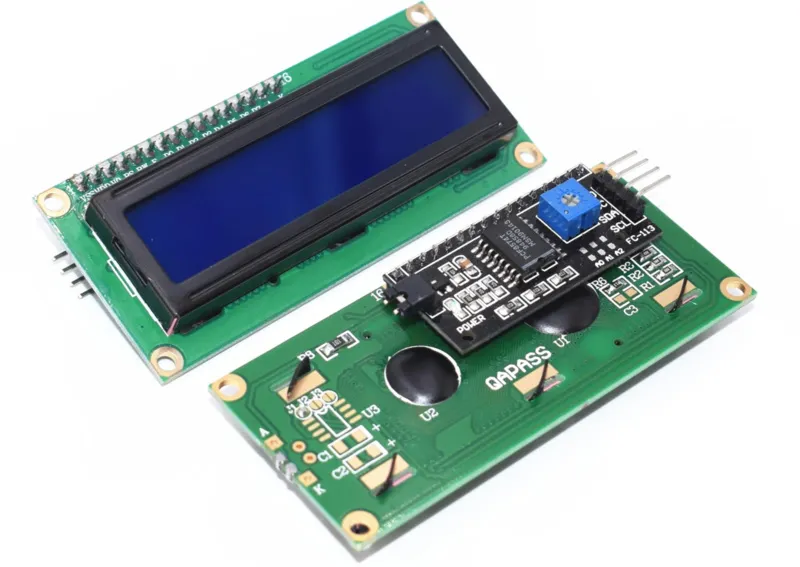
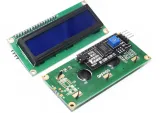
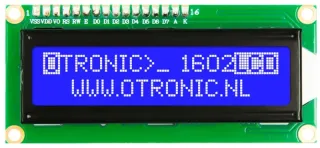
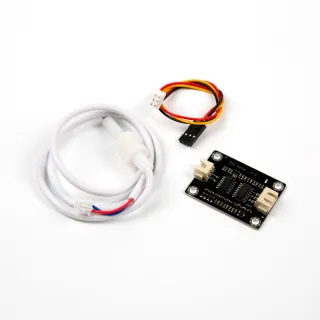
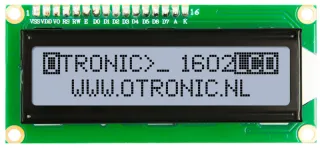
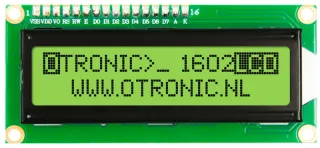
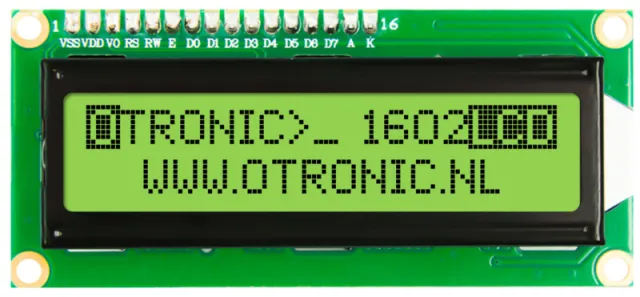
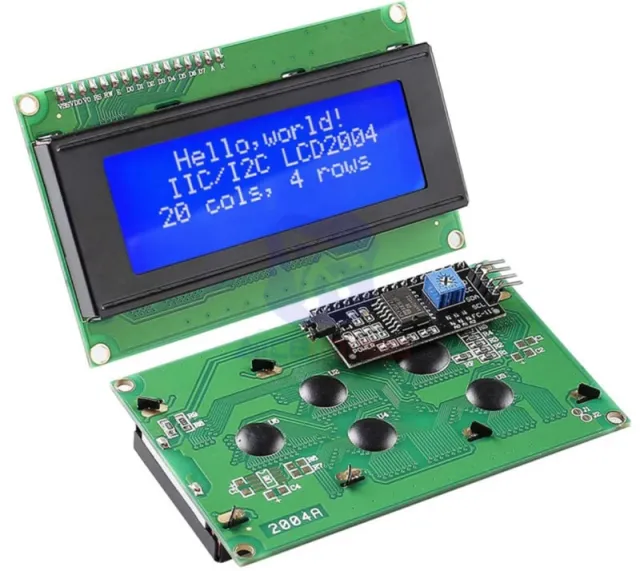
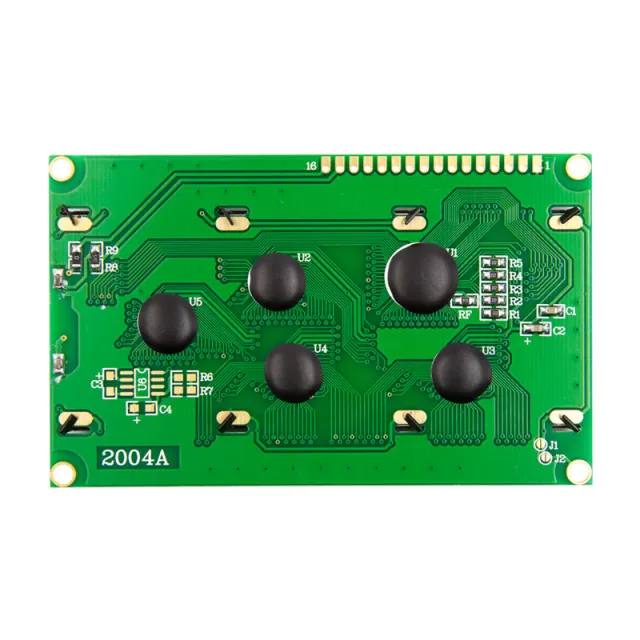
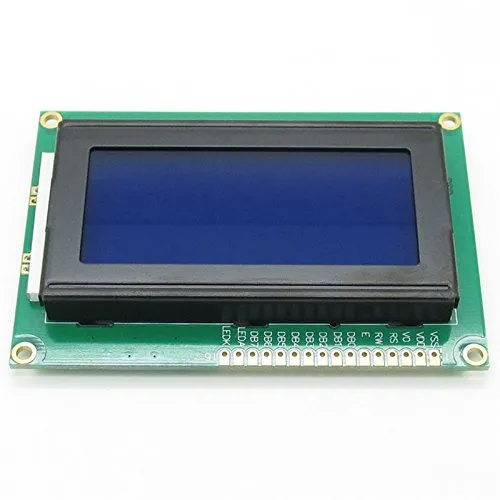
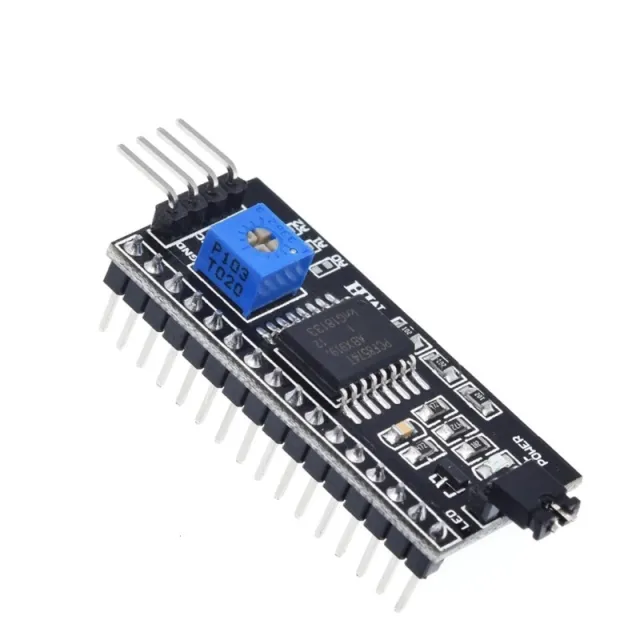
1602 LCD with pre-soldered I2C module. Ready to use directly in your Arduino, ESP32, ESP8266 or Raspberry Pi project. Much easier than without this module. Now only 4 wires are needed to control this LCD display.

LCD with blue backlight and white characters. 2 lines, 20 characters per line. Contrast is adjustable (in software).

– Works on: 5V
– Dimensions: 98mm x 60mm x 15mm.

Includes I2C module!

Get started quickly with this OTRONIC 1602 LCD display with I2C module. Download the OTRONIC 1602 LCD QUICK START GUIDE for a wiring diagram and example code for the Arduino IDE software.


Dimensions
Length: 8cm
Width: 2.6cm
Height: 1.1cm

  • Adjustable contrast
  • 5V operating voltage
  • Blue backlight
  • 4 wires
Playing loads the video from YouTube.

Why choose this product?

  • Pre-soldered module – Ready to use in your project.
  • Only 4 wires – Easier to connect and control.
  • Blue backlight – LCD with blue backlight and white characters.
  • Adjustable contrast – Contrast can be adjusted in software.
  • Wide compatibility – Suitable for Arduino, ESP32, ESP8266 and Raspberry Pi.
Specifications
Dimensions98 x 60 x 15 mm
Colorblue
ConnectionI2C
Operating voltage5V
Lines2
Characters per line20

In the package

  • 1602 LCD display
  • I2C module

Frequently bought together

Total: € 28,35

Reviews

★★★★★ 5,0/5 2 reviews
  • ★★★★★LBLM LBLMVerified purchase

    Conforms to my order

  • ★★★★★Jaap

    does exactly what it needs to do

Write a review
Your rating

Shipping & returns

Shipping

  • Parcel with track & trace€ 7,70Within 24 hours
  • Pick up at PostNL location€ 7,40Within 24 hours
  • Letterbox parcel€ 3,70Within 2 business days
  • Letterbox parcel 24 hours€ 4,55Within 24 hours
  • Pick up in storeFree
All about shipping

Returns

Not satisfied? You have 30 days after delivery to return the product.

All about returns

Recently viewed