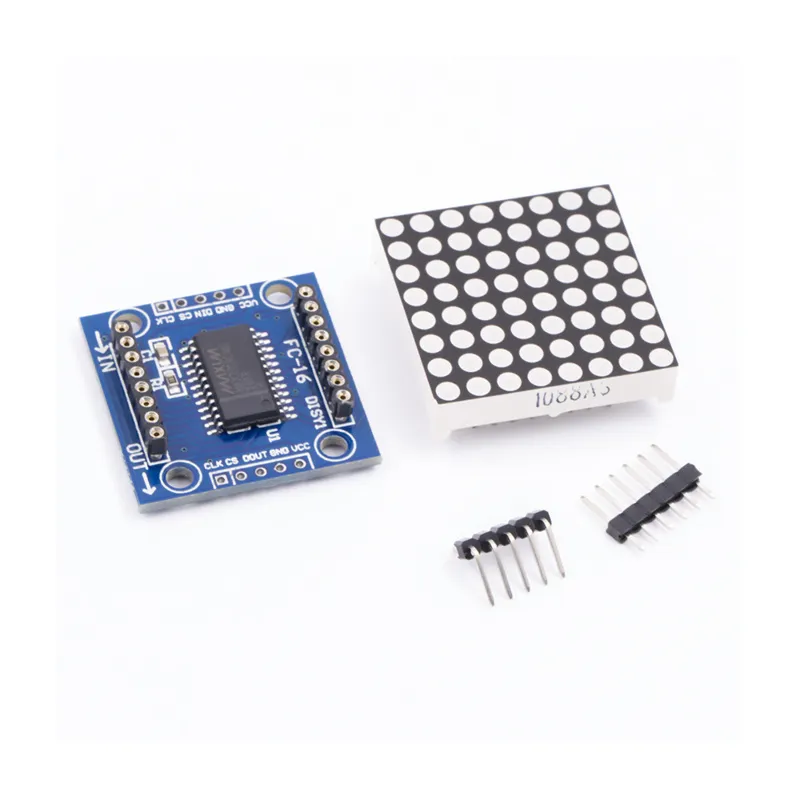
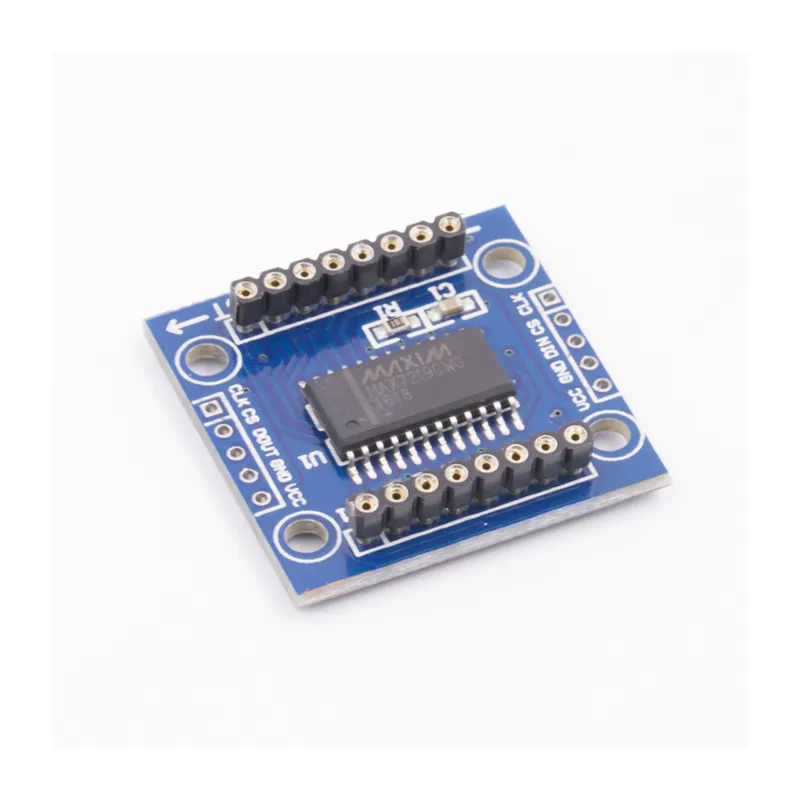
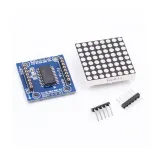
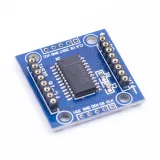
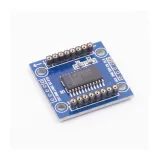
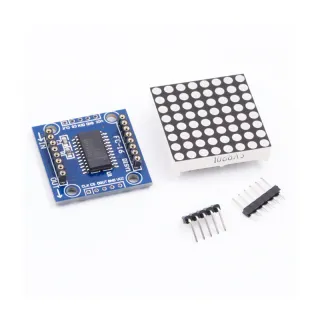
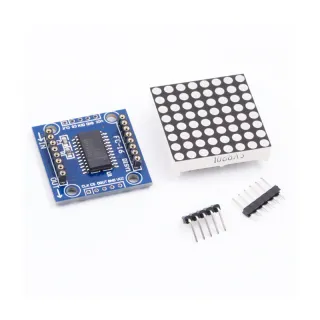
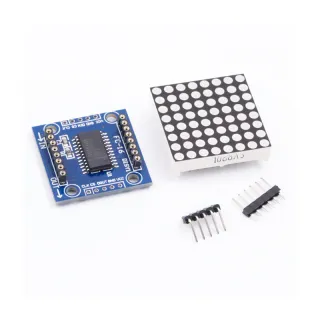
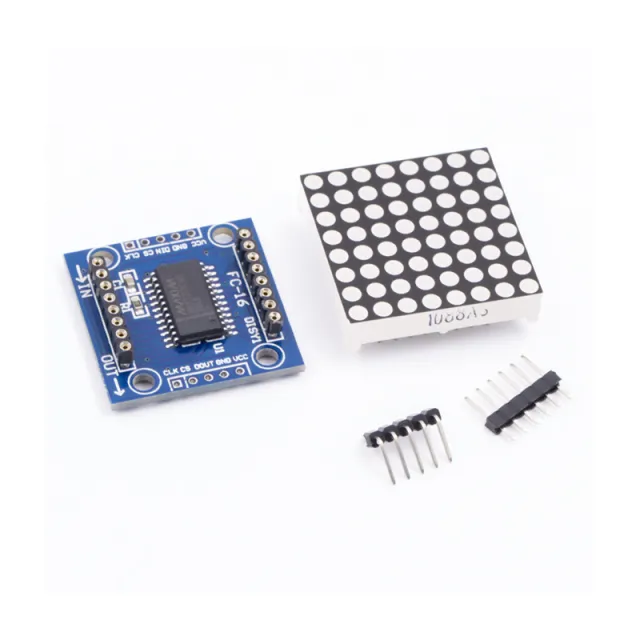
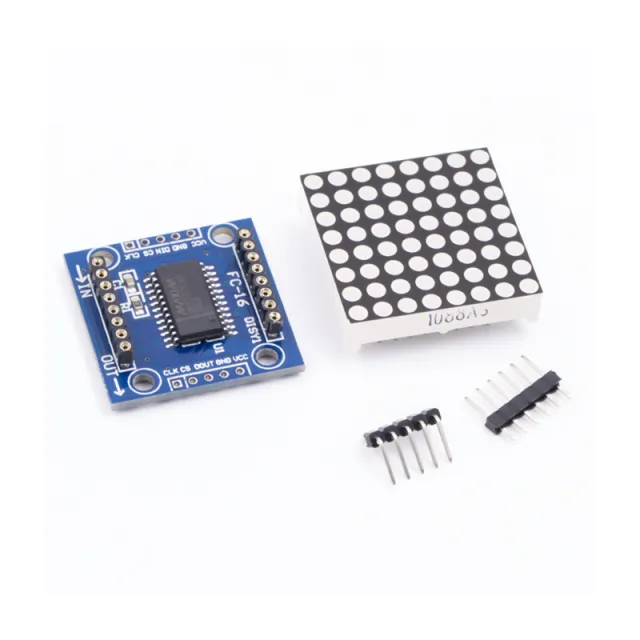
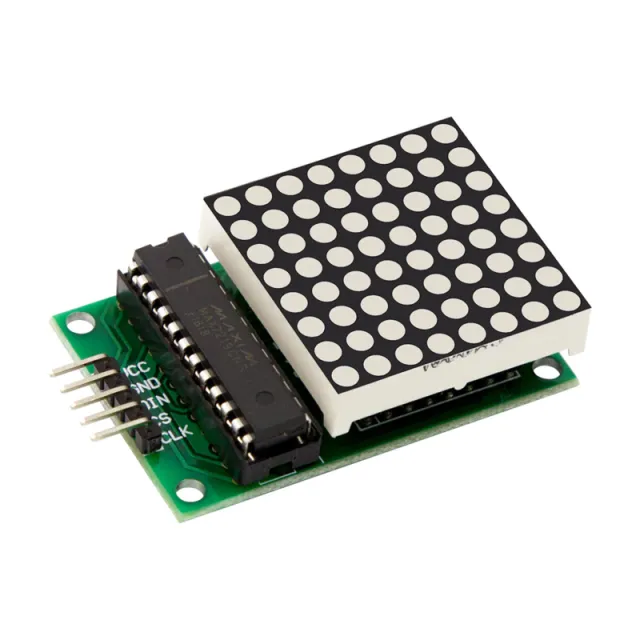
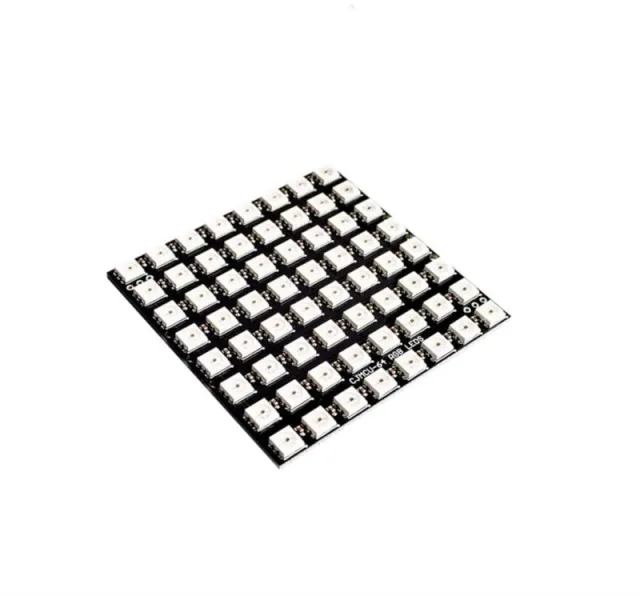
8x8 LED-matriisimoduuli Arduino DIY-projekteihin, SPI-ohjauksella ja ketjutettavilla moduuleilla.
SKU: OT3643 Tuotenumero: AA185 EAN: 8720618489722 Sijainti: H05.05
Vaihtoehto
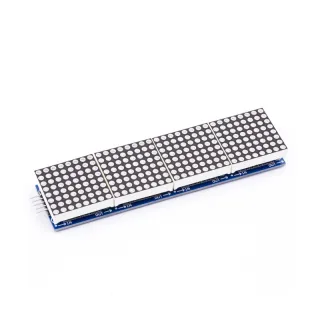
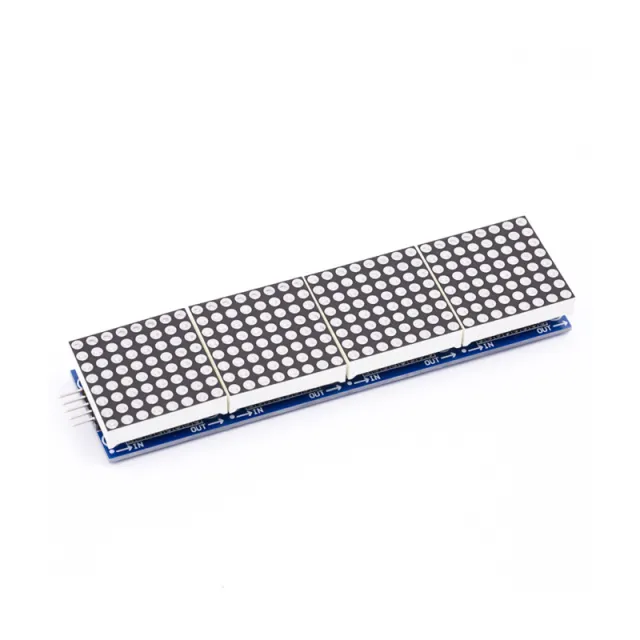
LED-matriisi 32x8 MAX7219-moduulilla
€ 6,25
Katso tämä vaihtoehto
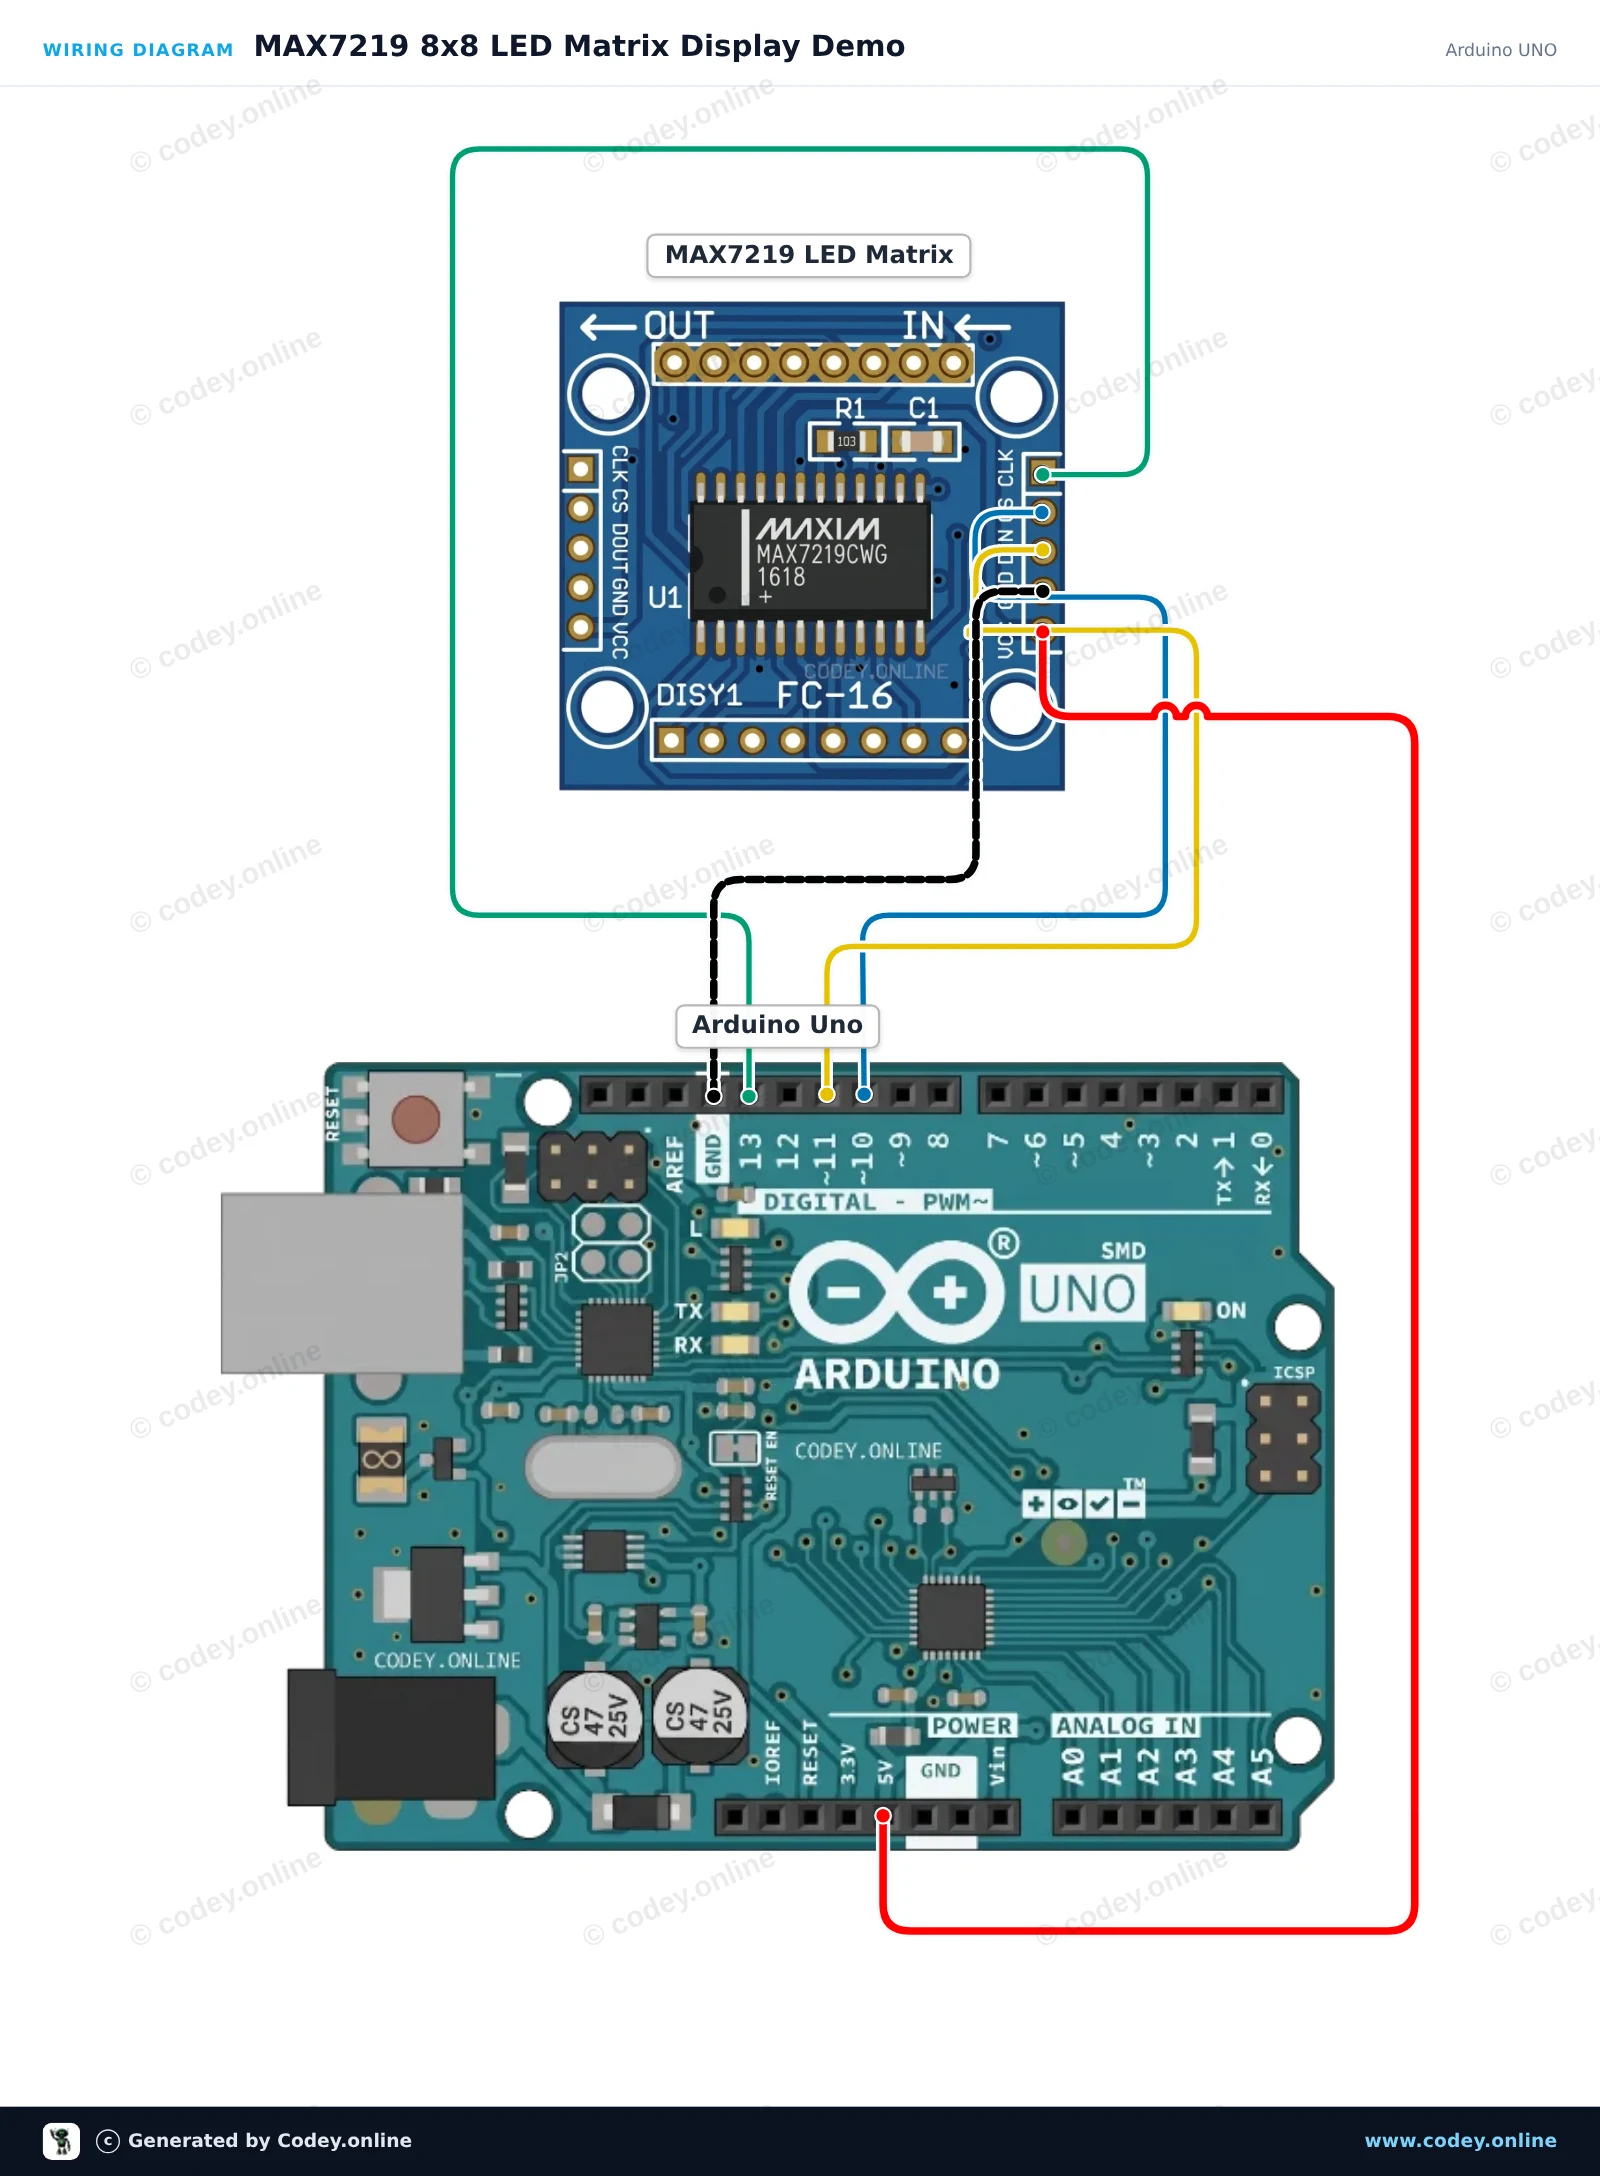
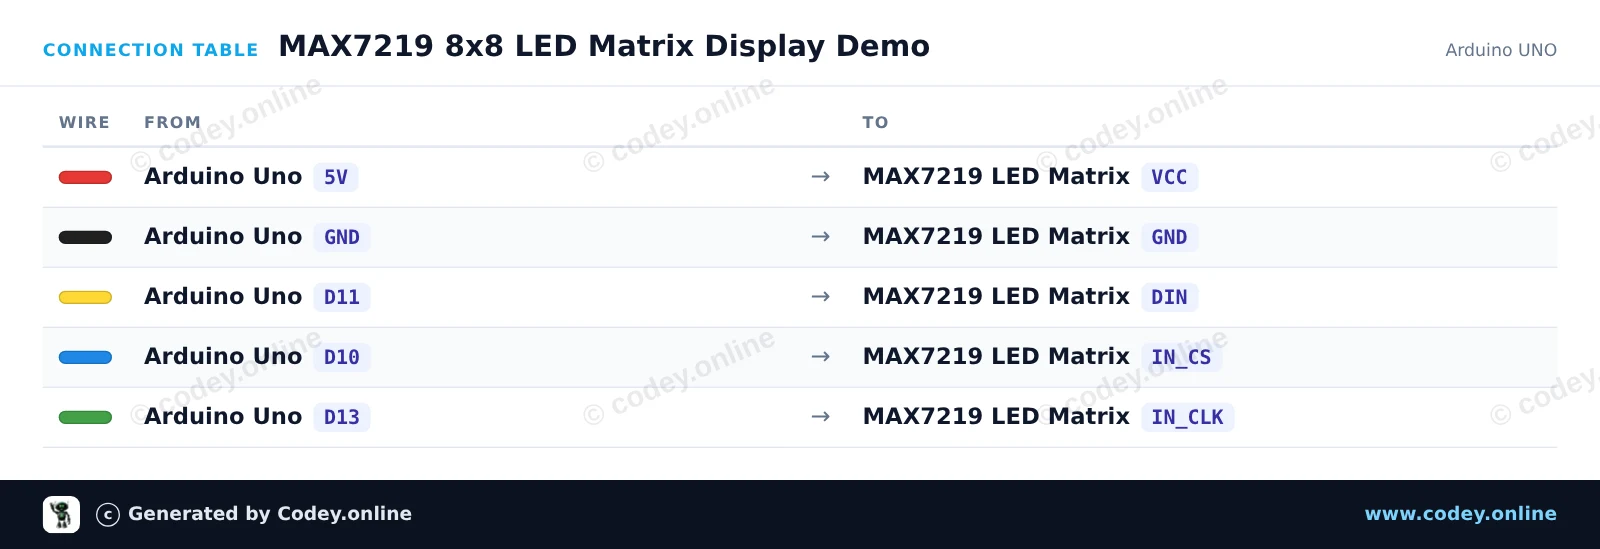
Näin kytket LED Matrix Module MAX7219 Punainen:n Arduino UNOon tai ESP32:een, mukana esimerkkisketsi, jonka voit ladata heti.
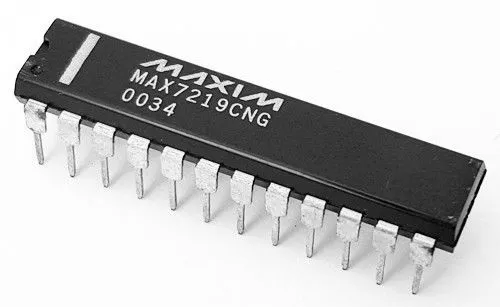
Tämä projekti näyttää, miten 8x8 LED-matriisia ohjataan MAX7219-ohjainsirulla. Se alustaa näytön ja vuorottelee hymynaaman, sydänkuvakkeen ja skannaavan pikselikuvion näyttämisen välillä.
/*
* ==================================================================
* Generated by Codey.online — https://www.codey.online
* ==================================================================
* Project : MAX7219 8x8 LED Matrix Display Demo
* Board : Arduino UNO (arduino:avr:uno)
* Parts : LED Matrix Module MAX7219
* Libraries : LedControl 1.0.6
*
* Codey Online is an AI-powered browser IDE for Arduino and ESP32.
* Describe your project and Codey writes the code, draws the wiring
* diagram and uploads it to your board, straight from the browser.
* This code is free to use, modify and share, without warranty.
* ==================================================================
*/
#include <LedControl.h>
const int DIN_PIN = 11;
const int CS_PIN = 10;
const int CLK_PIN = 13;
LedControl lc = LedControl(DIN_PIN, CLK_PIN, CS_PIN, 1);
// 8x8 bitmap patterns
const byte SMILEY[8] = {
0b00111100,
0b01000010,
0b10100101,
0b10000001,
0b10100101,
0b10011001,
0b01000010,
0b00111100
};
const byte HEART[8] = {
0b00000000,
0b01100110,
0b11111111,
0b11111111,
0b01111110,
0b00111100,
0b00011000,
0b00000000
};
void drawPattern(const byte pattern[8]) {
for (int row = 0; row < 8; row++) {
lc.setRow(0, row, pattern[row]);
}
}
void setup() {
Serial.begin(115200);
Serial.println(F("MAX7219 LED Matrix Demo"));
lc.shutdown(0, false); // Wake up display
lc.setIntensity(0, 5); // Brightness (0-15)
lc.clearDisplay(0);
}
void loop() {
// Show smiley face
drawPattern(SMILEY);
delay(2000);
// Show heart
drawPattern(HEART);
delay(2000);
// Clear display
lc.clearDisplay(0);
delay(500);
// Scan a single pixel across all rows and columns
for (int row = 0; row < 8; row++) {
for (int col = 0; col < 8; col++) {
lc.setLed(0, row, col, true);
delay(30);
lc.setLed(0, row, col, false);
}
}
delay(500);
}
Tarvittavat kirjastot: LedControl 1.0.6
Wiring diagram and example code generated by Codey.online — https://www.codey.online
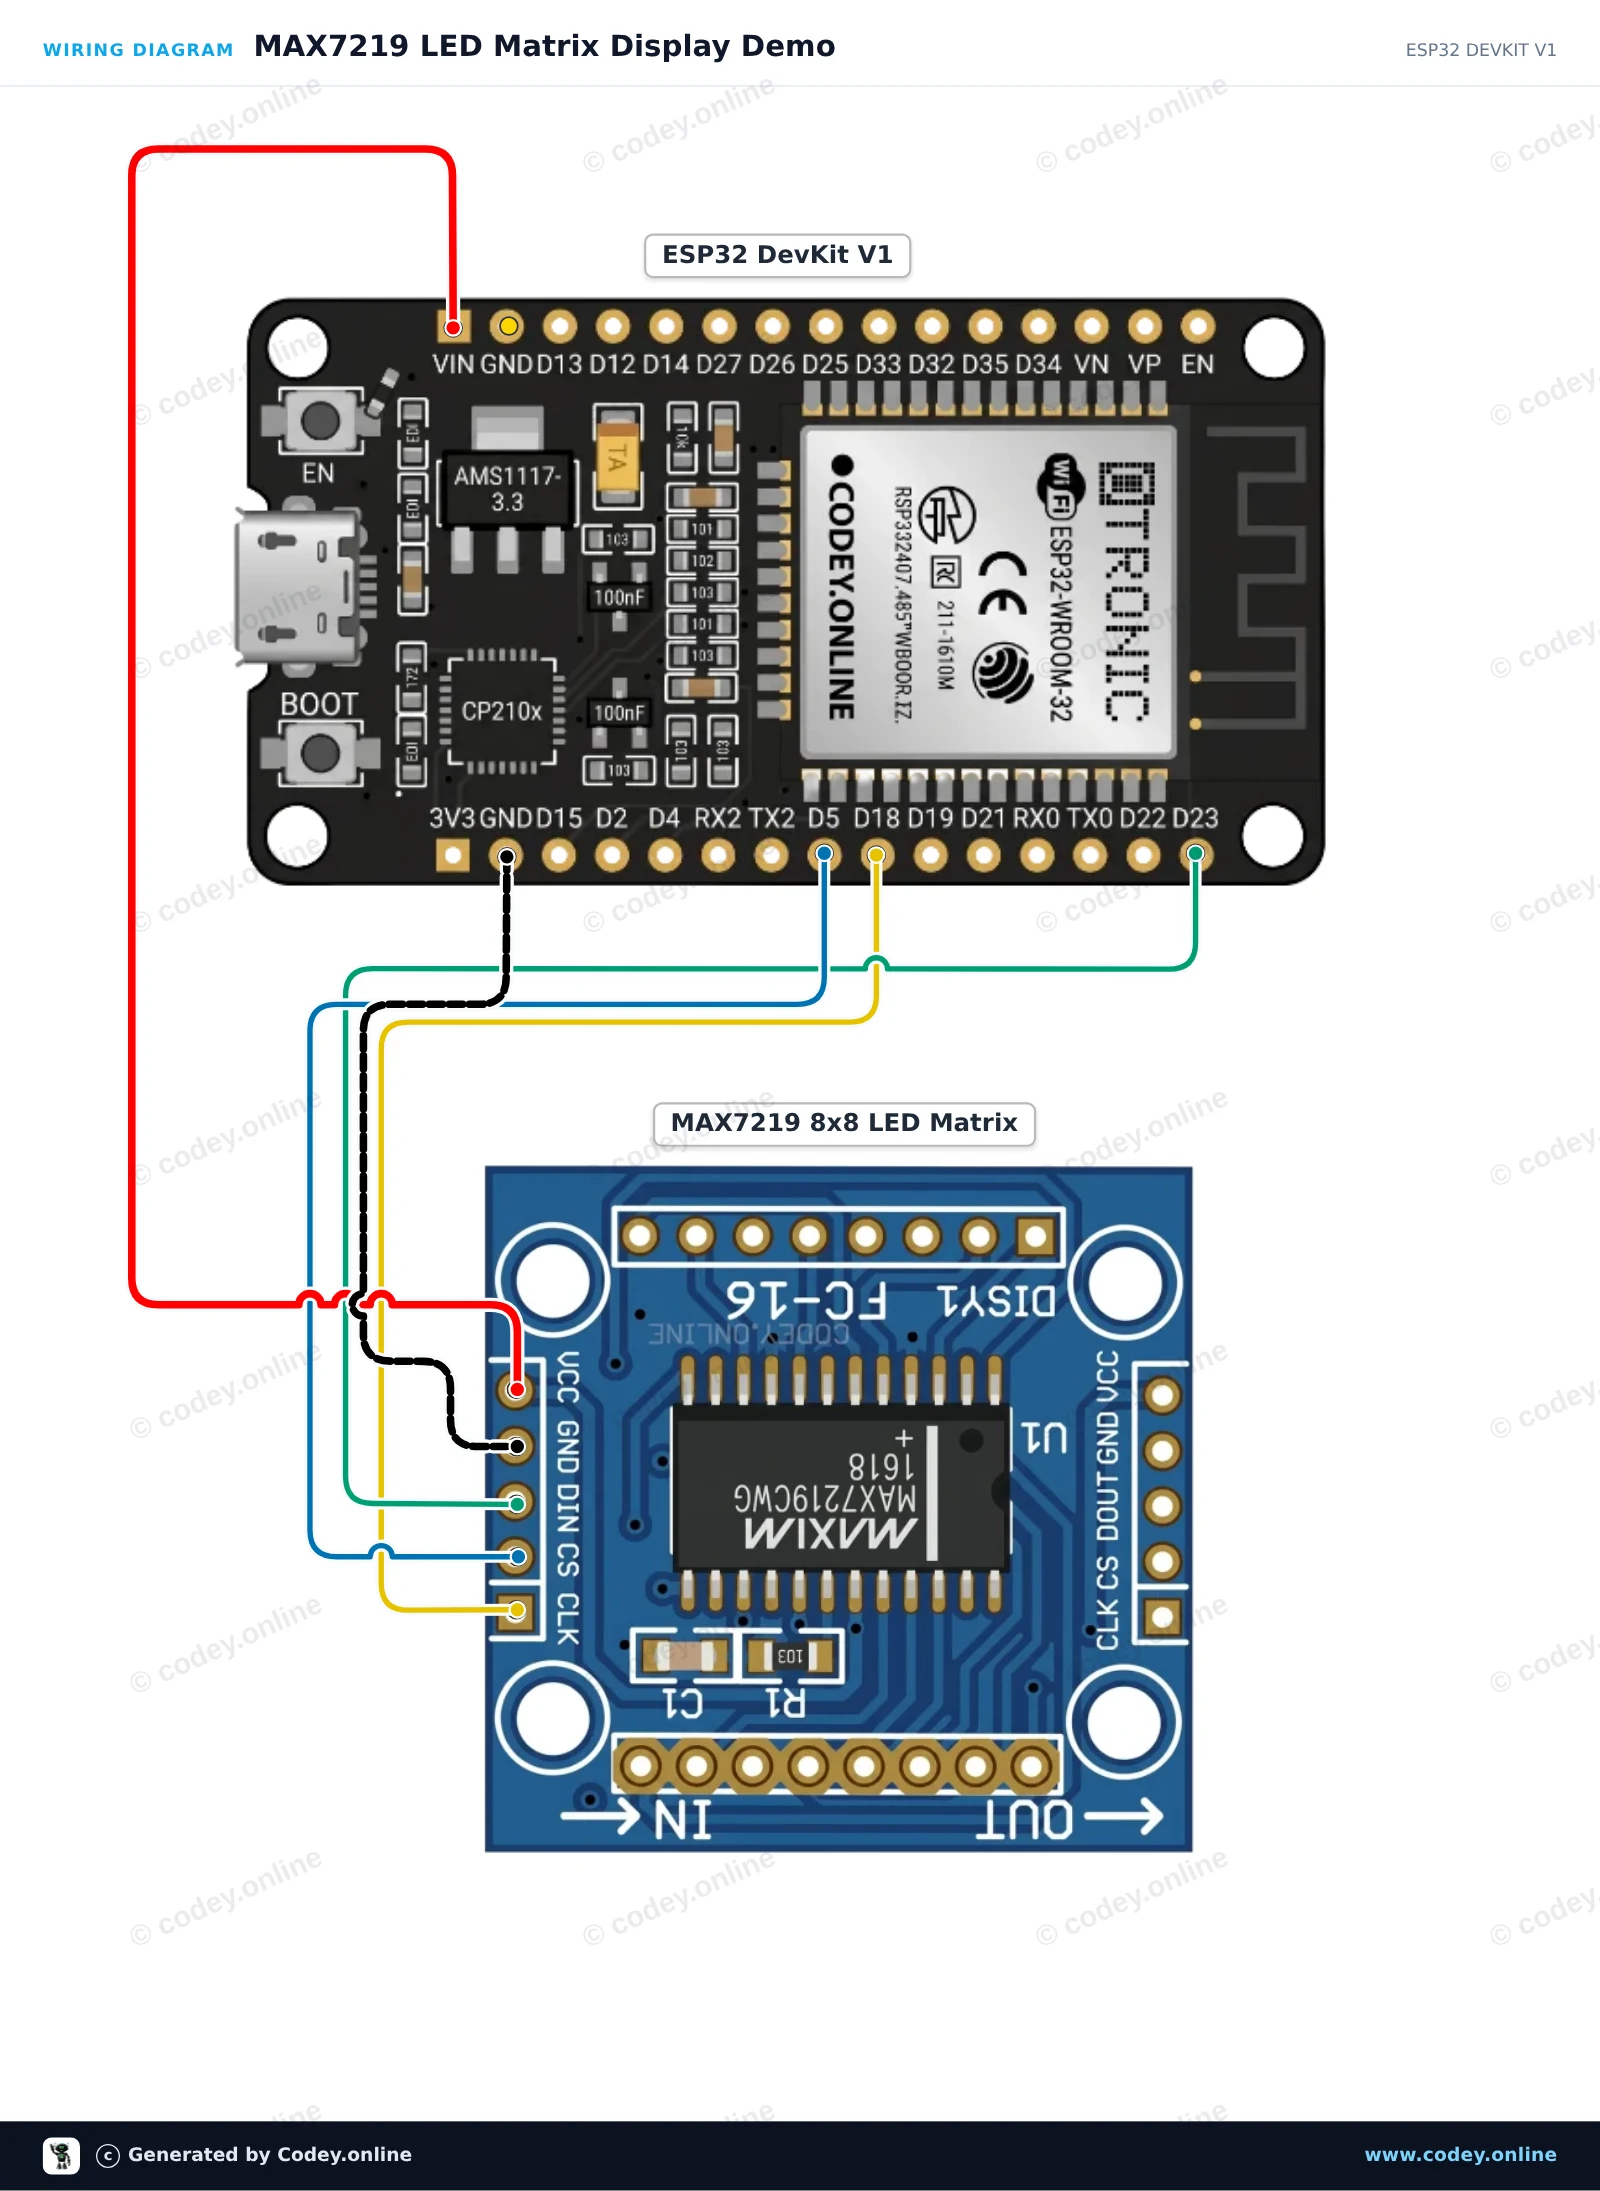
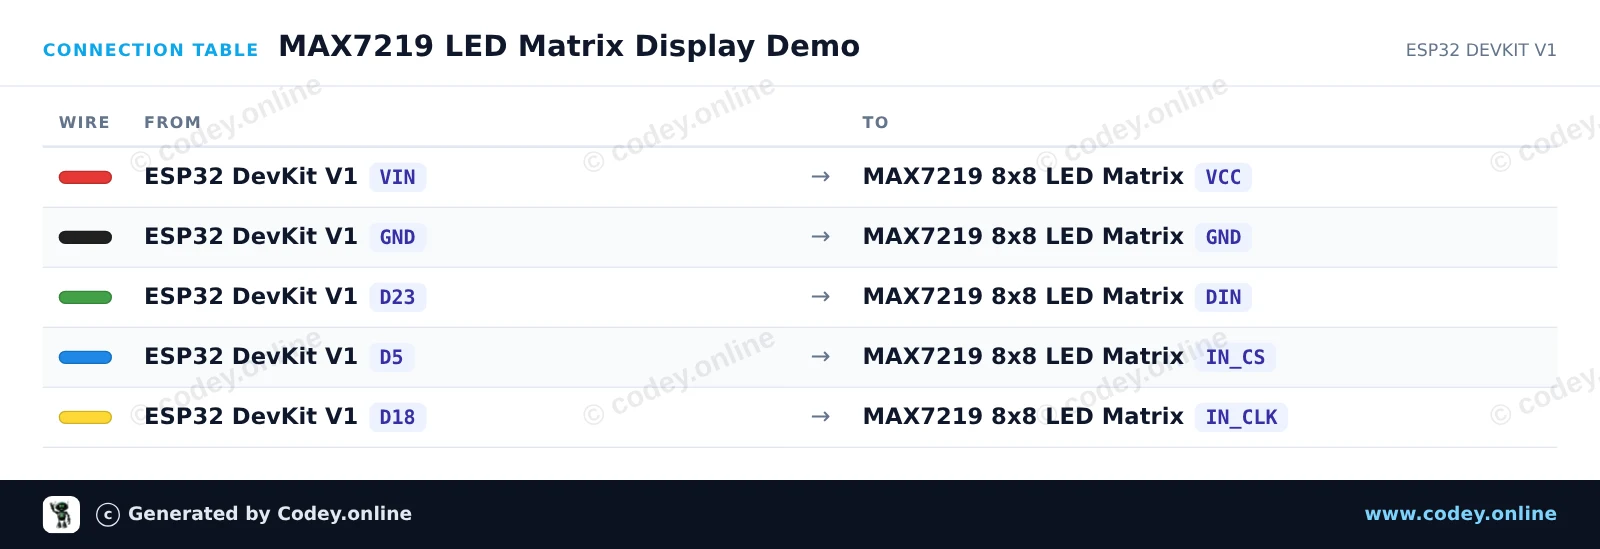
Tämä projekti näyttää, miten 8x8 MAX7219 LED-matriisinäyttöä ohjataan ESP32:n laitteisto-SPI-liitännän avulla. Sketch alustaa näytön rekisterit ja vuorottelee sydänkuvakkeen ja hymynaaman näyttämisen välillä.
/*
* ==================================================================
* Generated by Codey.online — https://www.codey.online
* ==================================================================
* Project : MAX7219 LED Matrix Display Demo
* Board : ESP32 DEVKIT V1 (esp32:esp32:esp32doit-devkit-v1)
* Parts : LED Matrix Module MAX7219
* Libraries : none (built-in)
*
* Codey Online is an AI-powered browser IDE for Arduino and ESP32.
* Describe your project and Codey writes the code, draws the wiring
* diagram and uploads it to your board, straight from the browser.
* This code is free to use, modify and share, without warranty.
* ==================================================================
*/
#include <SPI.h>
const int PIN_CS = 5;
// MAX7219 register addresses
const byte REG_NOOP = 0x00;
const byte REG_DIGIT0 = 0x01;
const byte REG_DECODEMODE = 0x09;
const byte REG_INTENSITY = 0x0A;
const byte REG_SCANLIMIT = 0x0B;
const byte REG_SHUTDOWN = 0x0C;
const byte REG_DISPLAYTEST = 0x0F;
const byte heart[8] = {
0b00000000,
0b01100110,
0b11111111,
0b11111111,
0b11111111,
0b01111110,
0b00111100,
0b00011000
};
const byte smile[8] = {
0b00111100,
0b01000010,
0b10100101,
0b10000001,
0b10100101,
0b10011001,
0b01000010,
0b00111100
};
void writeRegister(byte reg, byte data) {
digitalWrite(PIN_CS, LOW);
SPI.transfer(reg);
SPI.transfer(data);
digitalWrite(PIN_CS, HIGH);
}
void showBitmap(const byte bitmap[8]) {
for (byte i = 0; i < 8; i++) {
writeRegister(REG_DIGIT0 + i, bitmap[i]);
}
}
void setup() {
Serial.begin(115200);
Serial.println("MAX7219 LED Matrix Demo Started");
pinMode(PIN_CS, OUTPUT);
digitalWrite(PIN_CS, HIGH);
SPI.begin();
writeRegister(REG_DISPLAYTEST, 0x00); // Normal operation
writeRegister(REG_SCANLIMIT, 0x07); // Display all 8 rows
writeRegister(REG_DECODEMODE, 0x00); // No BCD decoding (raw matrix)
writeRegister(REG_INTENSITY, 0x04); // Brightness (0x00 to 0x0F)
writeRegister(REG_SHUTDOWN, 0x01); // Wake up from shutdown
}
void loop() {
showBitmap(heart);
delay(1000);
showBitmap(smile);
delay(1000);
}
Wiring diagram and example code generated by Codey.online — https://www.codey.online
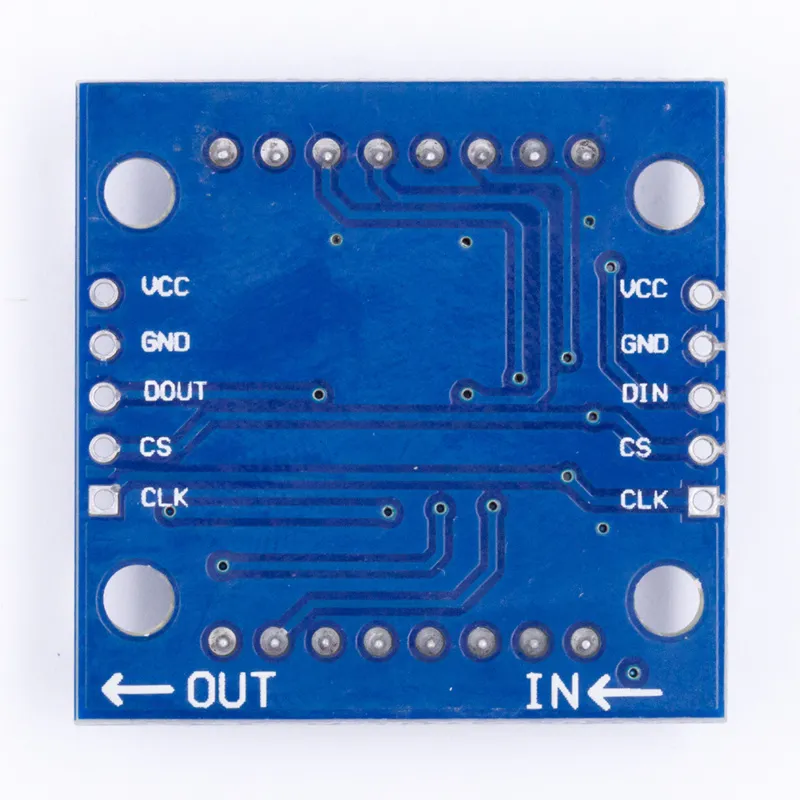
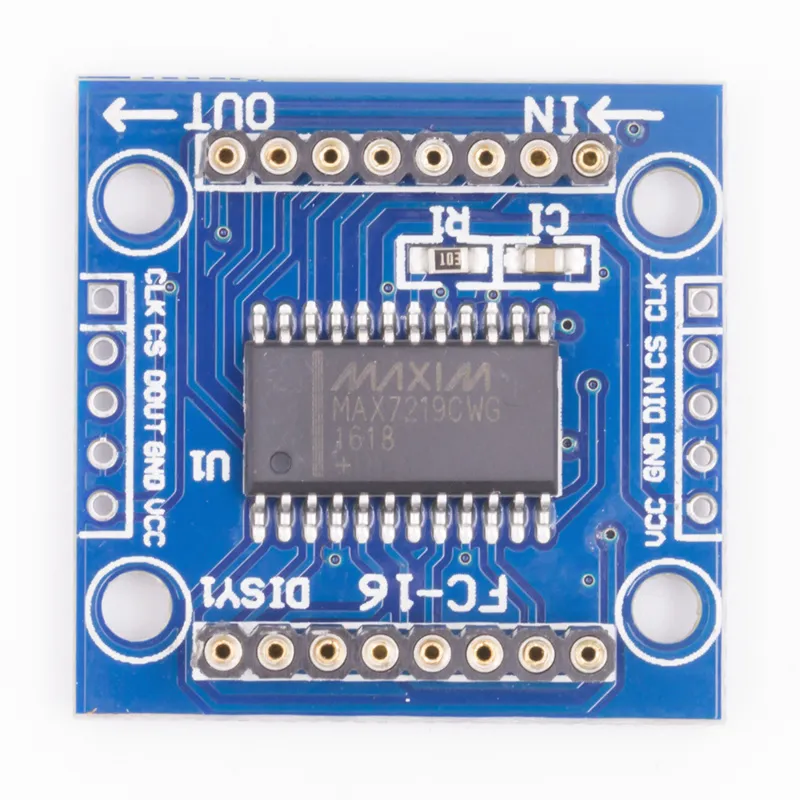
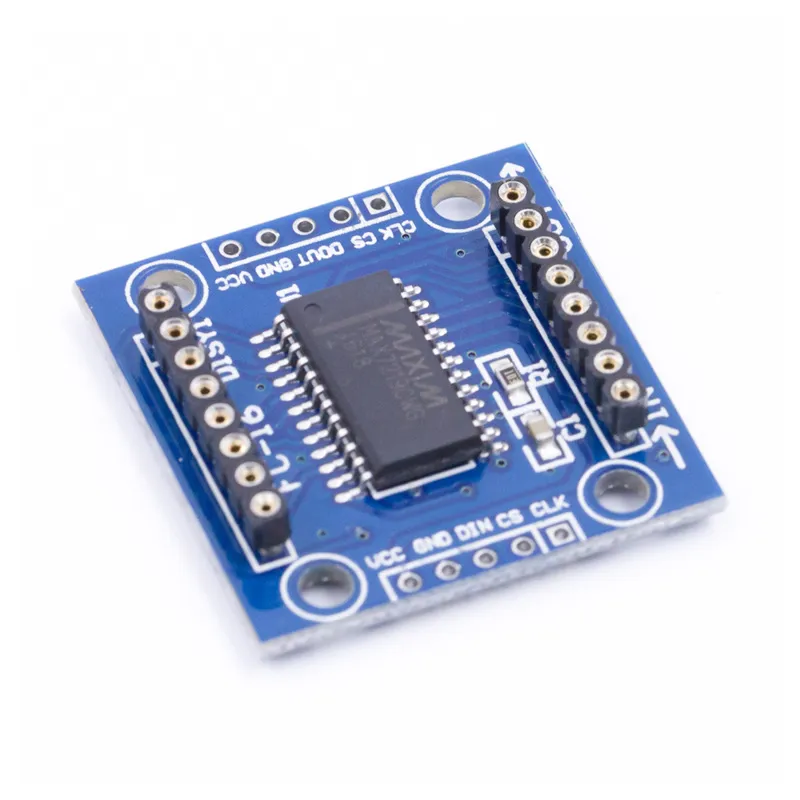
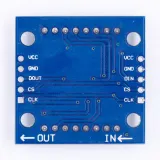
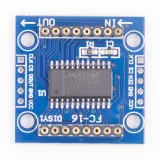
MAX7219 on IC, jota käytetään yhteiskatodisten LED-paneelien, 7-segmenttinäyttöjen ja tasoindikaattorien ohjaamiseen SPI-liitännän kautta. Tässä kortissa on 8x8 piste matriisi LED-näyttö. Useita moduuleja voidaan ketjuttaa header-liitäntöjen avulla.
Tekniset tiedot:

| Mitat | 3,2 cm x 3,2 cm x 1,3 cm |
|---|---|
| Käyttöjännite | 5V |
| Yhteensopivuus | Yhteensopiva Arduino UNO R3:n / Arduino Mega2560:n kanssa |
| Ajuri-IC | MAX7219 |
| Liitäntälogiikan jännite | 5V |
| Liitäntätyyppi | SPI |
| Liitännät | VCC, GND, DIN, CS, CLK |
| Arduino-kirjastot | Max72xxPanel ja Adafruit_GFX |
| LED-väri | punainen |
| LED-koko | 5 mm |
| Ketjutettavien solmujen määrä | 32 (MAX) |
| Kiinnitysreiät | 4 x 3 mm |
| Työvirta | 250mA (MAX) |
Erinomainen tuote.
Etkö ole tyytyväinen? Sinulla on 30 päivää aikaa vastaanotosta palauttaa tuote.
Kaikki palautuksista
LED Matrix Module MAX7219 Punainen