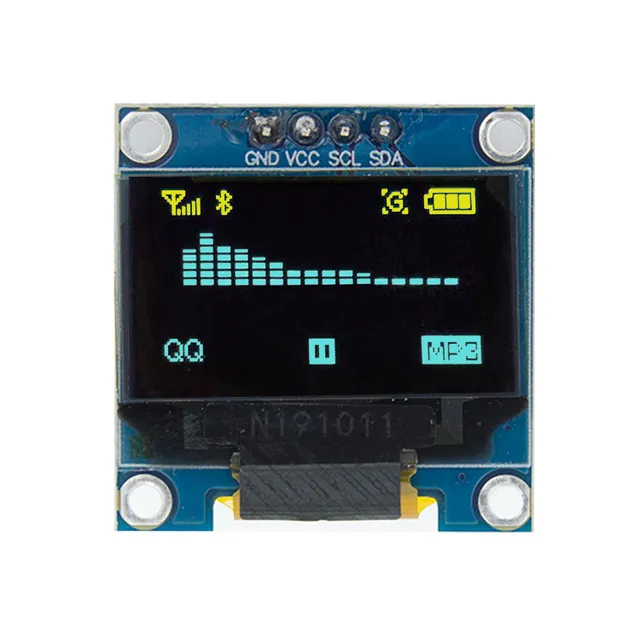
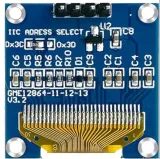
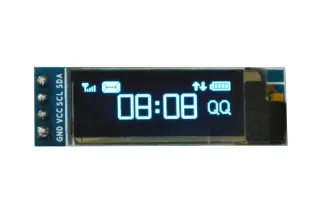
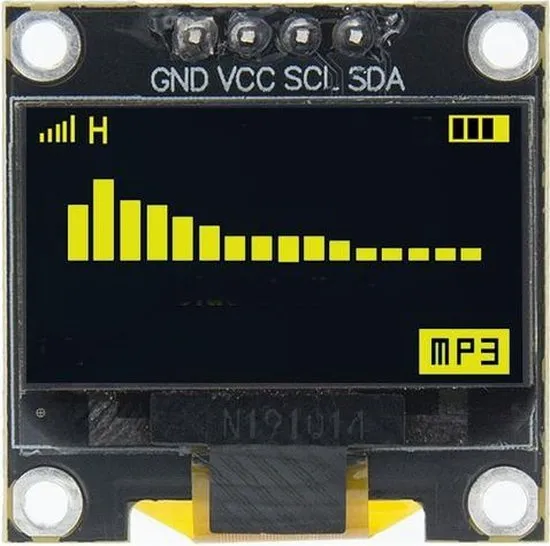
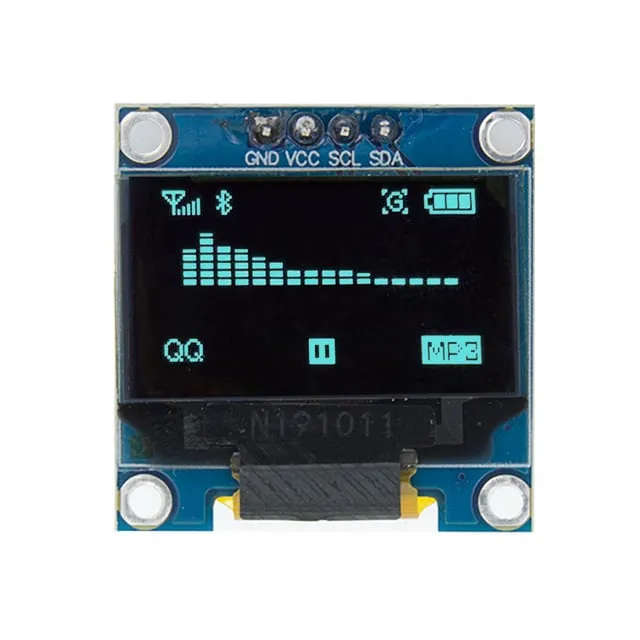
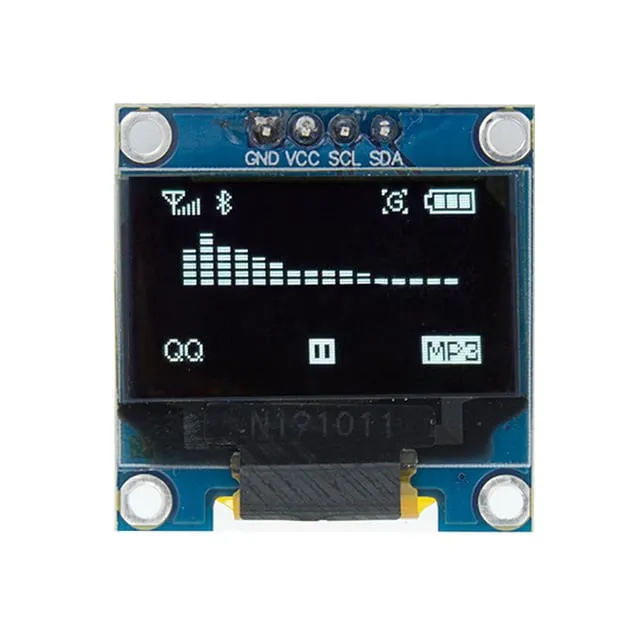
Compact 0.96-inch OLED display with yellow/blue display for Arduino and ESP32 projects.
SKU: OT824-C65 Article number: XH143 EAN: 7420129383786 Location: C06.05
Alternative
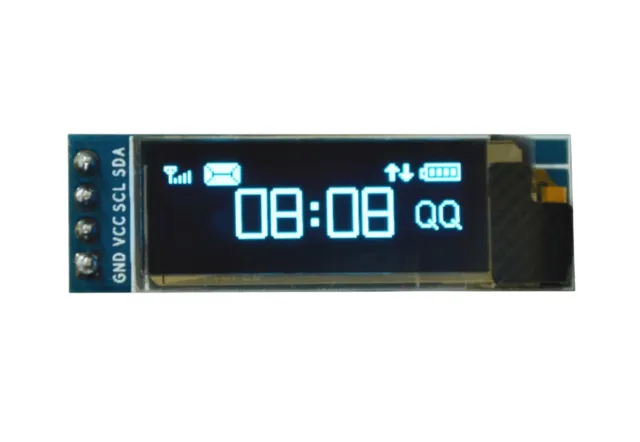
Mini OLED display with 0.91 inch 128x32 I2C
€ 2,99
View this alternative
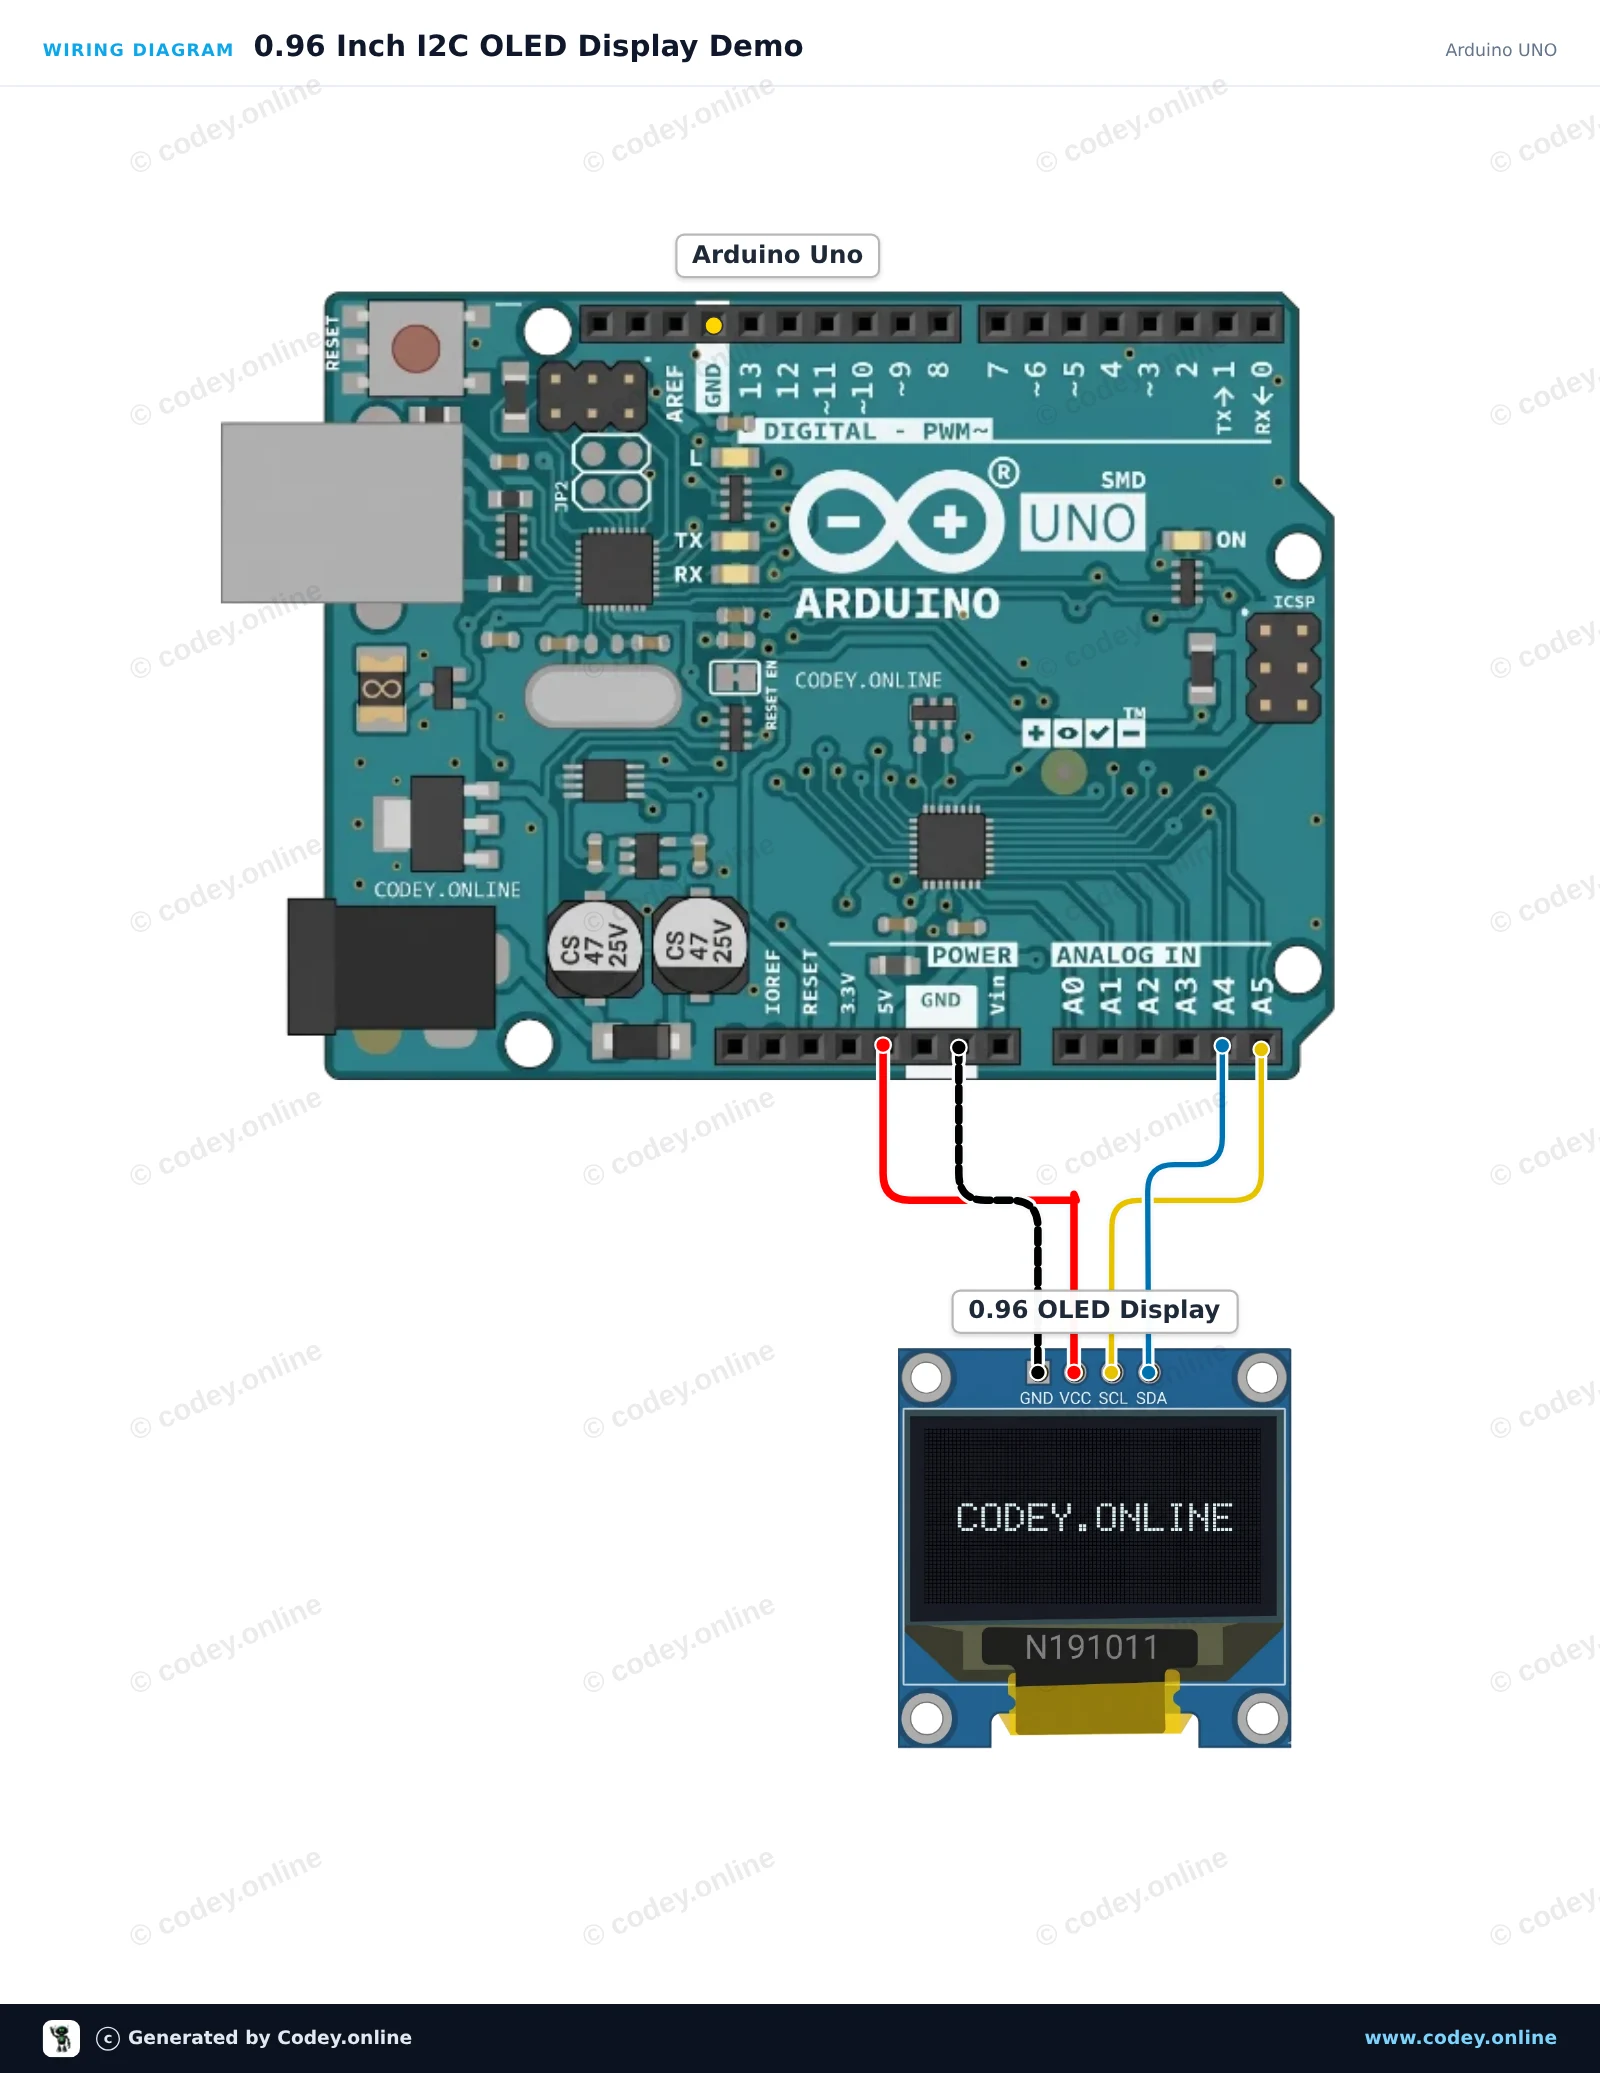
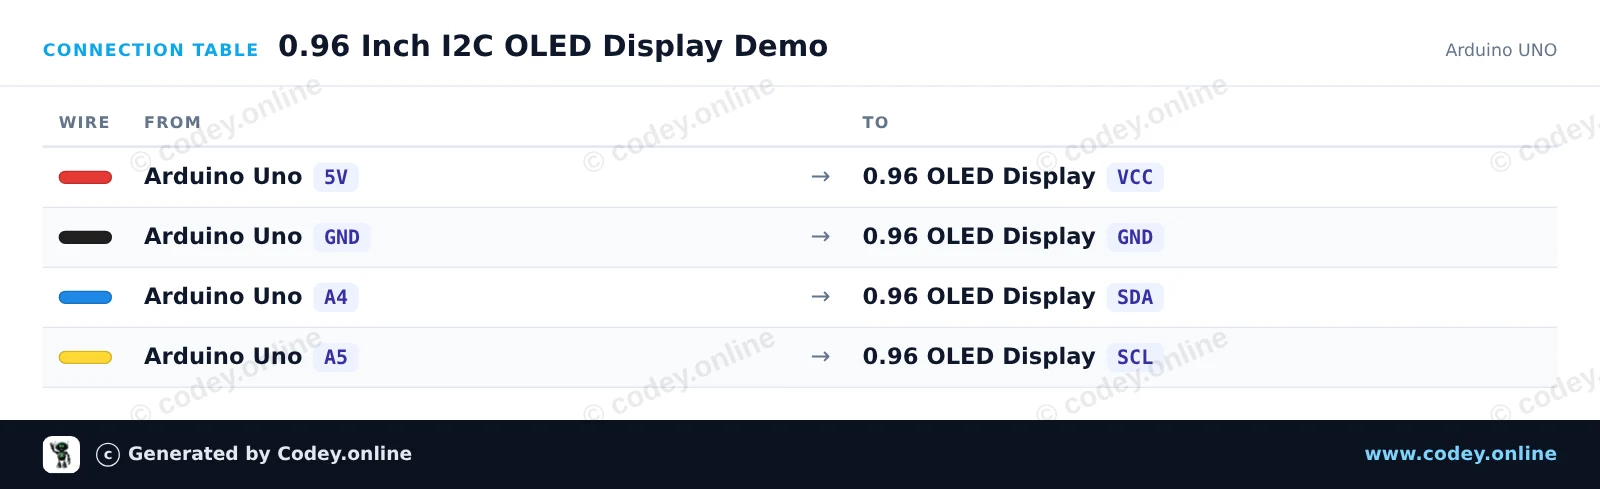
How to connect the Mini OLED display yellow/blue 0.96 inch 128x64 I2C to an Arduino UNO or ESP32, with an example sketch you can upload straight away.
This project displays dynamic text, uptime, and an animated progress bar on a 0.96-inch SSD1306 OLED screen using the lightweight U8g2 library. Connect the display via I2C to analog pins A4 and A5 on the Arduino Uno and power it with 5V to see the counter and graphics update smoothly.
/*
* ==================================================================
* Generated by Codey.online — https://www.codey.online
* ==================================================================
* Project : 0.96 Inch I2C OLED Display Demo
* Board : Arduino UNO (arduino:avr:uno)
* Parts : OLED Display 0.96 inch
* Libraries : U8g2 2.36.19
*
* Codey Online is an AI-powered browser IDE for Arduino and ESP32.
* Describe your project and Codey writes the code, draws the wiring
* diagram and uploads it to your board, straight from the browser.
* This code is free to use, modify and share, without warranty.
* ==================================================================
*/
#include <Wire.h>
#include <U8g2lib.h>
// Initialize U8g2 in page-buffer mode for SSD1306 128x64 I2C display
U8G2_SSD1306_128X64_NONAME_1_HW_I2C u8g2(U8G2_R0, /* reset=*/ U8X8_PIN_NONE);
int counter = 0;
void setup() {
u8g2.begin();
}
void loop() {
u8g2.firstPage();
do {
// Title Header
u8g2.setFont(u8g2_font_ncenB08_tr);
u8g2.drawStr(0, 10, "0.96\" OLED Demo");
u8g2.drawHLine(0, 13, 128);
// Text info
u8g2.setFont(u8g2_font_6x10_tr);
u8g2.drawStr(0, 28, "Uptime:");
u8g2.setCursor(55, 28);
u8g2.print(millis() / 1000);
u8g2.print(" s");
u8g2.drawStr(0, 42, "Count:");
u8g2.setCursor(55, 42);
u8g2.print(counter);
// Animated progress bar
int barWidth = (counter % 124);
u8g2.drawFrame(0, 50, 128, 12);
u8g2.drawBox(2, 52, barWidth, 8);
} while (u8g2.nextPage());
counter++;
delay(100);
}
Required libraries: U8g2 2.36.19
Wiring diagram and example code generated by Codey.online — https://www.codey.online
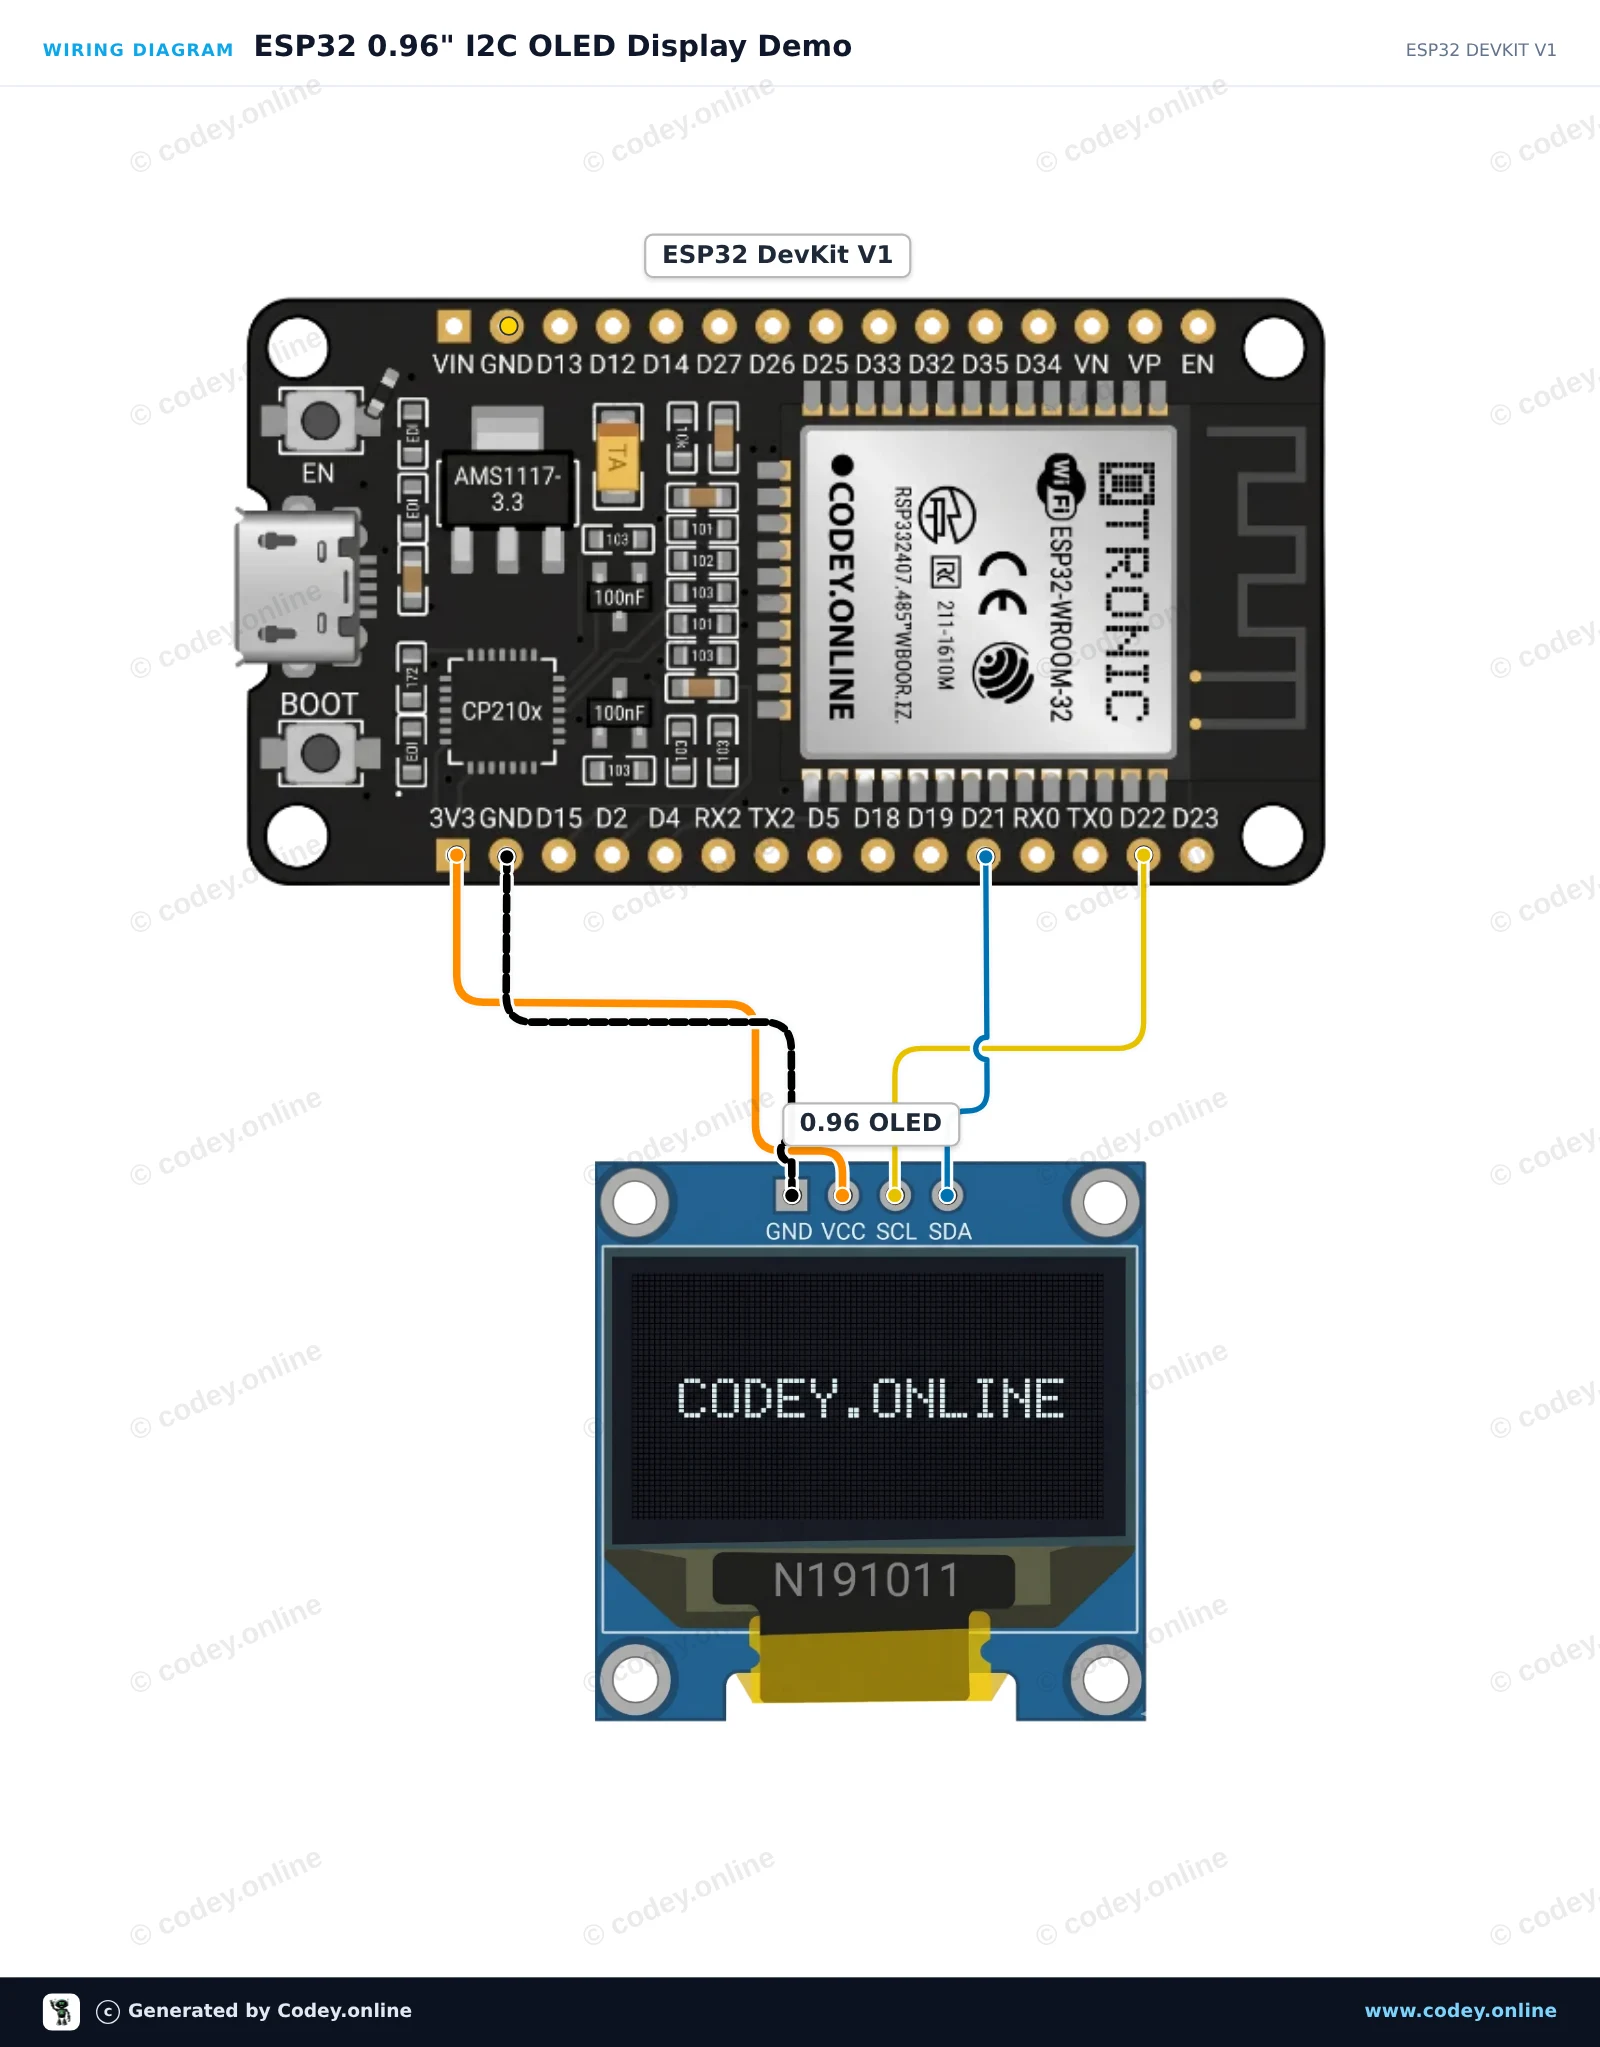
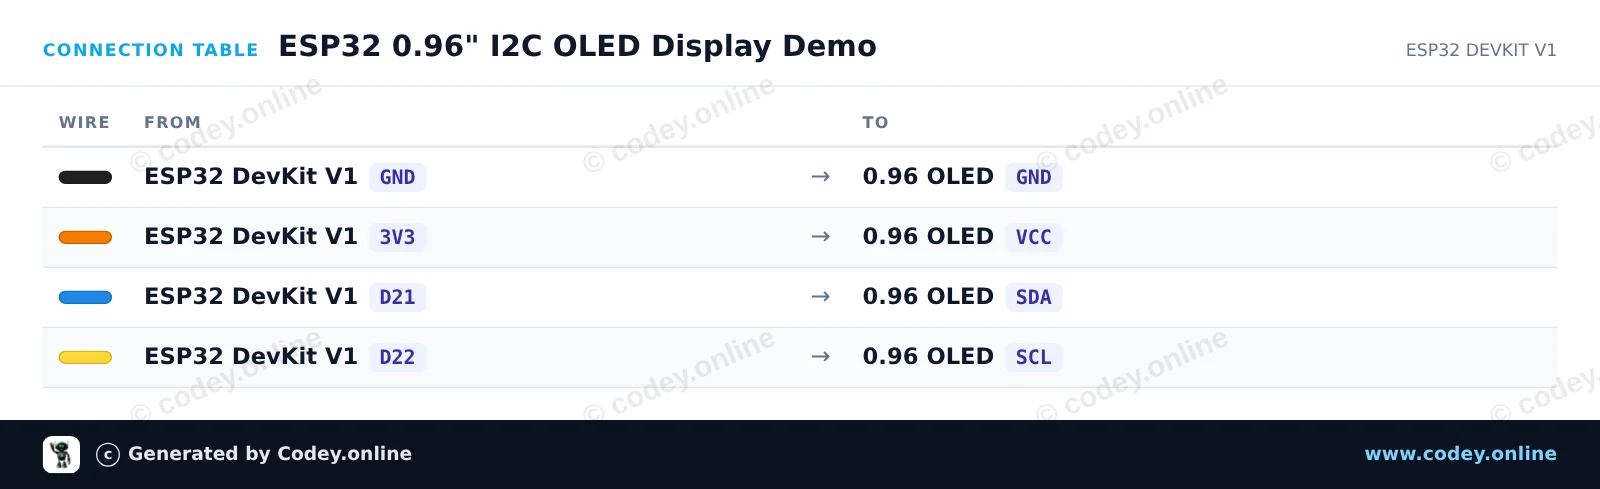
This project shows how to connect a 0.96-inch I2C OLED display (SSD1306) to an ESP32 board. The sketch initializes the display and presents a live updating counter along with sample text.
/*
* ==================================================================
* Generated by Codey.online — https://www.codey.online
* ==================================================================
* Project : ESP32 0.96" I2C OLED Display Demo
* Board : ESP32 DEVKIT V1 (esp32:esp32:esp32doit-devkit-v1)
* Parts : OLED Display 0.96 inch
* Libraries : Adafruit SSD1306 2.5.16, Adafruit GFX Library 1.12.6
*
* Codey Online is an AI-powered browser IDE for Arduino and ESP32.
* Describe your project and Codey writes the code, draws the wiring
* diagram and uploads it to your board, straight from the browser.
* This code is free to use, modify and share, without warranty.
* ==================================================================
*/
#include <Wire.h>
#include <Adafruit_GFX.h>
#include <Adafruit_SSD1306.h>
#define SCREEN_WIDTH 128
#define SCREEN_HEIGHT 64
#define OLED_RESET -1
#define SCREEN_ADDRESS 0x3C
Adafruit_SSD1306 display(SCREEN_WIDTH, SCREEN_HEIGHT, &Wire, OLED_RESET);
int counter = 0;
void setup() {
Serial.begin(115200);
// Initialize I2C and display
if (!display.begin(SSD1306_SWITCHCAPVCC, SCREEN_ADDRESS)) {
Serial.println("SSD1306 allocation failed");
for (;;); // Don't proceed, loop forever
}
display.clearDisplay();
display.setTextColor(SSD1306_WHITE);
display.setTextSize(1);
display.setCursor(0, 0);
display.println("ESP32 OLED Demo");
display.display();
delay(2000);
}
void loop() {
display.clearDisplay();
// Title
display.setTextSize(1);
display.setCursor(0, 0);
display.println("ESP32 + OLED 0.96\"");
display.drawLine(0, 12, 127, 12, SSD1306_WHITE);
// Counter display
display.setCursor(0, 20);
display.println("Uptime Seconds:");
display.setTextSize(2);
display.setCursor(0, 36);
display.print(counter);
display.display();
counter++;
delay(1000);
}
Required libraries: Adafruit SSD1306 2.5.16, Adafruit GFX Library 1.12.6
Wiring diagram and example code generated by Codey.online — https://www.codey.online
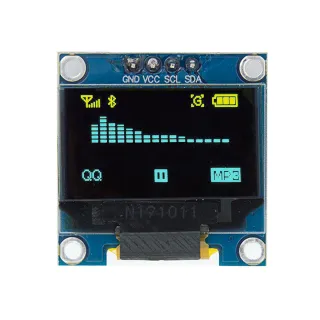
0.96 inch mini 2-color (yellow/blue) OLED display. Razor-sharp image with a resolution of 128x64 pixels.
NOTE: This is NOT a full color OLED display. The top row of pixels is yellow (16 pixels) and the lower part is blue (48 pixels).
Operates on a power supply of 3v-5v. Ideal for Arduino or ESP32 / ESP8266 projects.
The dimensions of this board are only 26.1 x 26.1 x 3.2mm.
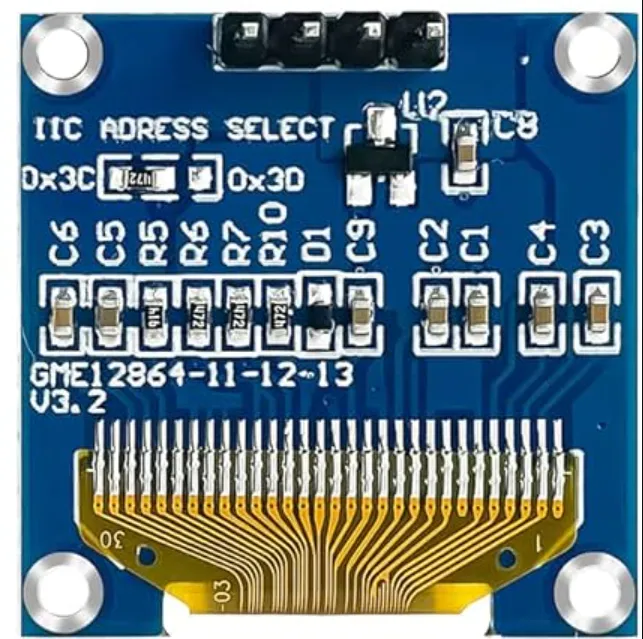
There are 2 i2c addresses selectable by changing the resistor on the back.
Available addresses are: 0x3C (default) and x3D
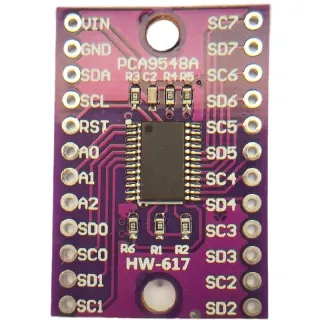
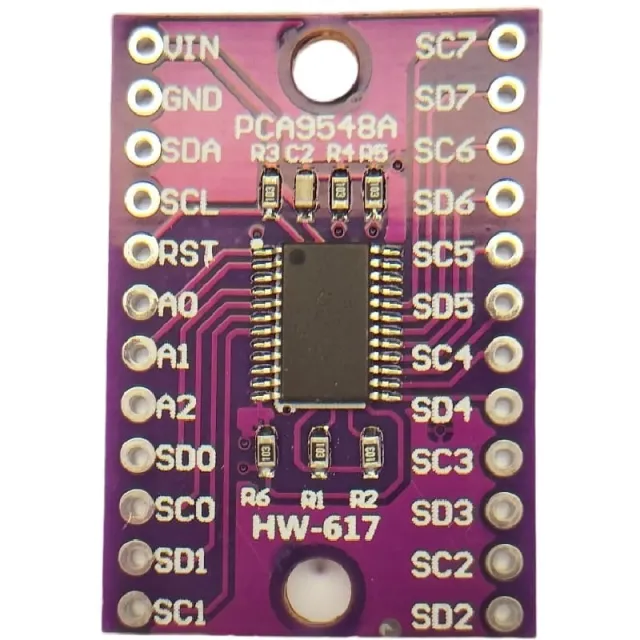
If you want to control multiple OLED displays or do not want to solder the SMD, you can also control up to 8x i2C displays with the same address using an i2c mutliplexer.
Dimensions
Length: 2.61cm
Width: 2.61cm
Height: 0.32cm
| Power supply | 3v-5v |
|---|---|
| Dimensions | 26.1 x 26.1 x 3.2 mm |
| Color | yellow/blue |
| Connection | I2C |
| Resolution | 128 x 64 pixels |
| Suitable for | Arduino / ESP32 / ESP8266 |
| Size | 0.96 inch |
| I2C address | 0x3C, 0x3D |
Easy to program and inexpensive
Mini OLED display yellow/blue 0.96 inch 128x64 I2C